





More Than Just a Warm-Up
Surya Namaskar, which translates to 'salutation to the sun', is often seen as a warm-up in yoga classes, but it is a complete spiritual and physical practice in itself. This series of 12 gracefully flowing postures is designed to awaken the body, improve
circulation, and build strength and flexibility. While its roots are spiritual—a way of showing gratitude to the sun—its modern-day benefits are profoundly practical. Scientific studies have shown that regular practice can enhance muscle strength, improve body composition, and boost cardiovascular health, making it an incredibly efficient form of exercise. It synchronises movement with breath, creating a moving meditation that calms the mind while energising the body.
The 12 Steps of Surya Namaskar
A full round of Surya Namaskar consists of two sets, leading with the right leg in the first set and the left in the second. Each movement is coordinated with either an inhalation or an exhalation. The key is to move with intention and awareness, letting your breath guide the flow. Here's a breakdown of the 12 steps.
Step 1: Pranamasana (Prayer Pose)
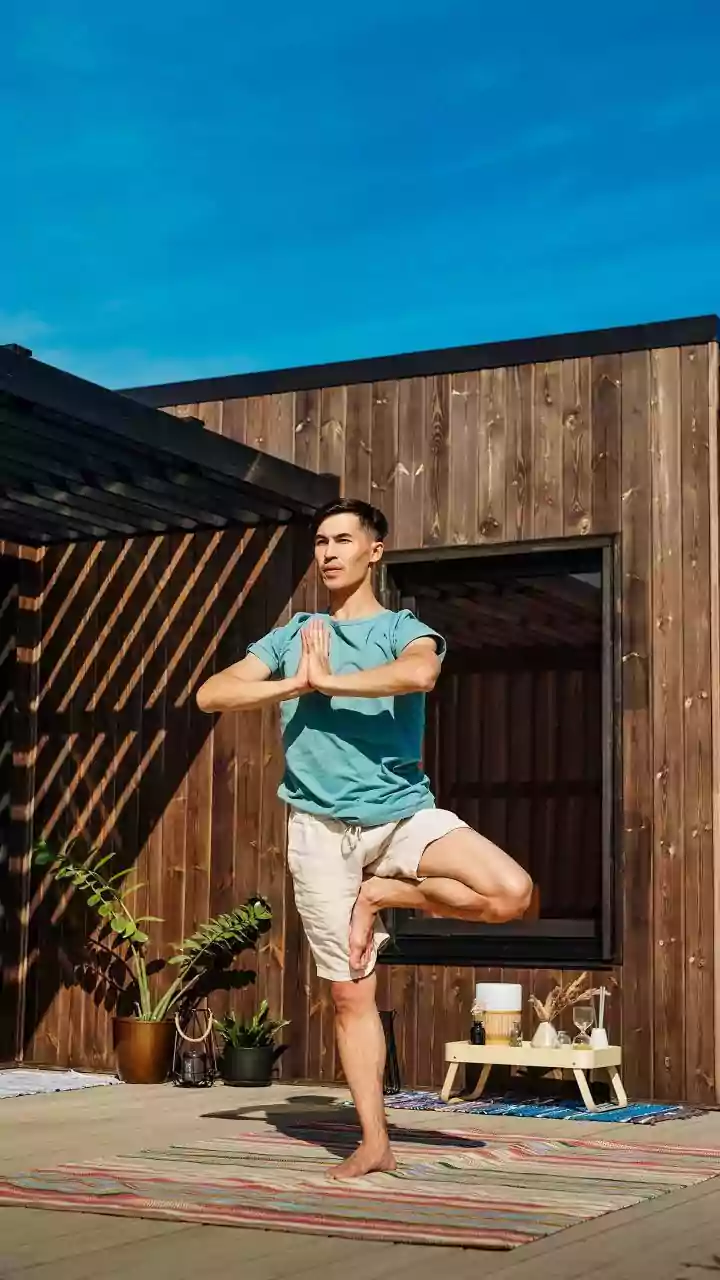
Stand at the front of your mat with your feet together. Balance your weight evenly. As you exhale, bring your palms together in a prayer position at your chest. This initial pose helps to calm the nervous system and establish a sense of balance.
Step 2: Hasta Uttanasana (Raised Arms Pose)
Inhaling, lift your arms up and arch back slightly from your waist, keeping your biceps close to your ears. Stretch the entire body from your heels to the tips of your fingers. The goal is to stretch upward more than backward.
Step 3: Hastapadasana (Standing Forward Bend)
Exhaling, bend forward from the hips, keeping your spine straight. Bring your hands down to the floor beside your feet. You can bend your knees slightly if needed to keep your palms on the floor.
Step 4: Ashwa Sanchalanasana (Equestrian Pose)
Inhaling, push your right leg back as far as possible. Bring your right knee to the floor and look up, keeping your left foot between your palms. This pose stretches the hips and spine.
Step 5: Dandasana (Stick Pose)
As you exhale, take your left leg back and bring your whole body into a straight line, like a plank. Your arms should be perpendicular to the floor. This pose builds core and upper body strength.
Step 6: Ashtanga Namaskara (Eight-Limbed Salute)
Gently bring your knees down to the floor and exhale. Slide your body forward, resting your chest and chin on the floor. Your hips will remain slightly elevated. Eight parts of your body—two hands, two knees, two feet, chest, and chin—touch the floor.
Step 7: Bhujangasana (Cobra Pose)
Inhaling, slide forward and raise your chest up into the Cobra Pose. Keep your shoulders away from your ears and elbows slightly bent. This pose strengthens the back muscles and increases spinal flexibility.
Step 8: Adho Mukha Svanasana (Downward-Facing Dog)
Exhaling, lift your hips and tailbone up to form an inverted 'V' shape. Try to push your heels towards the floor, feeling a deep stretch in your hamstrings and calves.
Step 9: Ashwa Sanchalanasana (Equestrian Pose)
Inhaling, bring your right foot forward between your hands. Your left knee comes down to the floor. Look up, pressing your hips down to deepen the stretch. This mirrors Step 4.
Step 10: Hastapadasana (Standing Forward Bend)
Exhaling, bring your left foot forward next to your right foot. Straighten your knees if you can and bring your nose towards your knees, returning to the forward bend position.
Step 11: Hasta Uttanasana (Raised Arms Pose)
Inhaling, roll your spine up, raise your hands, and bend backward slightly, pushing the hips gently forward. This mirrors Step 2.
Step 12: Tadasana (Mountain Pose)
Exhaling, first straighten your body, then bring your arms down. Relax in this position and feel the sensations in your body. This concludes the first half of one round. Repeat the entire sequence, this time starting by taking your left leg back in Step 4.
Tips for an Effective Practice
For beginners, starting with 2-4 rounds and gradually building up to 12 is recommended. The best time to practice is in the morning on an empty stomach. While the sequence is beneficial for most, individuals with high blood pressure, heart problems, severe back pain, or hernias should consult a doctor before starting. It is also generally advised to avoid the practice during pregnancy and menstruation.