

The Sacred Sweet of Mathura
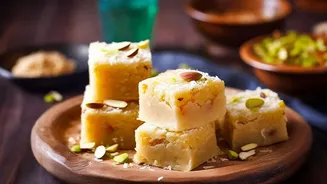
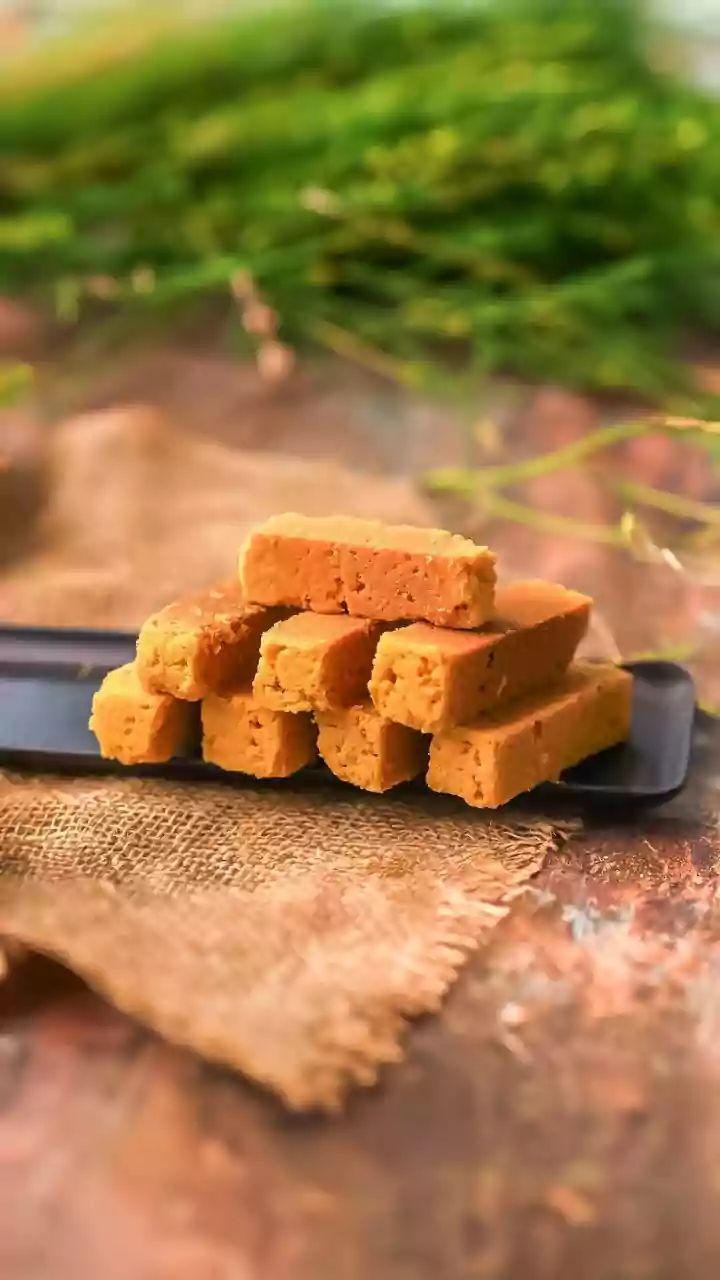
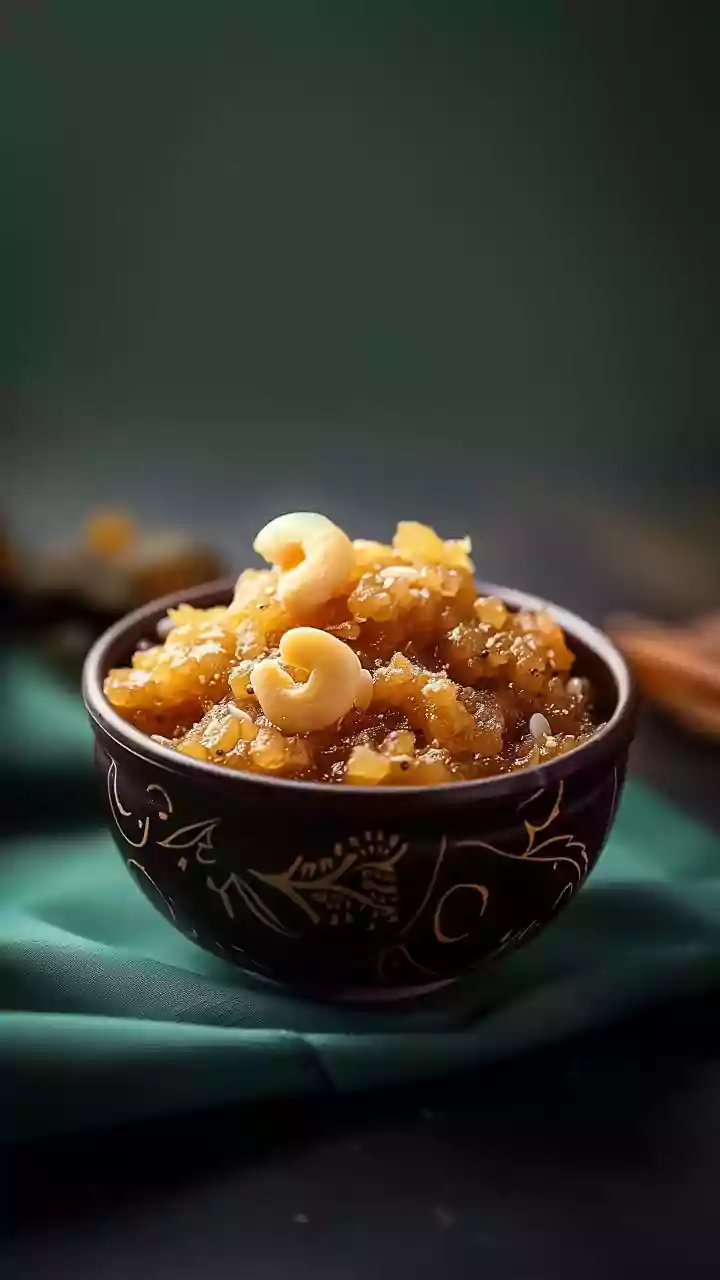
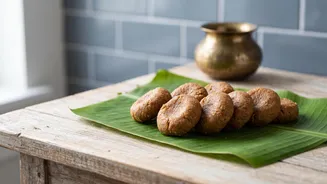
Mathura, the birthplace of Lord Krishna, is synonymous with peda. This sweet is not just a dessert; it's a sacred offering, or 'prasad', deeply woven into the fabric of Janmashtami celebrations. Traditionally, making peda involves simmering milk for hours
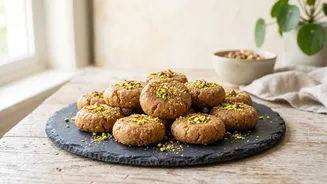
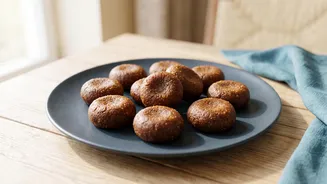
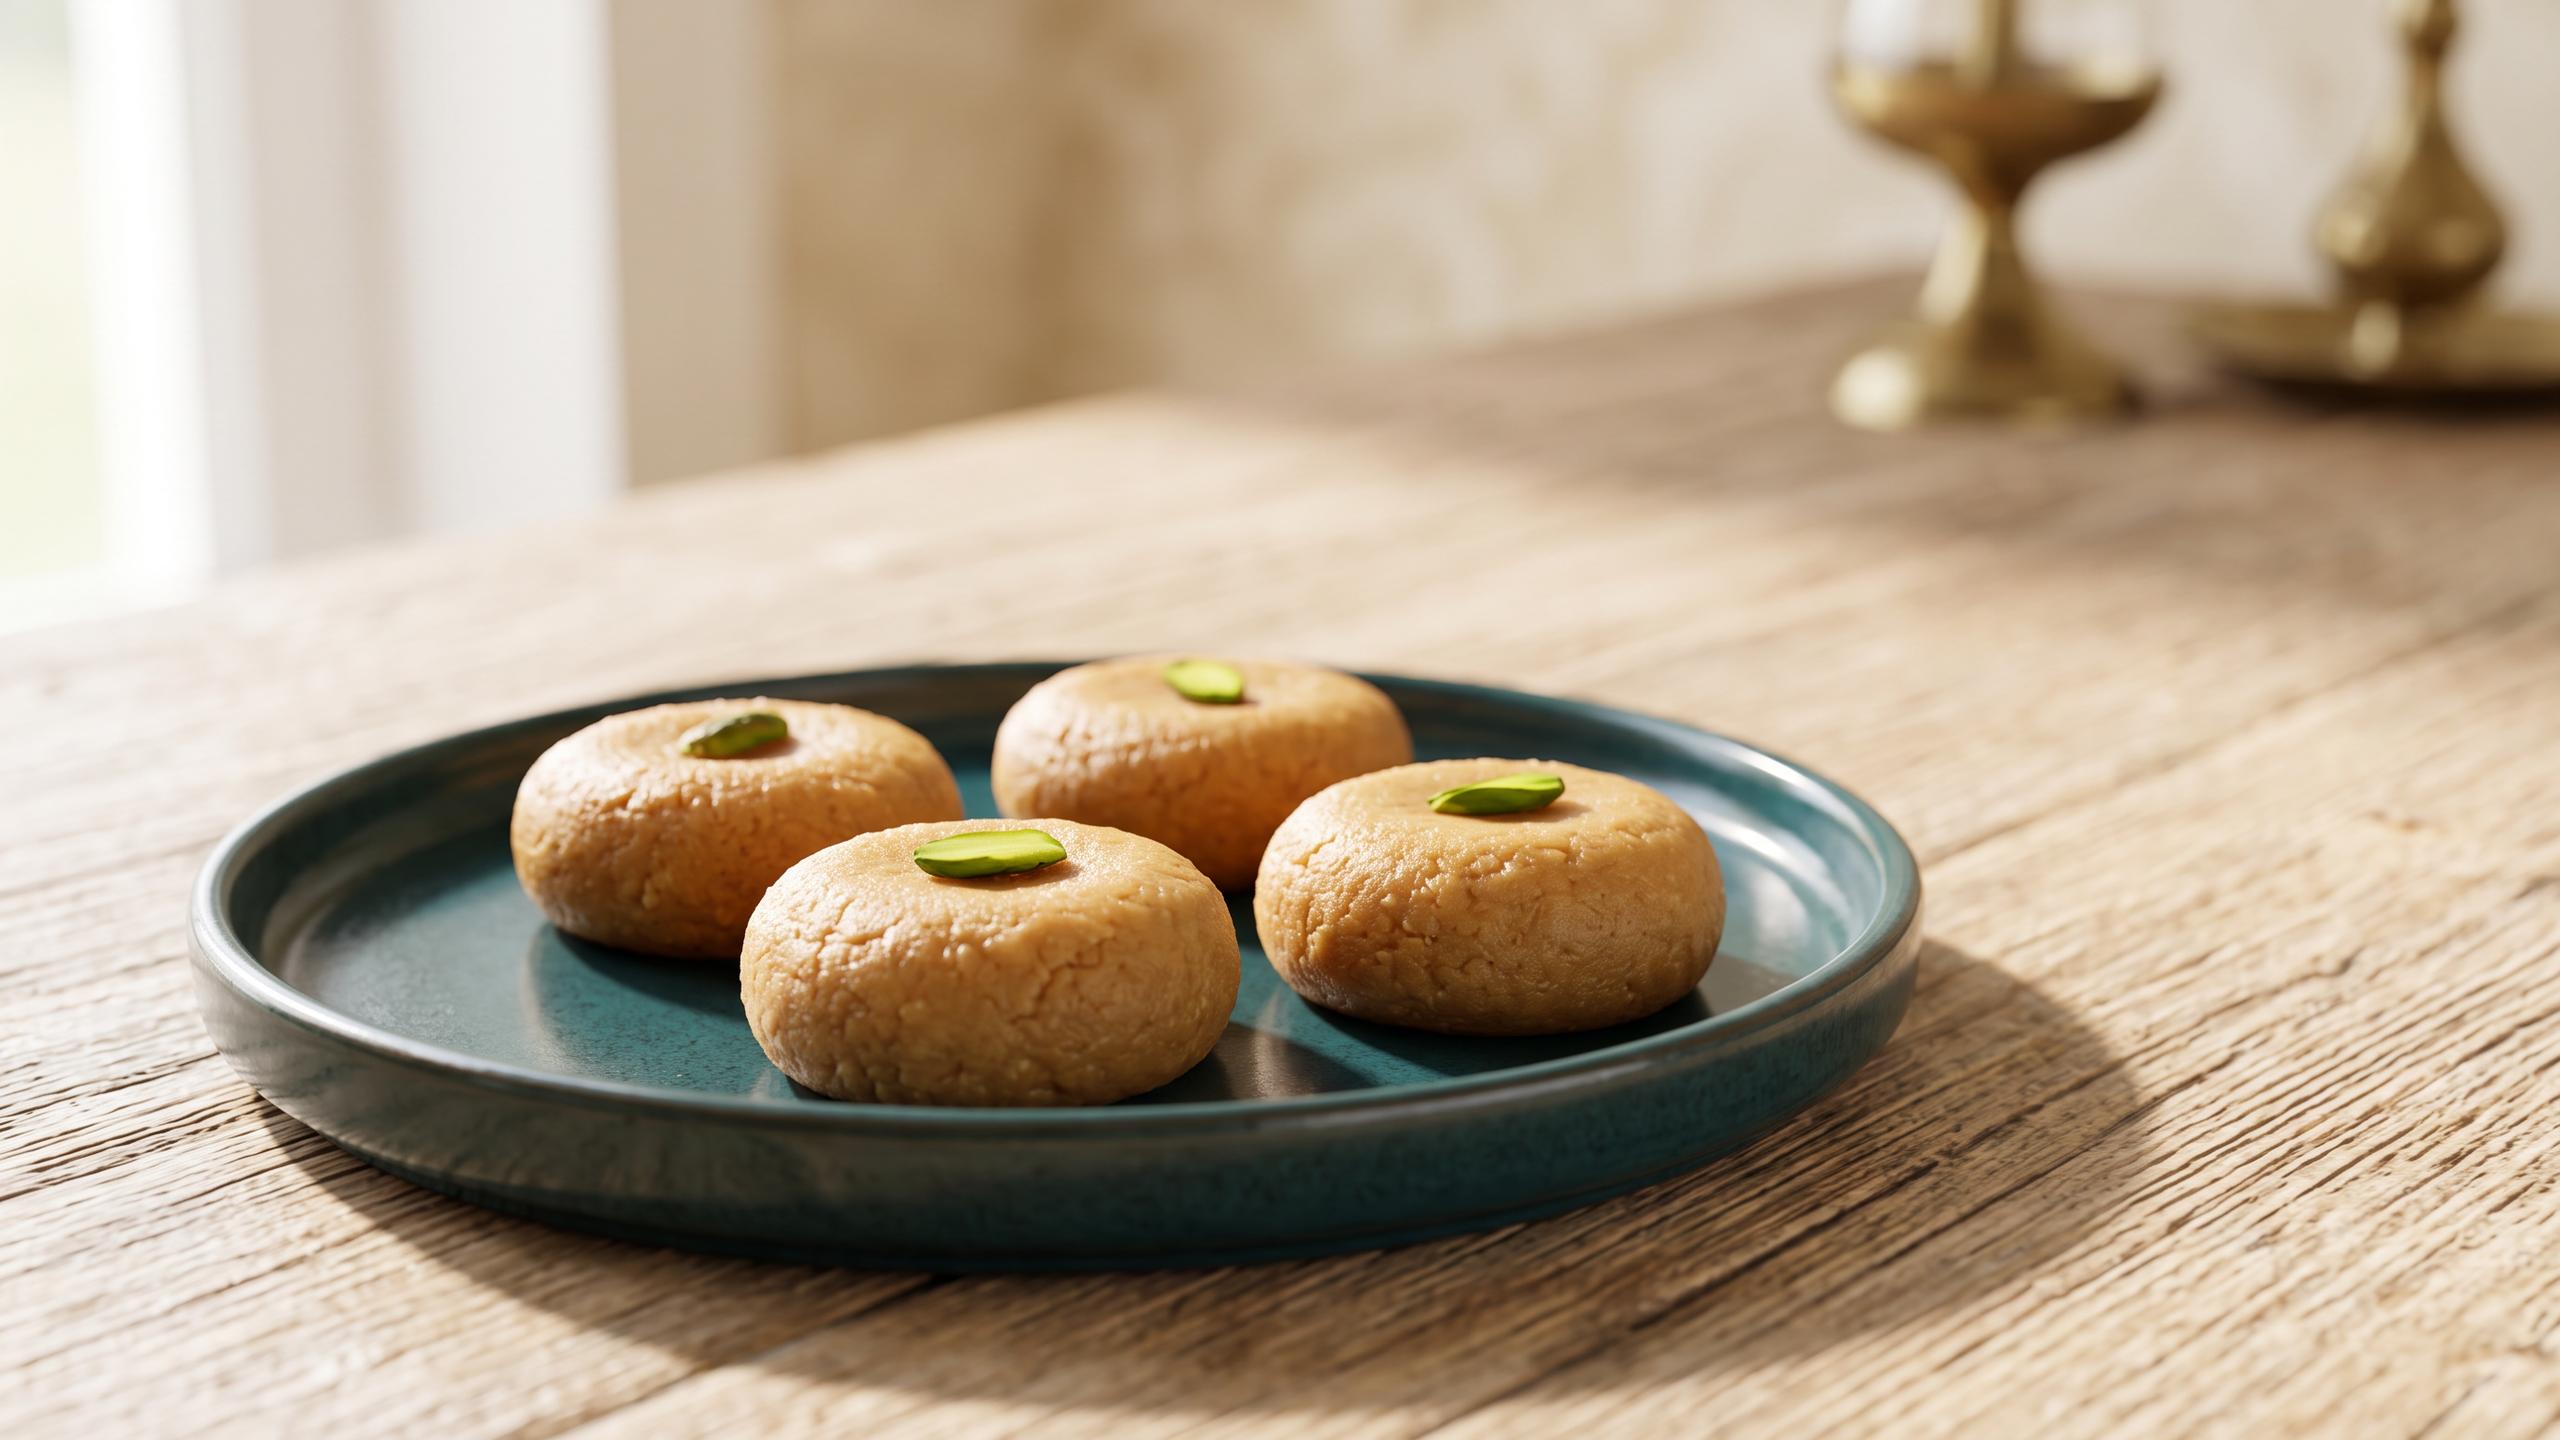
to create 'khoya' or milk solids. However, this simplified recipe uses store-bought khoya to bring the authentic taste of Mathura to your kitchen without the lengthy process. The key to the distinctive flavour and brown colour of Mathura peda lies in roasting the khoya until it caramelises, developing a rich, nutty aroma that is simply divine. This process gives the peda its characteristic granular texture and extended shelf life, making it a perfect sweet to prepare in advance for the festival.
Essential Ingredients
This recipe relies on a few key components to achieve its authentic taste. You can find most of these at your local Indian grocery store. Khoya (Mawa): 250 grams, unsweetened. This is the base of our peda. Grate it before use for even cooking. Ghee: 2 tablespoons. Ghee adds richness and helps in roasting the khoya without it sticking to the pan. Powdered Sugar (Boora): ½ to ¾ cup, adjusted to your taste. It's best to add this when the khoya mixture has cooled down. Milk: 2-3 tablespoons, as needed. A splash of milk helps if the roasted khoya seems too dry. Cardamom Powder: ½ teaspoon. For that classic, aromatic flavour. Granulated or Raw Sugar: For coating the finished pedas, which gives them their signature look and texture.
Step-by-Step Guide: Roasting the Khoya
The most crucial part of this recipe is roasting the khoya to perfection. Patience here will yield the best results. 1. Begin by grating the 250 grams of khoya. This ensures it cooks evenly. 2. Place a heavy-bottomed, preferably non-stick, pan on low to medium heat. Add the grated khoya and begin to stir continuously. 3. After about 5 minutes, the khoya will start to melt and change colour. At this point, add one tablespoon of ghee and continue stirring. 4. The mixture will slowly turn a light golden colour. For authentic Mathura peda, we need a deep, dark brown hue. Continue to roast on low heat, adding the remaining ghee. This entire roasting process can take between 15 to 25 minutes. 5. If the mixture appears too dry as it darkens, you can add a tablespoon or two of milk to help it along. Stir until the milk is fully absorbed. 6. Once the khoya is a rich, granular, and dark brown, remove it from the heat. The colour is key to the final flavour.
Step-by-Step Guide: Cooling and Shaping
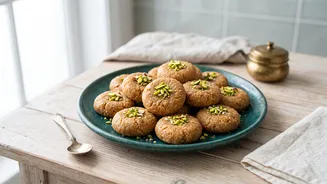
Once the khoya is roasted, the rest of the process is quick. It's important to let the mixture cool to the right temperature before adding sugar. 1. Transfer the hot, roasted khoya mixture to a separate bowl or plate to help it cool down faster. Let it cool until it's just warm enough to handle with your hands. If you add sugar while the mixture is too hot, it will melt and result in a gooey texture. 2. Once warm, add the powdered sugar and cardamom powder. Use your hands to rub the sugar into the khoya, breaking down any lumps and ensuring everything is well combined. This will create a smooth, homogenous dough. 3. Take small, lemon-sized portions of the mixture and roll them into smooth balls between your palms. Gently flatten each ball to create the classic peda shape. You can make a small indentation in the centre with your thumb if you wish. 4. Spread some granulated or raw sugar on a plate. Roll each peda in the sugar, ensuring it's lightly coated on all sides. 5. Let the pedas sit at room temperature for about an hour to firm up before serving or storing.
Tips for Perfect Pedas
Keep these pointers in mind for a flawless batch of Mathura pedas. Low and Slow: The key to perfect roasting is low heat and constant stirring. This prevents the khoya from burning while allowing it to develop its deep, caramelised flavour. Texture is Everything: If your khoya is very dry, a little milk will help achieve the right consistency. Conversely, if your mixture is too moist, cook it for a few more minutes until it dries out. The final texture should be granular and crumbly before you add sugar. Cooling is Crucial: Do not rush the cooling process. Adding sugar to hot khoya will ruin the texture of the pedas. Storage: These pedas have a good shelf life due to the well-roasted khoya. Store them in an airtight container in the refrigerator for up to a week.