


Why This Recipe is the One
In a world of overly complicated desserts, the beauty of a classic chocolate mousse lies in its simplicity. This isn't a recipe that relies on gelatin, cornflour, or other shortcuts. It's an ode to the classics, built on three fundamental pillars: excellent
chocolate, fresh eggs, and air. By separating the eggs and whipping the whites and cream, we create two distinct types of aeration. The egg whites provide a light, almost ethereal structure, while the whipped cream lends a luxurious, velvety richness. The result is a dessert that feels both impossibly light and deeply indulgent. This is the recipe you master once and make forever, the one you turn to for dinner parties, quiet nights in, and any moment that calls for a touch of magic.
The Essential Ingredients
Quality is everything here, as there's nowhere for subpar ingredients to hide.
* Dark Chocolate (200g): Choose a high-quality bar with 60-70% cacao. This is the soul of your mousse. Avoid cooking chocolate or chocolate chips, which contain stabilisers that can interfere with a smooth melt.
* Large Eggs (4): Freshness is key. We'll be using both the yolks and the whites, so ensure you have a reliable source.
* Caster Sugar (50g): Its fine crystals dissolve easily, preventing a grainy texture.
* Heavy Cream (250ml): Also known as double cream. It must be cold to whip properly.
* A Pinch of Salt: This doesn't make the mousse salty; it sharpens and enhances the flavour of the chocolate.
* Optional: A splash of rum, brandy, or a teaspoon of espresso powder can be added with the melted chocolate to deepen the flavour profile.
Step 1: Melt the Chocolate
The foundation of your mousse begins with perfectly melted chocolate. The gentlest method is using a double boiler (a heatproof bowl set over a saucepan of simmering water, ensuring the bottom of the bowl doesn't touch the water). Break your chocolate into small, even pieces and place them in the bowl. Let the gentle steam melt the chocolate, stirring occasionally with a spatula until it's smooth and glossy. Once completely melted, remove the bowl from the heat and set it aside to cool slightly. You want it to be lukewarm, not hot, when you combine it with the other ingredients.
Step 2: Prepare the Eggs
Carefully separate your eggs. Place the yolks in one large mixing bowl and the whites in another, ensuring the bowl for the whites is impeccably clean and free of any grease or yolk, which would prevent them from whipping. Add the caster sugar and salt to the egg yolks. Using an electric whisk, beat them together for 3-4 minutes until the mixture becomes pale, thick, and ribbon-like. When you lift the beaters, the mixture should fall back in a thick ribbon that sits on the surface for a moment. This process aerates the yolks and dissolves the sugar, creating a smooth base. Now, gently pour the slightly cooled, melted chocolate into the yolk mixture and fold it in until just combined.
Step 3: Whip the Whites and Cream
First, in a separate, clean bowl, whip your heavy cream until it forms soft peaks. Be careful not to over-whip, or it will become grainy. Set the whipped cream aside in the fridge. Now, thoroughly wash and dry your beaters. In the bowl with your egg whites, begin whipping on a medium speed. Once they become foamy, increase the speed to high and whip until they form stiff, glossy peaks. This means when you lift the beaters, the peak of egg white holds its shape without collapsing.
Step 4: The Art of Folding
This is the most crucial stage where you combine everything without losing the precious air you've created. Take about a third of the stiff egg whites and fold them vigorously into the chocolate-yolk mixture. This first addition is for sacrificing; its purpose is to lighten the dense chocolate base, making it easier to incorporate the rest. Now, gently fold in the remaining egg whites using a large spatula. Use a cutting motion through the centre and sweep around the bowl, turning the bowl as you go. Once the whites are almost incorporated (a few streaks are okay), add the cold whipped cream. Continue the same gentle folding technique until the mousse is a uniform colour and consistency. Do not overmix.
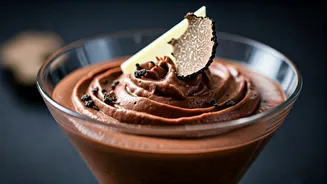
Chill and Serve
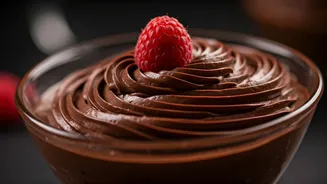
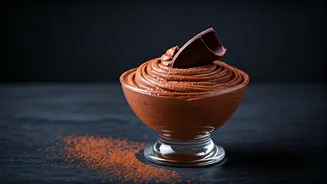
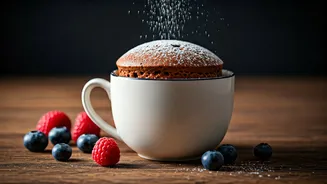
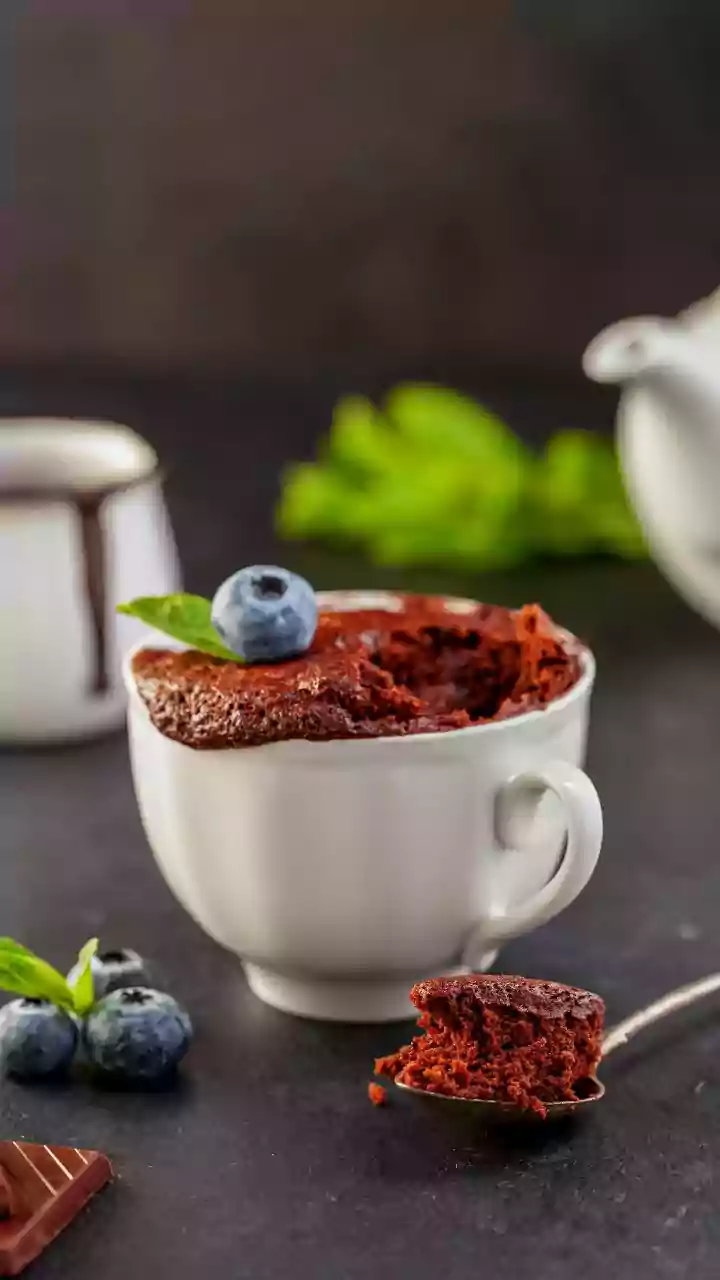
Once combined, immediately spoon or pipe the mousse into your desired serving glasses or a single large bowl. Cover with cling film, pressing it gently onto the surface of the mousse to prevent a skin from forming. Refrigerate for at least 4 hours, or ideally 6, to allow it to set completely and for the flavours to meld. Serve chilled, just as it is, or with a dollop of extra whipped cream, some chocolate shavings, or fresh berries. The texture should be firm enough to hold its shape but melt instantly in your mouth.