



The Appeal: Why Go Barefoot?
More than just a trend, barefoot hiking is about reconnecting with nature and your own body. Proponents point to several key benefits. The first is improved proprioception, which is your body's awareness of its position in space. With over 200,000 nerve
endings, your feet provide constant feedback from the ground, allowing for quicker reactions to changing terrain. This can lead to better balance and agility. Going shoeless also forces the small, intrinsic muscles in your feet and lower legs to work harder, which can lead to stronger, more stable feet over time, potentially reducing the risk of certain injuries. Many also find it encourages a more natural, lower-impact gait, shifting from a hard heel-strike to a gentler midfoot landing.
Acknowledge the Risks
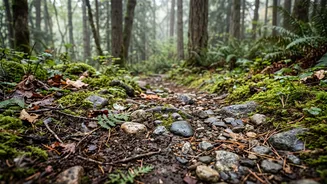
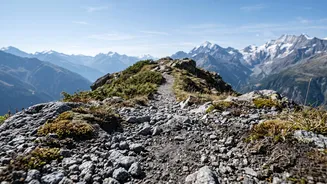
Despite the benefits, walking unshod in the wild is not without significant risks. Your soft soles are vulnerable to a host of hazards you would not think twice about with boots on. The most obvious dangers are cuts, scrapes, and puncture wounds from sharp rocks, glass, thorns, or other debris hidden on the trail. Beyond immediate injuries, there's the risk of infections from bacteria or fungi entering through small wounds. Plants like poison ivy and encounters with insects or snakes are also a greater concern. Furthermore, your feet, unaccustomed to the stress, can suffer from muscle fatigue, blisters, and pain, especially on hard or unforgiving surfaces. It is crucial for beginners to understand these risks and not underestimate them.
Start Slow on Forgiving Surfaces
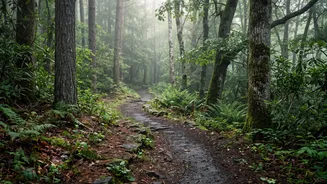
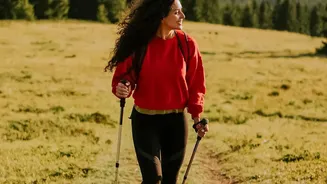
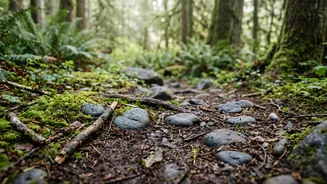
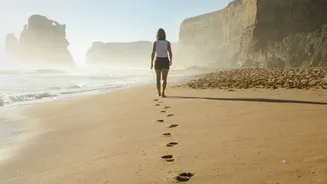
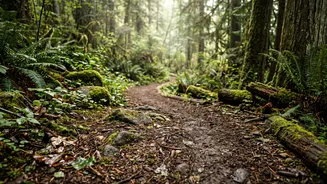
Your first barefoot hike should not be a multi-hour trek on a rocky mountain path. The key to a successful transition is to start small and slow. Begin by spending short amounts of time barefoot in a safe, familiar environment like your backyard or a clean park. Pay attention to the new sensations. When you're ready for a trail, choose your terrain wisely. Ideal surfaces for beginners are soft and predictable, such as grassy meadows, sandy paths, or forest floors covered in pine needles or soft dirt. These environments allow the soles of your feet to adapt without being overwhelmed. Start with very short distances—perhaps just 15-20 minutes—and gradually increase your time as your feet build strength and resilience.
Consider a 'Barefoot' Toolkit
Going barefoot does not mean being unprepared. Always carry a small, dedicated foot-care first-aid kit. This should include essentials like antiseptic wipes, tweezers for splinters, and bandages. It's also wise to pack a pair of lightweight shoes in your backpack. You may encounter a section of trail that is too rough or hazardous, and having a backup plan is essential. For many, the transition to full barefoot hiking is a long one. 'Minimalist' or 'barefoot' shoes can be an excellent intermediate step. These shoes feature a wide toe box, a flexible, thin sole, and no heel elevation, offering protection from sharp objects while still allowing your foot to move naturally and feel the ground. You can start by wearing these on shorter walks to help your feet adjust.
Listen to Your Body and Adjust Your Gait
One of the most important skills in barefoot hiking is learning to pay close attention to the signals your body is sending. Aches in the muscles of your feet and calves are normal at first as they adapt, but sharp pain is a sign to stop. Never push through significant pain, as it can lead to injury. You will also need to adjust your walking technique. Instead of a long stride that lands on your heel, barefoot hiking encourages shorter, lighter steps. Aim to land on the ball of your foot or midfoot, allowing your foot's natural arch to act as a shock absorber. Always step straight down, rather than shuffling or dragging your feet, which dramatically increases the risk of cuts and blisters. Keep your eyes scanned a few paces ahead on the trail to choose the safest foot placements.
Post-Hike Foot Care
Your responsibility to your feet doesn't end when the hike does. As soon as you are finished, take the time to thoroughly clean and inspect your feet. Wash them with soap and water and carefully check the soles and between your toes for any cuts, scrapes, or splinters you may not have noticed. This is crucial for preventing infection. If you have any minor wounds, clean them and apply a bandage. After cleaning, letting your feet air out is beneficial. Some hikers also find it helpful to gently massage their feet to relieve muscle soreness or use a cork massage ball to work out tight spots. Taking these simple recovery steps ensures your feet will be healthy and ready for your next adventure.