


Recognizing the Signs It's Time for a Change
Before you get your hands dirty, it’s important to know if your plant actually needs a new pot. Repotting too soon or unnecessarily can cause stress. Look for a few clear indicators that your plant has outgrown its current home. One of the most obvious
signs is roots growing out of the drainage holes at the bottom of the pot. You might also see roots pushing the plant upwards, out of the container. Another key signal is how quickly the soil dries out; if you find yourself watering much more frequently because the soil is bone dry within a day or two, it’s a strong hint that the pot is full of roots with little soil left to hold moisture. Other signs include slowed or stunted growth during the growing season (spring and summer), new leaves that are smaller than older ones, or the plant becoming top-heavy and tipping over easily. In general, if a plant has been in the same pot for 18 months to two years, it could likely benefit from a refresh of nutrients and space.
Gathering Your Tools and Materials
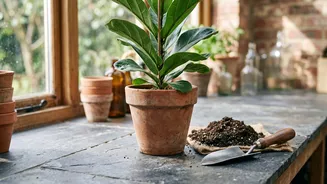
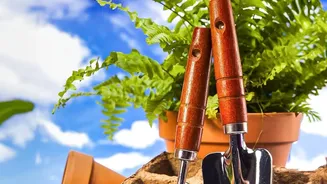
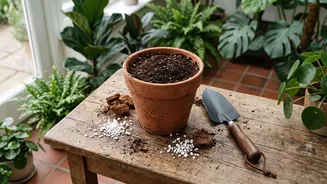
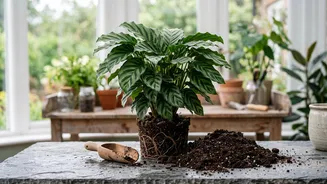
Being prepared makes the repotting process smooth and stress-free for both you and your plant. You don’t need much, but having the right supplies on hand is crucial. First, you'll need a new pot. Choose one that is just one to two inches larger in diameter than the current one. It's a common mistake to move a plant into a pot that is too big, as the excess soil can hold too much water and lead to root rot. Ensure the new pot has drainage holes. Next is the soil. Never use garden soil from outside, which is too dense, compacts easily in containers, and can introduce pests. Instead, buy a quality indoor potting mix. These are typically lighter and contain ingredients like peat moss, coco coir, perlite, or vermiculite to ensure good drainage and aeration. You might also want a small trowel, a pair of clean scissors or pruning shears for trimming any damaged roots, and some gloves if you prefer to keep your hands clean. Laying down a tarp or some newspaper will make cleanup much easier.
The Step-by-Step Repotting Process
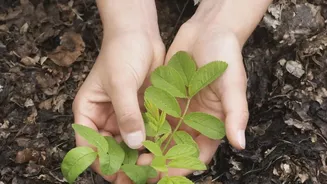
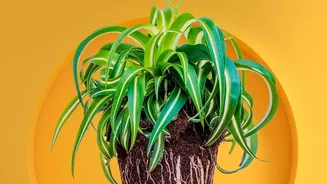
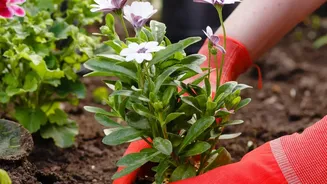
With your supplies ready, it's time to repot. Start by gently removing the plant from its current pot. Turn the pot on its side and tap the bottom and sides to loosen the soil. Gently slide the plant out, holding it by the base. Once it's out, inspect the root ball. If the roots are tightly wound in a circle (a condition known as 'root-bound'), gently tease them apart with your fingers to encourage them to grow outwards in the new pot. You can even trim any roots that look brown, mushy, or dead with your clean shears. Next, add a layer of fresh potting mix to the bottom of the new pot. Place your plant in the center, ensuring the top of the root ball sits about an inch below the rim of the pot. Begin filling in the space around the root ball with more fresh soil, gently pressing it down to eliminate large air pockets without compacting it too firmly. The goal is to secure the plant while allowing the roots room to breathe.
Essential Aftercare for a Happy Plant
Your plant’s journey isn’t over once it’s in the new pot. The period immediately following a repot is critical. This transition, often called 'transplant shock', can cause symptoms like wilting or yellowing leaves. To minimize this, give your plant the right care. Right after repotting, water the plant thoroughly until you see water run from the drainage holes. This helps settle the new soil around the roots. Then, place your plant in a spot where it receives the same amount of light it's used to, avoiding direct, harsh sunlight which can add stress. One of the most important aftercare tips is to hold off on fertilizing. Fresh potting mix contains plenty of nutrients, and adding more can burn the sensitive, recovering roots. Wait at least a month, or until you see clear signs of new growth, before resuming your fertilizing routine. Some experts even suggest waiting to water for up to a week after repotting to allow any damaged roots to heal before being saturated.