


Why Jade Plants Make Perfect Companions
Before we get our hands dirty, let’s talk about why the jade plant (Crassula ovata) is an ideal choice for this project. Nicknamed the “money plant” or “friendship tree,” it’s a succulent known for its resilience and minimal needs. Jades thrive on a bit
of neglect, making them perfect for busy professionals or forgetful waterers. They require bright, indirect light—common in most office environments—and their thick, glossy leaves store water, so they can forgive you if you miss a watering session. Beyond their practical benefits, these plants add a touch of lush, structured greenery to any space, instantly making a sterile desk feel more personal and alive. They grow slowly and stay compact for a long time, so your mug-sized plant won’t outgrow its home too quickly.
Taking the Perfect Clipping
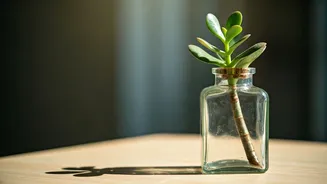
Propagation starts with a good clipping, also called a cutting. Ask a friend or colleague with a healthy, mature jade plant if you can snip a small piece. Look for a stem that is green and sturdy, not woody or shrivelled. Using clean, sharp scissors or a knife, take a cutting that is about 3-4 inches long and has at least two or three sets of leaves. Make your cut just below a leaf node (the small bump where leaves emerge from the stem), as this is where new roots are most likely to sprout. Once you have your cutting, gently remove the lowest set of leaves to expose more of the stem. This bare part of the stem will be planted in the soil later on. Don't worry about harming the parent plant; regular pruning actually encourages it to grow bushier and fuller.
The Most Crucial Step: Let It Callus
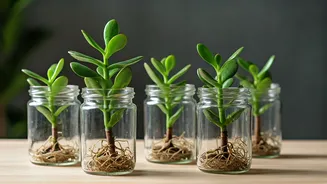
This is the single most important step for successfully propagating succulents, and it’s one that beginners often skip. You cannot plant your fresh cutting immediately. The cut end is an open wound that will absorb too much water and rot if placed directly into moist soil. You need to let it heal and form a dry, hardened layer, known as a callus. To do this, simply place your cutting in a dry, well-ventilated spot away from direct sunlight for anywhere from three days to a full week. You will know it’s ready when the cut end is dry to the touch and has formed a pale, slightly shrunken seal. This small act of patience is your best insurance against root rot and will set your new plant up for a long, healthy life.
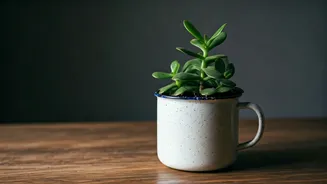
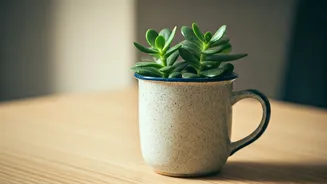
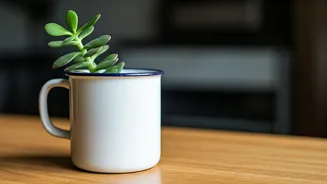
Preparing Your Office Mug
That old office mug with the faded logo is about to get a new lease on life. However, there’s one non-negotiable rule for container gardening: drainage. Without a hole at the bottom, water will pool and drown the roots. You have two easy options. The best method is to use the mug as a decorative cachepot. Find a small plastic nursery pot (the kind plants often come in) that fits inside your mug. Plant your jade in the plastic pot, and you can simply lift it out to water it in a sink, let it drain completely, and then place it back in the mug. The second option is for the slightly more ambitious: drill a drainage hole. If you have a ceramic-specific drill bit, you can carefully drill a small hole in the bottom of the mug. This makes it a permanent planter, but be sure to use a saucer underneath to catch excess water.
Planting Your New Jade Baby
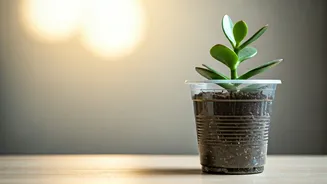
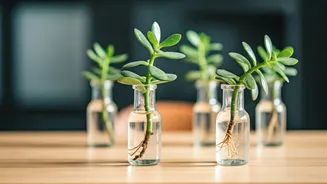
Once your cutting has callused and your mug is prepped, it's time to plant. Succulents need soil that drains quickly. Do not use heavy garden soil. A pre-made cactus or succulent potting mix is perfect. You can also make your own by mixing regular potting soil with equal parts perlite or coarse sand to improve aeration and drainage. Fill your small inner pot (or your drilled mug) with the soil. Gently poke a small hole in the centre with your finger or a pencil, about an inch deep. Place the callused end of your jade cutting into the hole and lightly firm the soil around it to hold it upright. The stem should be stable, but don’t pack the soil down too tightly.
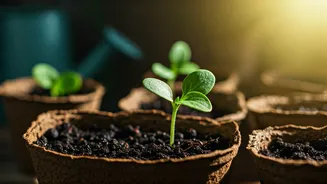
First Steps and Early Care
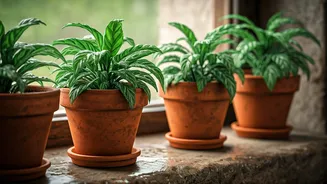
After planting, resist the urge to drench your new plant. Wait about a week before giving it its first watering. This gives any fragile new roots time to form without being disturbed. When you do water, do so lightly. For the first few weeks, the cutting will be focused on growing roots, not new leaves. Be patient. Place your mug in a spot where it will receive plenty of bright, indirect sunlight, like near an east-facing window. Direct, harsh sun can scorch the young plant. In about four to six weeks, you can give the stem a very gentle tug. If you feel resistance, it means roots have formed and your new plant is officially established.