



The Foundation: Your Master Shot List
Before a single photo is taken, your most critical tool is a comprehensive shot list. This document is more than a simple checklist; it is the roadmap for the entire project, ensuring that no critical shot is missed and that the photographer understands
your brand's vision. A well-planned shot list saves time, clarifies expectations, and guarantees that the final images will align with your marketing goals, whether they are for your website, social media, or online travel agencies (OTAs). To build it, start by thinking about the guest's journey from arrival to departure. This includes everything from the exterior and lobby to the various room types and on-site amenities. This master plan keeps everyone from marketing to housekeeping on the same page.
Categorise by Core Room Types
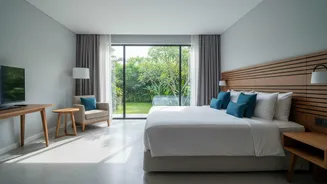
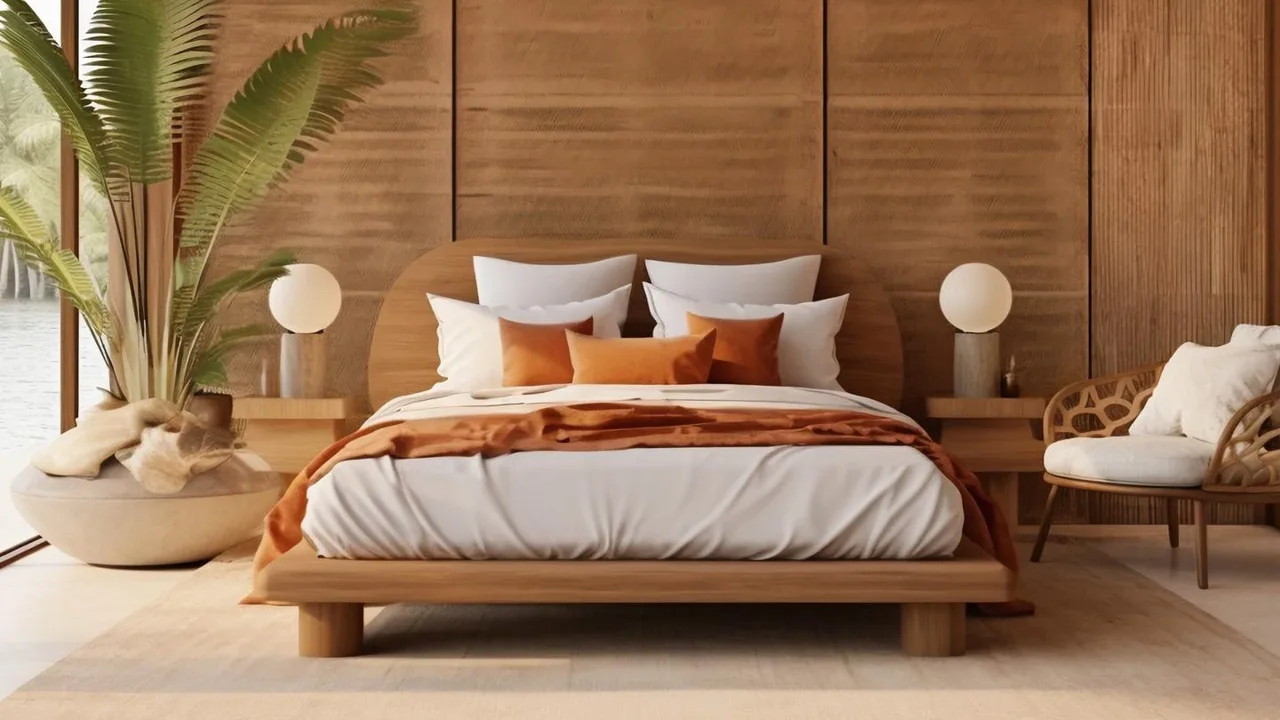
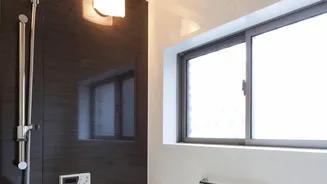
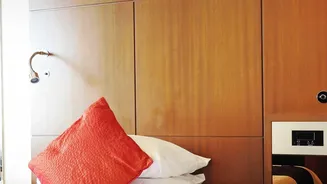
The most effective way to structure your shot list is by breaking it down by your hotel's specific room categories. This ensures you capture a consistent set of images for each accommodation type you offer, from a Standard Queen to a Deluxe King Suite. For each category, plan to capture a minimum of three to four distinct images. This should include a wide shot to establish the space, a detail shot of the bed and any unique features, a view of the bathroom, and if applicable, a shot of the balcony or window view. This methodical approach is vital for OTAs, which often require multiple photos per room type, and it helps potential guests clearly understand what they are booking.
Expand to Common Areas and Amenities
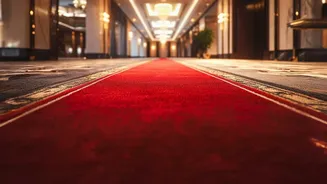
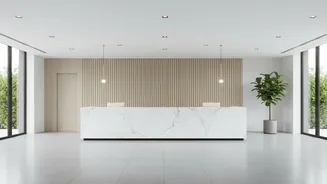
Once your guest rooms are categorised, apply the same logic to the rest of your property. Create distinct categories for public spaces and key revenue-driving amenities. These categories should include the lobby and reception, food and beverage outlets (restaurants, bars), wellness facilities (spa, gym, pool), and any meeting or event spaces. For each of these areas, define the essential shots. For example, the restaurant might require images of the breakfast setup, a lunch service, and an evening ambience shot. The lobby may need both daytime and nighttime photos to capture different moods. This systematic approach ensures every aspect of your hotel's experience is visually represented.
Detail Shots That Tell a Story
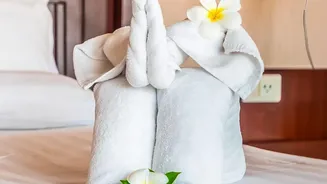
Within each category, plan for detail shots that communicate quality and atmosphere. These are the close-ups that elevate a property from a space to an experience. Think about the unique elements that define your brand. This could be the texture of high-quality linens, a curated welcome amenity, architectural details, or a beautifully plated dish from your restaurant. Adding lifestyle elements, such as a guest enjoying a coffee on the balcony or cocktails at the bar, can create a powerful emotional connection. While empty rooms are informative, these styled, atmospheric shots help potential guests imagine themselves at your property, making the experience feel more tangible and desirable.
Pre-Shoot Preparation for Each Category
With your category-based shot list complete, the final step is meticulous preparation. Each room and public area must be “photo-ready,” which is a higher standard than “guest-ready.” For guest rooms, this means ensuring linens are perfectly ironed and tucked, pillows are fluffed, and all clutter like cables and superfluous amenities are hidden. For public areas like the lobby or pool, shoots should be scheduled during quieter periods to minimise disruption to actual guests. Walk through each space on your list with housekeeping and maintenance teams beforehand to check for details like burnt-out lightbulbs or scuffed furniture. This preparation ensures the photographer can focus on creating stunning images rather than fixing preventable issues on the day.