


What Are Microgreens, Exactly?
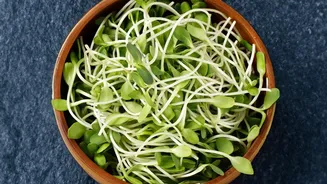
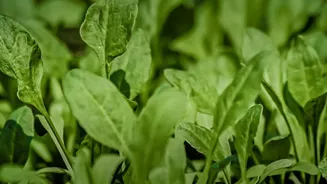
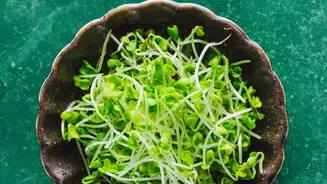
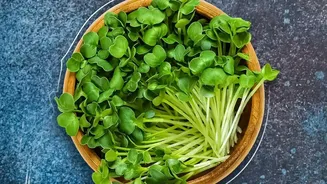
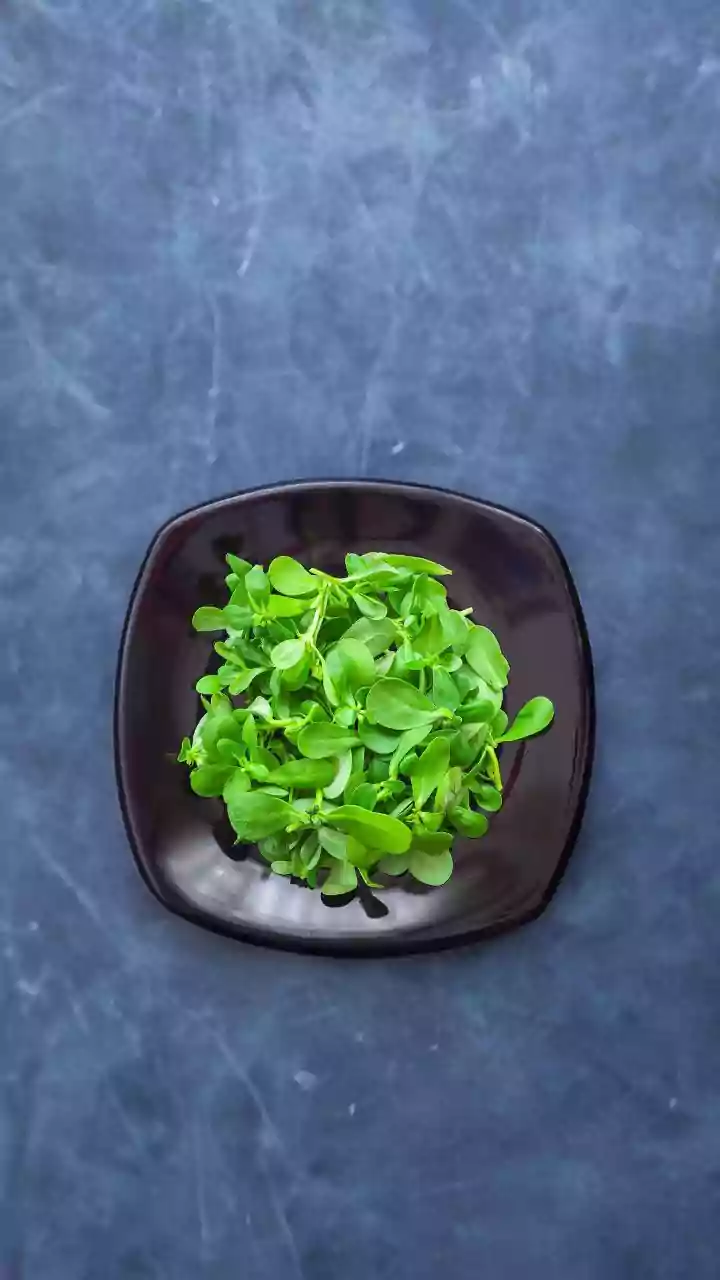
Microgreens are not to be confused with sprouts. They are young vegetable greens harvested just after the first set of 'true leaves' have developed. Typically standing one to three inches tall, they represent the stage of growth between a sprout and a baby
green. This means they are harvested a bit later, usually 7 to 21 days after germination. The result is a tiny, tender green with a surprisingly intense, aromatic flavour and a concentrated nutritional profile. Nearly any vegetable or herb can be grown as a microgreen, but popular and easy choices for beginners include plants from the brassica family, like broccoli, kale, and radish.
The Nutritional Powerhouse on Your Sill
The term 'nutrient-dense' is not an exaggeration. Research has consistently shown that microgreens can pack a significantly higher concentration of vitamins and antioxidants than their fully grown counterparts. A landmark study by the USDA found that microgreens could contain anywhere from four to 40 times more vital nutrients like Vitamin C, Vitamin E, and Vitamin K by weight. For example, red cabbage microgreens were found to have a six-fold higher Vitamin C concentration than mature red cabbage. This means that even a small garnish can deliver a substantial nutritional boost, making them an efficient way to enhance your diet.
Your Simple Windowsill Starter Kit
You don’t need expensive or complicated equipment to start your microgreen garden. In fact, you may already have most of what you need at home. The basic setup is incredibly straightforward. You will require a shallow tray for planting—a recycled plastic takeout container with a few drainage holes poked in the bottom works perfectly. Next, you'll need a growing medium. This can be potting soil, a sterile seed-starting mix, coconut coir, or even just a few layers of wet paper towels. Of course, you will need seeds; look for seeds specifically sold for microgreen growing if possible. Finally, you'll need a spray bottle for gentle watering and a sunny windowsill that gets at least four to six hours of light per day.
A Step-by-Step Guide to Your First Harvest
Growing microgreens is a quick and rewarding process. First, fill your tray with about an inch or two of your chosen growing medium and moisten it thoroughly with your spray bottle. Next, spread your seeds evenly and densely across the surface. For the first few days, cover the tray to block out light; this 'blackout period' encourages germination. Once you see the seeds have sprouted, remove the cover and place the tray on your sunny windowsill. Mist your tiny greens once or twice a day to keep the soil damp but not waterlogged. In just 7 to 14 days, depending on the variety, your microgreens will be ready to harvest. Simply use a pair of scissors to snip the stems just above the soil line.
Tips for a Healthy and Abundant Crop
While the process is beginner-friendly, a few tips can help ensure success. The most common issue for first-time growers is mould, which often results from overwatering or poor air circulation. Ensure your container has drainage and don't let water pool at the bottom. If your greens look long and spindly, they may not be getting enough light; try moving them to a sunnier spot. Starting with forgiving varieties is also a great strategy. Radish, broccoli, and pea shoots are known for being fast-growing and resilient, making them excellent choices for your first few attempts.