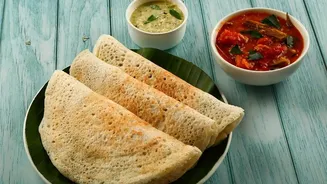



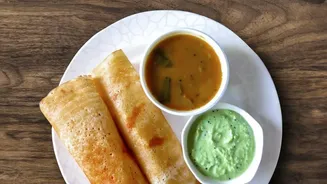
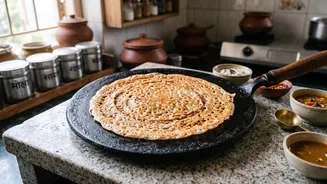
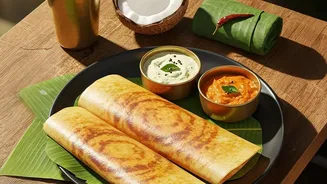
The secret to a perfect, paper-thin, crispy dosa isn't just in the batter—it's in the pan. A well-seasoned cast-iron tawa is the key to unlocking that restaurant-style magic at home, turning a sticky challenge into a delightful success.
Why Your Tawa Needs Seasoning
A brand-new cast-iron
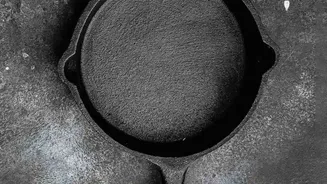
tawa, or one that has been stored for a while, needs a process called seasoning. This isn't about adding flavour, but about creating a natural, non-stick surface. Cast iron is porous, and without seasoning, your dosa batter will stick. The process involves applying a thin layer of oil and heating it until it bakes into the metal's pores. This is called polymerization, and it creates a hard, slick coating that gets better with every use. This natural finish is what gives cast iron its legendary cooking performance, ensuring even heat distribution for that uniform golden-brown crispiness.
How to Season Your Cast-Iron Tawa
Seasoning is a straightforward process that lays the foundation for countless delicious dosas. For a new tawa, follow these steps. First, wash it with mild soap and warm water to remove any factory coating or dust. Dry it completely; placing it on a low flame for a few minutes is a great way to ensure no moisture remains. Next, apply a very thin, even layer of a high-smoke-point oil like sunflower, vegetable, or sesame oil. Use a paper towel or cloth to rub the oil over the entire cooking surface, wiping off any excess until it looks almost dry. Heat the oiled tawa on a medium flame for 10-15 minutes, or until it begins to smoke lightly. Let it cool completely. For a robust and durable non-stick surface, it's best to repeat this oiling and heating process two to three times.
The Art of the Crisp Dosa
With a beautifully seasoned tawa, you're ready to cook. The most critical factor for a crisp dosa is getting the temperature right. Heat the tawa on a medium flame for several minutes. To check if it's ready, sprinkle a few drops of water on it. If they sizzle and evaporate in a couple of seconds, the temperature is perfect. If the water vanishes instantly with a crackle, it's too hot and your batter will set before you can spread it. If it’s too hot, you can reduce the flame and wipe the surface with a damp cloth or a halved onion dipped in oil to cool it slightly.
Technique for Perfect Results
Ensure your dosa batter is at room temperature and has a smooth, pourable consistency—not too thick, not too thin. Once the tawa is at the right temperature, pour a ladle of batter into the centre. Working quickly, use the back of the ladle to spread the batter outwards in a spiral motion to form a thin, even circle. Try to do this in one continuous motion without going back over the same spot. Drizzle a little oil or ghee around the edges of the dosa, which helps it become golden and crisp. Be patient and let it cook undisturbed. You'll know it's ready when the edges begin to turn brown and lift away from the tawa on their own. At this point, it will release easily, allowing you to fold it and serve it hot.
Maintaining Your Tawa's Seasoning
Proper care after cooking is just as important as the initial seasoning. To clean, avoid harsh soaps or steel wool, which can strip away the nonstick layer you've built. The best method is to rinse the warm tawa with hot water and use a soft brush to remove any food residue. If something is stuck, you can use a little coarse salt as a gentle abrasive. Never soak the tawa in water. After washing, always dry it completely on a low flame to prevent rust. Finally, while the tawa is still warm, wipe a few drops of oil over the surface before storing it in a dry place. This simple routine will ensure your cast iron tawa serves you well for years, if not generations.