



Find Your Perfect Vessel
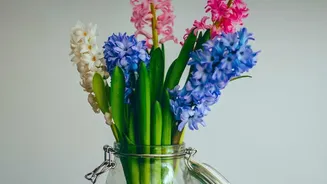
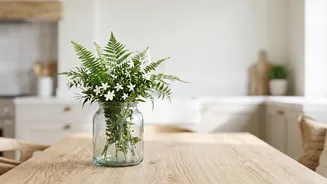
The first step in any upcycling project is choosing your item. Almost any container with an opening can become a vase. Glass jars from pasta sauce, jam, or pickles are classic choices and are easy to work with. Old milk bottles, shapely wine bottles, or even
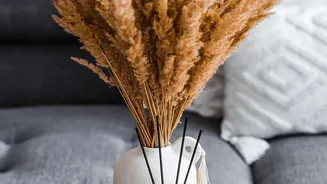
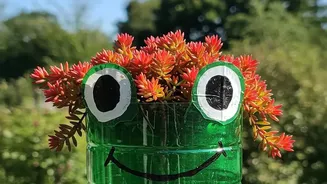
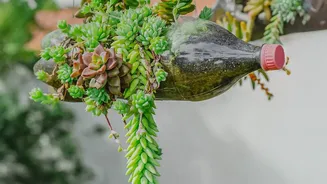
empty perfume and reed diffuser bottles can make for elegant bud vases. Don't overlook other materials, either. Tin cans, once cleaned, offer a rustic, industrial chic look, while old ceramic mugs or jugs with minor chips can find a new purpose holding flowers. Even plastic bottles or old PVC pipes can be transformed with the right techniques. The key is to see the potential in an object's shape and size, not its current state.
Preparation Is Key
A clean surface is essential for a professional and long-lasting finish. Start by removing any labels or adhesive residue. Soaking the container in hot, soapy water usually does the trick. For stubborn glue, a bit of rubbing alcohol can help. Once the labels are off, wash the item thoroughly with soap and water to remove any dirt or grease, and let it dry completely. For a super-smooth surface, especially on glass or glossy ceramics, wiping it down with rubbing alcohol just before painting ensures the paint has nothing to interfere with its adhesion. Some crafters even recommend a light sanding with fine-grit sandpaper to give the paint extra grip.
Choosing Your Colour and Paint
The type of paint you choose will depend on the material of your container and the look you want to achieve. Acrylic craft paint is a versatile and budget-friendly option for glass, ceramic, and metal. For a matte, farmhouse-chic look, chalk paint is an excellent choice. If you're looking for a quick and uniform coating, spray paint works wonders, but make sure to use it in a well-ventilated area. For a particularly durable, high-gloss finish, consider enamel paints made for models, which adhere brilliantly to non-porous surfaces like glass. When in doubt, a primer coat can help any paint stick better and appear more vibrant.
Techniques to Add Texture and Style
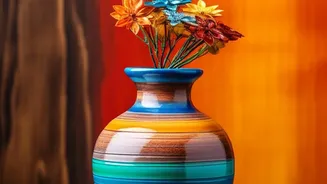
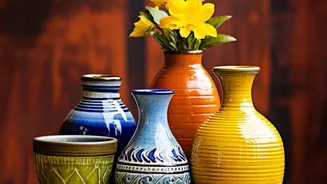
This is where your creativity truly shines. For a popular faux-pottery or terracotta look, try mixing baking soda or Plaster of Paris into your acrylic or latex paint. This creates a thick, textured mixture that you can apply with brush strokes to mimic the feel of clay. For a two-tone or colour-blocked design, use painter's tape to create clean, sharp lines. You can create patterns with stencils, or even draw designs with hot glue before painting over them for a raised, embossed effect. Distressing is another popular technique; after painting, simply sand the raised edges of the container to reveal hints of the surface underneath, giving it a vintage, aged look.
Finishing Touches and Embellishments
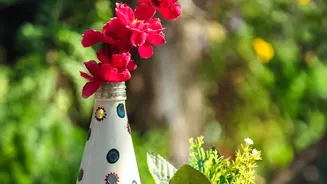
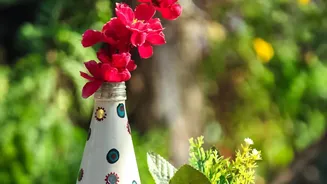
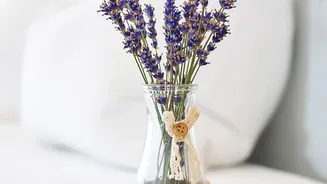
Once your paint is completely dry, you might want to add a protective top coat. A clear acrylic sealer or Mod Podge can protect your design from chipping and moisture, especially if the vase will be handled often. Sealants are available in various finishes, from matte to high gloss, so you can pick one that complements your design. Beyond paint, consider other embellishments. Wrap the neck of your new vase with twine or raffia for a rustic touch. Glue a band of burlap, ribbon, or patterned fabric around the middle. Even small details like stickers or craft jewels can add a final bit of personality.