

Beyond Just a Name and Date
We’ve all been there: staring at a frost-covered container, wondering if it’s palak paneer or sarson ka saag, and whether it was frozen last month or last year. A simple label with the item name and date is a good start, but it’s not enough to create
a truly functional freezer. An effective system saves you time, money, and mental energy. By adding two more key details—portion size and reheating notes—you transform your freezer from a chaotic storage unit into a curated library of future meals. This small upfront effort prevents food waste, as you'll know exactly what you have and how to use it before it languishes. It also streamlines meal times on busy weeknights, removing all the guesswork.
The Power of Portioning
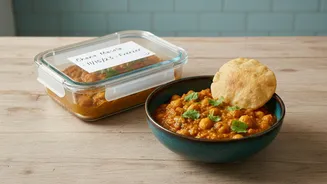
Specifying portion size is perhaps the most overlooked, yet most impactful, detail on a freezer label. Instead of just writing "Chicken Curry," a label that reads "Chicken Curry - Serves 2" or "Rajma - 4 cups" provides immediate, actionable information. This simple addition helps you pull out exactly what you need, whether you're feeding the whole family or preparing a quick meal for one. It prevents you from thawing a giant block of food when you only need a small amount, a common source of food waste. For items like meatballs, kebabs, or parathas, note the count (e.g., "12 Shammi Kebabs"). For liquids like dal or soup, noting the volume in cups or litres is ideal. This practice makes meal planning effortless and ensures your carefully cooked batches are used efficiently.
Flawless Reheating Every Time
The difference between a delicious meal and a disappointing one often comes down to reheating. Every food behaves differently when thawed and heated. Adding reheating notes to your label is a gift to your future self. You won’t have to remember if that specific curry needs a splash of water on the stovetop or if it’s best in the microwave. Be specific and concise. For example: "Thaw in fridge overnight, reheat on stove on low" or "Microwave from frozen, 4 mins, stir, then 2 mins." For baked goods like samosas or bread, you might write, "Bake from frozen at 180°C for 15 mins." These instructions ensure that the texture and flavour of your food are preserved, making your freezer meals as good as the day they were made.
Choosing Your Labelling Toolkit
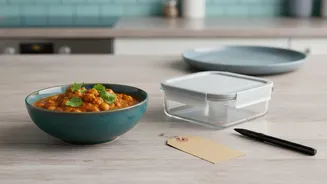
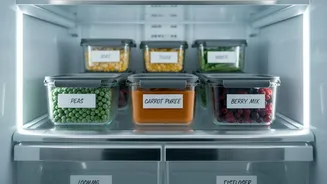
A great system is only as good as the tools you use. Regular pens smudge and standard paper labels fall off in the cold, moist environment of a freezer. Invest in a permanent marker that can write on plastic and glass. Many find that freezer tape (like masking tape) is a reliable and affordable option, as it sticks well in the cold and is easy to write on. For a cleaner look, you can purchase pre-made freezer labels. Some are even dissolvable, washing away easily without leaving a sticky residue. Whatever you choose, the key is consistency. Keep your labels and marker in a designated spot in your kitchen so they are always on hand when you’re packing up leftovers or finishing a batch cooking session.
Building a Lasting Habit
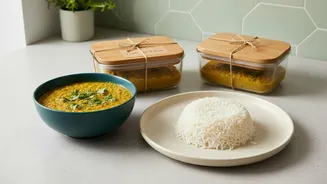
The final step is integrating this detailed labelling into your kitchen routine. The best time to label is at the moment of freezing, not later. If you’ve just batch-cooked a large pot of dal, write out all your labels as you portion it into containers. It may feel like an extra step at first, but it quickly becomes a natural part of the process. Organise your freezer with the “First-In, First-Out” (FIFO) principle in mind by placing newer items at the back and older ones at the front. Some people even create zones for different types of food—curries on one shelf, vegetables on another, and bread in the door. By combining smart labelling with smart organisation, you'll finally take full control of your freezer.