





What Exactly Are Microgreens?
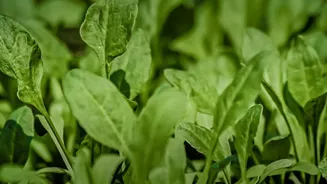
Microgreens are the young seedlings of edible vegetables and herbs. Harvested just after the first set of true leaves appear, they are more developed than sprouts but younger than baby greens. Think of them as the adolescent stage of a plant, where flavour
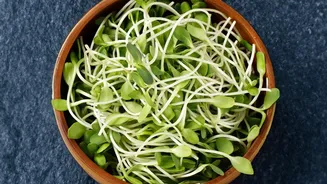
and nutrition are intensely concentrated. Unlike sprouts, which are germinated in water and eaten whole (seed, root, and stem), microgreens are typically grown in soil or on a hydroponic mat. You only harvest the stem and leaves above the soil, which makes them generally safer from foodborne illnesses. Their flavour profiles are surprisingly vivid, often tasting like a more intense version of the mature plant. Radish microgreens have a spicy kick, while broccoli microgreens are mild and tender.
The Sustainable Choice for Urban Kitchens
In a world of complex supply chains, growing microgreens at home is a refreshingly simple act of sustainability. It significantly cuts down on 'food miles'—the distance your food travels from farm to plate. This reduces your carbon footprint and ensures you are eating the freshest produce possible, as nutrients begin to degrade after harvesting. Furthermore, home cultivation eliminates the need for plastic clamshells and packaging that encase store-bought greens. You control the entire process, using no pesticides or herbicides. It's a small-scale, closed-loop system that reduces food waste, as you can harvest the exact amount you need just moments before your meal.
Your Windowsill Starter Kit
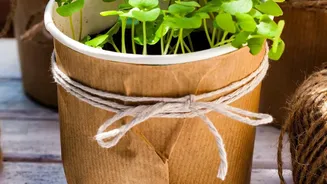
Getting started with microgreens is incredibly simple and doesn't require a hefty investment. Many companies offer beginner-friendly kits that package everything together, but you can also assemble your own setup with ease. Here is the basic equipment you will need: a shallow tray (a repurposed plastic food container with drainage holes works well), a growing medium like potting soil or a coconut coir mat, high-quality microgreen seeds, a spray bottle for misting, and, most importantly, a spot that receives a few hours of sunlight per day, like a kitchen windowsill.
A Simple Step-by-Step Growing Guide
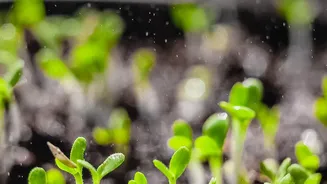
Ready to grow? The process is quick and rewarding. First, prepare your tray by moistening your growing medium. Spread it evenly, about an inch or two deep. Next, sprinkle your chosen seeds evenly across the surface. Gently press them into the soil and give them a light misting of water. For the first few days, many seeds benefit from a 'blackout' period. Cover the tray to block out light, which encourages germination. Keep the soil moist by misting once or twice a day. Once you see the seeds have sprouted, which can take 2-4 days, remove the cover and move the tray to a sunny spot. Continue to water as needed, and in just 7 to 14 days, your microgreens will be ready to harvest. Simply use a clean pair of scissors to snip the greens just above the soil line.
Best Microgreens for Beginners
Not all microgreens are created equal when it comes to ease of growth. For your first few attempts, it’s wise to start with varieties that are known to be forgiving and fast-growing. Radish greens are a popular choice, known for their quick germination and peppery flavour. Broccoli microgreens are another favourite; they are packed with nutrients and have a mild taste that is very versatile. Other easy options include mustard, for a spicy kick, and arugula, which offers a robust, peppery taste. Pea shoots are also a great starting point, providing a sweet, crunchy green that feels substantial.
Common Pitfalls and How to Avoid Them
While growing microgreens is straightforward, a few common issues can arise. The most frequent problem for beginners is mould. To prevent this, ensure good airflow around your tray and avoid overwatering. Proper seed density is also key; sowing seeds too thickly can trap moisture and lead to mould. Under-watering, on the other hand, will cause your delicate seedlings to wilt and die. The key is to keep the soil consistently moist but not waterlogged. Finally, ensure your greens get enough light. If they look pale and leggy, it means they are stretching to find a light source. A south-facing window is ideal, but even a less sunny spot can be supplemented with a simple LED grow light.