


Why Bother with Dried Chickpeas?
While canned chickpeas are a weeknight hero for their convenience, cooking them from scratch offers undeniable benefits. First, the texture is far superior. You can control the cooking process, achieving a firm, creamy bean that’s perfect for salads or a softer,
melt-in-your-mouth feel ideal for hummus. Canned versions can sometimes be mushy. Cooking from dried also gives you complete control over the sodium content, as canned beans are often packed in a salty brine. Nutritionally, dried chickpeas that are soaked and cooked at home often retain more nutrients like folate, which can leach into the canning liquid. Finally, it’s significantly more economical to buy chickpeas in their dried form, making it a budget-friendly habit.
Your Simple Chickpea Prep Guide
Cooking dried chickpeas is a straightforward process that mostly involves hands-off time. The key first step is soaking. An overnight soak is the traditional method: simply place your dried chickpeas in a large bowl, cover with several inches of water, and let them sit for 8-12 hours. This process rehydrates the beans and helps remove some of the compounds that can cause digestive issues. If you're short on time, you can use the 'quick soak' method. Place the chickpeas in a pot, cover with water, bring to a boil, then turn off the heat and let them sit for one hour. After soaking, drain the water and rinse the chickpeas. To cook, place them in a pot with fresh water, bring to a boil, then reduce the heat and simmer for 1-2 hours, or until they reach your desired tenderness. You can add aromatics like a bay leaf or garlic during cooking for extra flavour.
Storing for a Week of Easy Meals
Once cooked, your chickpeas are ready to become a staple in your weekly meal plan. To store them in the refrigerator, let them cool completely first. Place them in an airtight container and cover them with their cooking liquid or fresh water. This keeps them moist and prevents the skins from drying out. Stored this way, they will last for up to a week. For longer-term storage, chickpeas freeze beautifully. Drain the cooled chickpeas and spread them in a single layer on a baking sheet to 'flash freeze' them for about an hour. This prevents them from clumping together. Once frozen, transfer them to a freezer-safe bag or container, where they can be stored for several months. You can then grab whatever portion you need without having to thaw a giant block.
Beyond Hummus: Savoury Breakfast Ideas
With a container of cooked chickpeas in the fridge, your breakfast options expand dramatically. For a quick, protein-rich alternative to scrambled eggs, try a chickpea scramble. Briefly pulse the chickpeas in a food processor (or mash with a fork), then sauté with diced onion, garlic, and spices like turmeric and cumin for a warm, savoury mash. Another simple idea is to toss whole chickpeas into a skillet with sun-dried tomatoes and smoked paprika, make a few wells in the mixture, and crack an egg into each one for a delicious one-pan meal. You can also blend chickpeas into savoury breakfast muffins made with chickpea flour, or simply mash them with avocado and lemon juice for a hearty toast topper.
The Secret to Perfectly Roasted Chickpeas
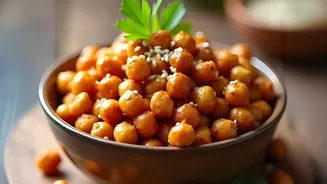
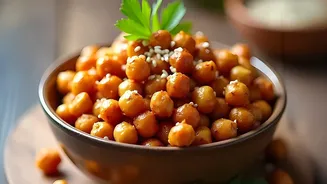
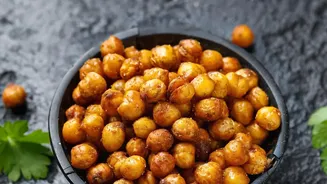
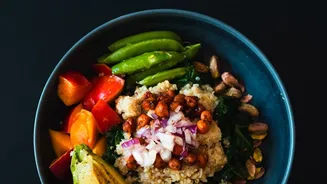
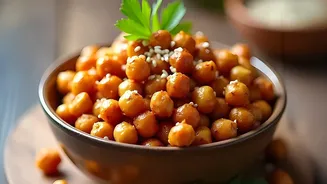
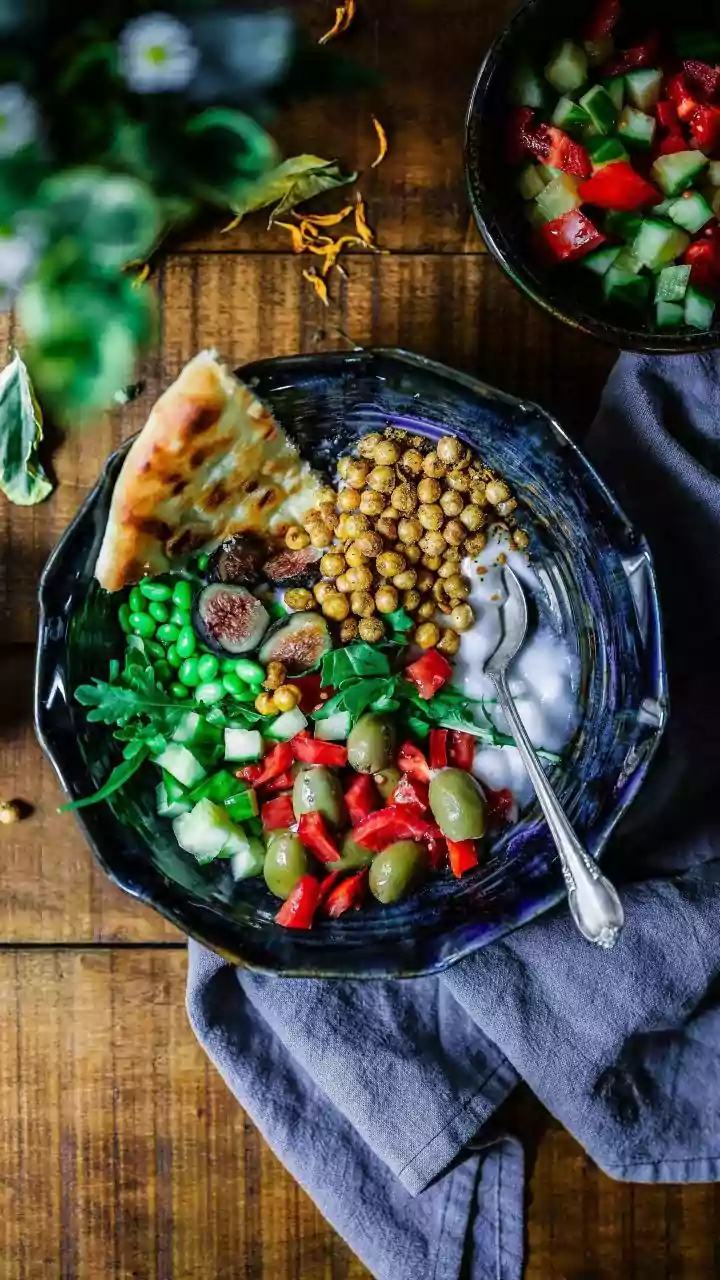
Having pre-cooked chickpeas on hand is also the first step to making an incredibly crispy and flavourful snack or meal component. The most crucial step for crispy roasted chickpeas is to ensure they are completely dry. After rinsing, pat them thoroughly with a kitchen towel. Toss the dry chickpeas with a bit of olive oil and your favourite seasonings—think cumin and chilli powder, smoked paprika and garlic powder, or even cinnamon and a touch of maple syrup. Spread them in a single layer on a baking sheet and roast in a hot oven (around 200°C or 400°F) for 20-30 minutes, until they are golden brown and crunchy. These make an excellent topping for salads, grain bowls, and soups, adding a satisfying crunch and a boost of protein and fibre.