


An Ancient Answer to a Modern Problem
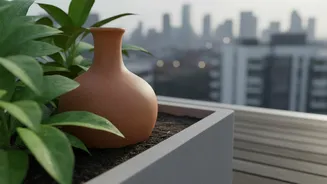
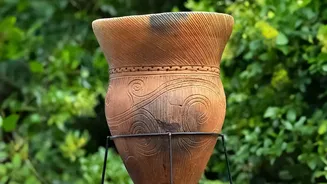
Balcony gardening in India presents a unique set of challenges. Limited space, intense sun, and container soil that dries out in a flash can turn a green thumb into a fist of frustration. Enter the olla (pronounced ‘oy-ya’), an unglazed terracotta pot
that offers a brilliant, low-tech solution to watering woes. This method isn't a new fad; it's an ancient irrigation technique used for thousands of years in arid climates across the globe, from China to Egypt. The principle is simple: a porous clay vessel is buried in the soil and filled with water, which then seeps out slowly and directly to the plant's roots, providing a consistent and reliable source of hydration exactly where it's needed.
The Simple Science of Slow Hydration
How does it work? The magic lies in the porous nature of unglazed terracotta clay. When you bury a water-filled olla in your planter, the dry soil around it begins to pull moisture through the clay walls via a natural process called capillary action. The water doesn't just leak out; it is drawn out by the soil's thirst. As the soil becomes moist, the seepage slows and eventually stops. When the plant's roots absorb the moisture and the soil begins to dry again, the process restarts. This creates a self-regulating system that prevents both overwatering and underwatering, two of the most common killers of container plants. Because the water is delivered underground, evaporation from the soil surface is almost nil, which can reduce water usage by up to 70% compared to surface watering.
Why Ollas Excel on Balconies
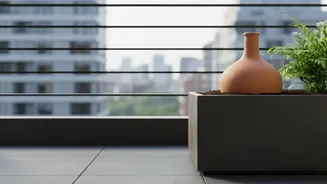
Container gardens on balconies and rooftops are particularly vulnerable. They are exposed to more wind and reflected heat from walls and floors, causing them to dry out much faster than garden beds. An olla system is a game-changer in this environment. It delivers water deep into the pot, encouraging strong, healthy root growth instead of the shallow roots that surface watering often promotes. This consistent sub-surface hydration makes plants more resilient to heat stress. Furthermore, it keeps foliage dry, reducing the risk of fungal diseases. For anyone who travels or has a busy schedule, an olla can be a lifesaver for your plants, typically needing a refill only once every few days, depending on the weather and plant density.
Getting Started with Olla Irrigation
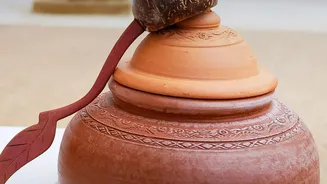
Using an olla is straightforward. When starting a new planter, first place your empty olla inside and bury it, leaving just the neck sticking out of the soil. Then, arrange your plants around it. The effective watering radius of an olla depends on its size, but a single small one is often sufficient for a standard 12 to 16-inch pot. Once planted, simply fill the olla with water and place a lid or a small stone over the opening to prevent evaporation and keep mosquitoes out. For the first week or two, you may want to surface-water as well to help seeds germinate and encourage young roots to grow towards the olla. After that, the olla takes over, and you just need to keep it topped up.
Choosing or Making Your Own
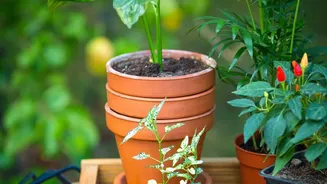
You can purchase specially made ollas, but they can be expensive or hard to find. Luckily, creating a DIY version is simple and affordable. The most common method involves taking two identical unglazed terracotta pots. Use a waterproof silicone sealant to plug the drainage hole of one pot. Then, apply a generous bead of the same sealant around the rim of that pot and place the second pot upside down on top of it, creating a sealed, bulbous vessel. After letting it dry completely, your homemade olla is ready to be buried. Ensure the pots are truly unglazed, as any sealant on the pot walls will prevent water from seeping through. This simple project allows you to bring an ancient, water-saving technology to your urban oasis.