
Understanding The Perfect Pav
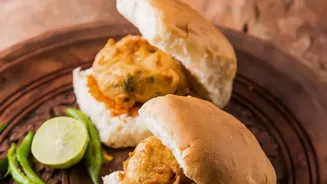
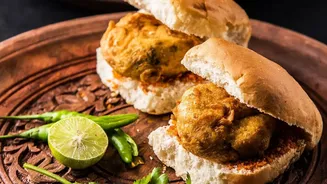
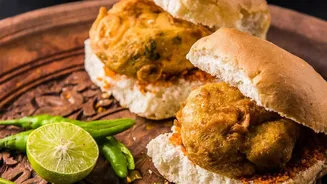
Before we dive into recipes, it's crucial to understand what makes a pav perfect for Vada Pav. It’s not just any bread roll. The ideal pav is incredibly soft and pillowy, with a texture that can squash down easily and spring back. It has a subtle sweetness
that complements the spicy vada and tangy chutneys. Most importantly, it must be absorbent enough to soak up the flavours without disintegrating. This balance of softness and structural integrity is what separates a good pav from a great one. The crust should be light and golden, not hard or chewy, ensuring every bite is a harmonious blend of textures.
The Gold Standard: Ladi Pav
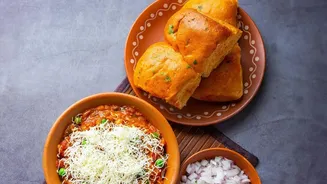
The traditional bread used for Vada Pav is Ladi Pav. The name comes from 'ladi' meaning a row or cluster, as these buns are baked together in a single pan, touching each other. This method is key to their signature softness. As they bake, only the tops form a golden crust, while the sides that were touching remain pale, moist, and incredibly soft. This pull-apart nature makes them perfect for street food. Originally introduced to India by the Portuguese, the word 'pav' is derived from their word for bread, 'pão'.
Baking Your Own: A Beginner's Method
Baking your own pav is deeply rewarding. A simple, reliable recipe starts with activating yeast in warm milk with a bit of sugar. This mixture is then added to all-purpose flour (maida) and salt. The dough should be kneaded until it is soft and pliable, which can take about 10-15 minutes by hand. Incorporating softened butter towards the end of kneading adds richness and helps create a tender crumb. The first rise is crucial; let the dough double in size in a warm place for about one to two hours. After it has risen, punch the air out, divide it into equal portions, and shape them into smooth balls.
Key Techniques For Success
For bakery-style results, a few techniques make all the difference. Arrange the dough balls in a greased baking tray so they are just touching. This encourages them to rise upwards and creates the classic soft-sided ladi pav. Allow for a second rise of about 30-45 minutes until they have visibly puffed up again. Just before baking, brush the tops with milk for a beautiful golden colour. Bake in a preheated oven at around 180-200°C for 15-20 minutes. As soon as they come out of the oven, brush the tops generously with melted butter. This step is vital as it keeps the crust soft and adds a delicious sheen and flavour.
Smart Store-Bought Solutions
If you don't have time to bake, you can still find good options. Look for bread labelled as 'pav' or 'dinner rolls' at Indian bakeries or grocery stores. The key is to feel the package; the bread should feel very soft and light. Avoid hard or crusty rolls. Even standard soft white dinner rolls can work in a pinch. To revive store-bought pav and enhance its softness, you can warm it gently. A few seconds in the microwave or a quick toast on a buttered tawa can make a significant difference, making them feel almost freshly baked.
The Foundation For Variations
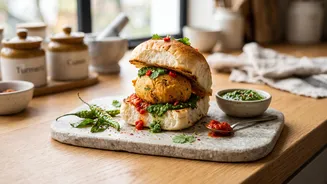
Getting the pav right is especially important when you start exploring Vada Pav variations. Whether you're adding cheese, schezwan sauce, or other creative fillings, you need a pav that can handle the extra moisture and weight. A well-made pav, whether homemade or store-bought, serves as the perfect, reliable canvas. Its soft but sturdy structure ensures that even the most loaded Vada Pav holds together, delivering a perfect bite every single time. It’s the consistent, dependable base upon which all delicious variations are built.