




Become a Roti Detective
Instead of blindly following tips, it's time to become a detective. The secret to consistently great rotis isn't a magical trick; it's about consistency itself. The problem with your rotis almost always lies in the one step of the process you perform
with the least consistency. Whether it’s the dough making, the resting, the rolling, or the cooking, a small variation can have a huge impact. By identifying your weakest, most variable step, you can target the root cause of your roti troubles. This guide will walk you through each stage, helping you spot where your process might be breaking down.
The Foundation: Kneading Your Dough
The roti-making process begins with the dough, and this is often the first place inconsistencies creep in. Is your dough the same texture every time? A common mistake is improper hydration. If the dough is too dry and stiff, the rotis will be hard. If it's too sticky, they will be difficult to roll. Aim for a dough that is soft and pliable, like an earlobe; it should leave a gentle impression when you press it. Using warm water can help create a softer dough. Knead for a solid 8-10 minutes to develop the gluten, which gives the roti its structure and softness. If you often rush this step, or if your water-to-flour ratio is just an estimate, this is likely your inconsistent link.
The Crucial Pause: Resting the Dough
After kneading comes a step many impatient cooks skip: resting. Letting the dough rest for at least 20-30 minutes is non-negotiable for soft rotis. This resting period allows the flour to fully absorb the water and lets the gluten relax. A relaxed dough is easier to roll evenly and helps the roti puff up beautifully during cooking. If you sometimes rest your dough for five minutes and other times for thirty, you've found a major inconsistency. Cover the dough with a damp cloth or place it in an airtight container to prevent it from drying out while it rests.
The Art of the Roll: Creating Even Discs
Uneven rolling is perhaps the most frequent cause of rotis that don't puff up. If a roti has thick and thin spots, it will cook unevenly. The thin parts can burn while the thick parts remain undercooked, preventing the steam from building up inside to create that signature puff. Pay close attention to your rolling technique. Apply even pressure and try to rotate the dough a quarter turn after every few rolls to maintain a circular shape. Another inconsistency here is the amount of dry flour (atta) used for dusting. Using too much can make the rotis dry and hard. Use just enough to prevent sticking, and dust off any excess before cooking.
The Final Act: Heat and Timing on the Tawa
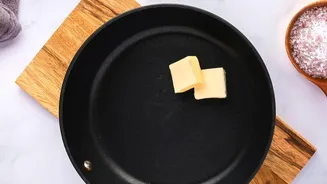
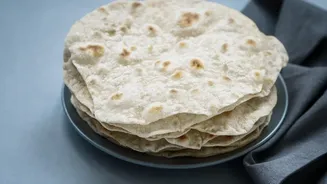
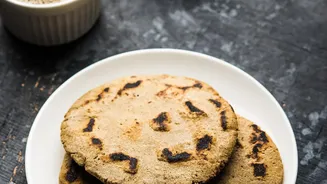
The final stage is cooking, and temperature is everything. Your tawa (skillet) must be properly pre-heated over medium-high heat. If the tawa is too cool, the roti will take too long to cook and dry out; if it's scorching hot, it will burn on the outside before cooking through. Consistency in your cooking times is also key. A common and effective method is the three-flip technique. First, cook for about 15-20 seconds until you see small bubbles. Flip and cook the other side for about 30-40 seconds until light brown spots appear. For the final puff, you can flip it back onto the tawa and gently press with a cloth or tongs to encourage it to swell, or place it directly on a gas flame for a few seconds until it inflates fully.