


The Magic of No-Bake
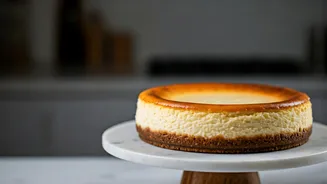
In a country where ovens aren't a standard in every kitchen and the weather often makes baking a sweaty affair, the no-bake dessert is a true hero. This cheesecake recipe harnesses the cooling power of your refrigerator to achieve a perfect, firm, and silky-smooth
texture. It's an elegant, show-stopping dessert that requires minimal effort and no specialised equipment. It relies on the simple chemistry of fat, sugar, and chilling to create something truly magical. The result is a dense, mousse-like filling that melts in your mouth, all sitting atop a buttery biscuit crust. It’s the perfect treat for birthdays, special occasions, or just a Tuesday when you feel you deserve something spectacular.
Gather Your Ingredients
Precision is helpful, but this recipe is forgiving. Use good quality chocolate for the best flavour. You'll need an 8-inch springform pan for easy removal. **For the Crust:** * 200g digestive biscuits (or any simple tea biscuit like Marie) * 100g unsalted butter, melted **For the Chocolate Filling:** * 200g dark chocolate (at least 50% cacao), chopped * 400g cream cheese, at room temperature (this is crucial!) * 100g icing sugar (or powdered sugar) * 250ml heavy whipping cream (30-35% fat), chilled * 1 tsp vanilla extract **For the Topping (Optional):** * Chocolate shavings, cocoa powder, or fresh berries
Step 1: Build a Solid Foundation
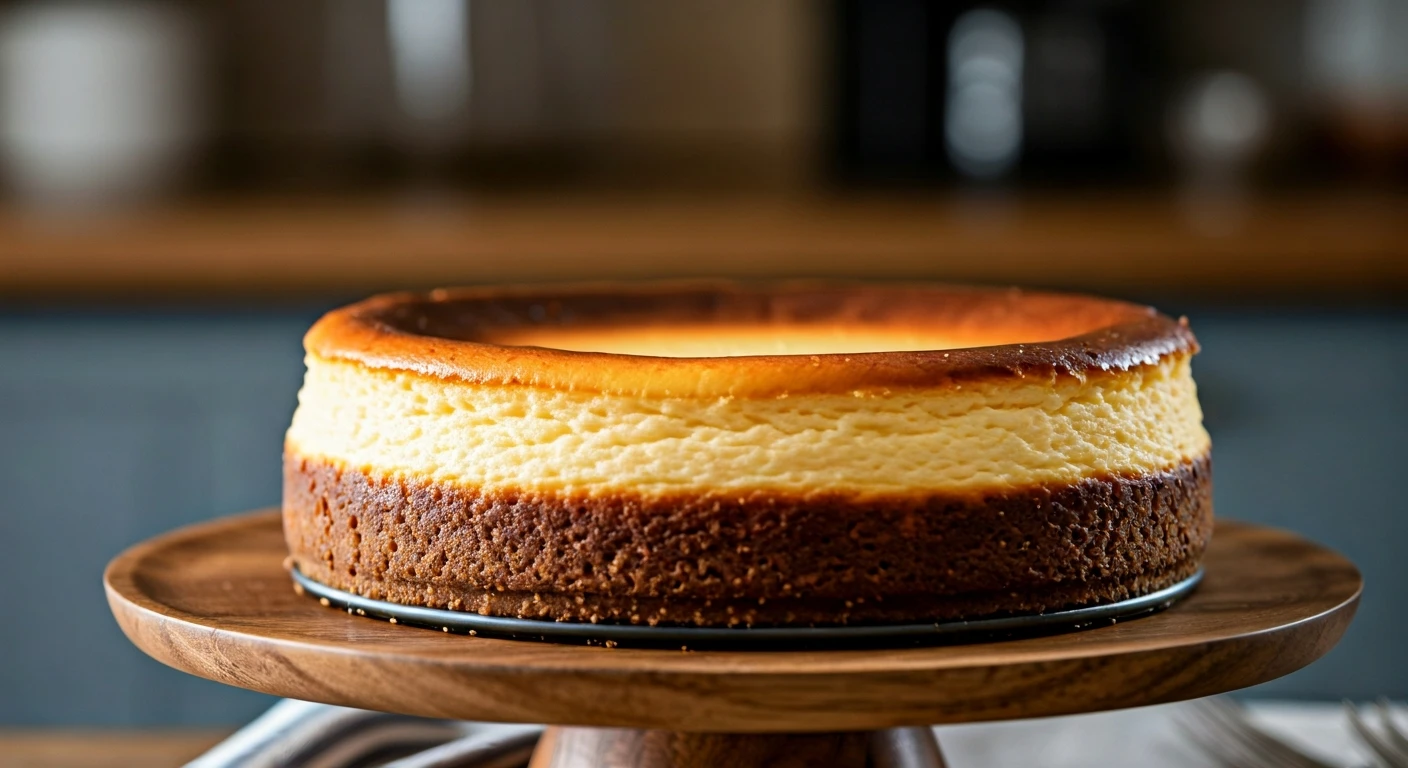
The crust is the crunchy, buttery base that holds all the creamy goodness. To make it, crush your biscuits into a fine crumb. You can do this by placing them in a sealed plastic bag and rolling over them with a rolling pin, or by pulsing them in a food processor or mixie. Transfer the crumbs to a bowl and pour in the melted butter. Mix with a fork until the crumbs are evenly moistened and look like wet sand. Tip this mixture into your 8-inch springform pan. Using the back of a spoon or the bottom of a glass, press the crumbs down firmly and evenly across the base of the pan. Place the pan in the fridge to chill while you prepare the filling.
Step 2: Create the Silky Filling
First, melt your chocolate. You can do this in a microwave in 30-second bursts, stirring in between, or in a heatproof bowl set over a pan of simmering water (a double boiler). Once melted and smooth, set it aside to cool slightly. It should be liquid but not hot. In a large bowl, beat the room temperature cream cheese with an electric mixer (or a sturdy whisk and some arm power) until it’s smooth and free of lumps. Sift in the icing sugar and add the vanilla extract, then beat again until combined. Pour in the slightly cooled melted chocolate and mix until the batter is a uniform, luscious brown colour. In a separate, chilled bowl, whip the cold heavy cream until it forms stiff peaks. This means when you lift the beaters, the cream stands up in a peak that holds its shape. Gently fold about one-third of the whipped cream into the chocolate mixture to lighten it. Then, add the rest of the whipped cream and fold gently until just combined. Be careful not to overmix, as you want to keep the airiness from the cream.
Step 3: Assemble and Chill
Take your chilled biscuit base out of the fridge. Spoon the chocolate filling over the crust, spreading it out into an even layer with a spatula. Smooth the top for a professional finish. Now comes the most important part: patience. Cover the pan loosely with plastic wrap and place it in the refrigerator to set for at least 6 hours, but preferably overnight. This chilling time is non-negotiable; it's what transforms the liquid filling into a firm, sliceable cheesecake. Do not rush this step or try to speed it up in the freezer, as that will affect the final texture.
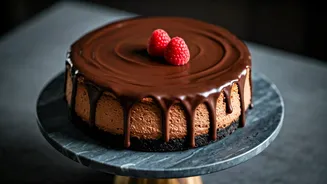
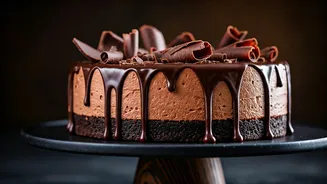
Step 4: The Grand Finale
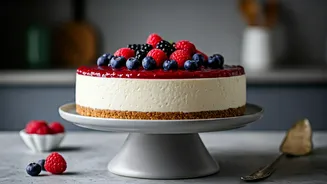
Once the cheesecake is completely firm, it’s ready for its debut. Run a thin knife around the edge of the cheesecake before carefully releasing the springform pan's clasp. To serve, you can keep it simple or add a final flourish. Dusting the top with a layer of unsweetened cocoa powder gives it a beautiful, velvety look. You can also grate some dark chocolate over the top for elegant shavings or arrange fresh raspberries or strawberries for a pop of colour and tartness that cuts through the richness. Slice with a sharp knife, wiping it clean between cuts for perfect slices.