


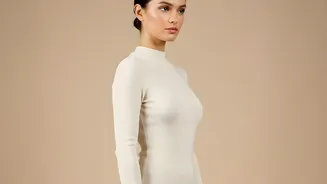

The Polished Low Bun: Your Go-To Style
One of the most reliable and chic hairstyles for a day of errands is the polished low bun. This style is incredibly versatile, keeping your hair neatly off your face while looking effortlessly elegant. It works best on second or third-day hair, as the natural
oils provide a bit of grip, but it can easily be achieved on clean hair too. A low bun sits comfortably at the nape of your neck, which means it won't pull on your scalp, making it ideal for long or heavy hair. Whether you're heading to the grocery store, picking up the kids, or meeting a friend for a quick coffee, this hairstyle ensures you look composed and stylish with minimal effort.
What You Will Need
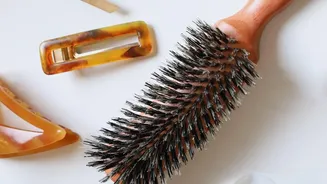
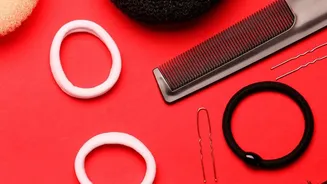
The beauty of this hairstyle lies in its simplicity, and you only need a few basic tools to create it. Before you begin, gather the following items: A soft bristle brush for smoothing A comb for creating a clean part A hair tie (one that matches your hair colour is ideal) A few bobby pins or U-shaped pins for securing the bun * Optional: Hairspray, gel, or a smoothing serum for a sleek finish
Step 1: Prepare and Part Your Hair
Start by brushing your hair thoroughly to remove any tangles. Decide where you want your part—a center part creates a modern, symmetrical look, while a side part can offer a softer feel. Use the tail of a comb to create a straight, clean part. To manage flyaways from the start, you can spritz a light conditioning mist or apply a small amount of anti-frizz serum. A soft bristle brush is excellent for smoothing the hair down on either side of the part. Taking a moment for this preparation step is key to achieving a truly polished result.
Step 2: Create a Smooth Low Ponytail
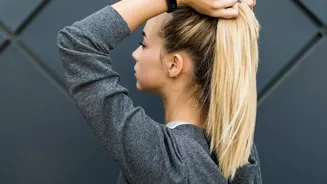
Once your hair is parted and smooth, it's time to gather it into a low ponytail at the nape of your neck. For an extra-sleek look, tilt your chin up slightly as you gather your hair. This technique builds a tiny bit of slack at the nape, preventing the style from feeling too tight once you lower your head. Use your brush to smooth any bumps as you pull your hair back. Secure the ponytail tightly with a hair tie. If you want to elevate the look, you can hide the elastic by taking a small strand of hair from the ponytail and wrapping it around the base, securing the end underneath with a bobby pin.
Step 3: Twist and Secure the Bun
Now for the final step: creating the bun itself. Take the length of your ponytail and twist it firmly from the base to the ends. Once the ponytail is fully twisted, begin wrapping it around the base where your hair tie is. As you wrap, the hair will naturally form a neat coil. Tuck the ends under the bun and secure everything in place. You can use another hair tie or, for a more professional hold, use several bobby pins or U-shaped pins pushed into the base of the bun to keep it from loosening. Don't worry if it takes a couple of tries to get the shape just right; practice makes perfect.
Finishing Touches for a Flawless Look
To complete your polished low bun, you can add a few finishing touches. If you notice any flyaways, you can smooth them down with a small amount of hair gel or pomade. A light mist of hairspray will provide hold and ensure your style lasts throughout your day of errands. For a glossy, high-shine finish, you can also apply a dry oil spray. This style is also easy to accessorize; a silk scarf tied around the bun or a decorative clip can add a touch of personality. The result is a secure, neat, and sophisticated hairstyle that took only minutes to create.