





The Power of a Tidy Pantry
A well-organized pantry is more than just aesthetically pleasing; it's a functional command centre for your kitchen. When you can see every ingredient at a glance, meal planning becomes simpler, and last-minute grocery runs for a missing item become a rarity.
This clarity saves you time and reduces the mental load associated with daily cooking. An organized space helps you keep an accurate inventory, which in turn reduces food waste and saves money by preventing you from buying duplicates of items you already own.
Step 1: The Great Clear-Out
The first step in any successful pantry reset is to take everything out. While it may seem daunting to empty every shelf, this is a crucial part of the process. It forces you to confront what you actually have. As you remove items, wipe down the shelves and surfaces for a fresh start. This is the perfect opportunity to check expiration dates. Be ruthless: toss anything that has expired and set aside non-perishable items that you know you won't use to donate.
Step 2: Sort, Group, and Conquer
With your items out in the open, begin sorting them into logical categories. Group all baking supplies together, all pastas and grains in another pile, canned goods in a third, and so on. This step helps you visualize your inventory and understand your household's eating habits. You might discover you have five half-empty boxes of the same pasta or a surprising number of canned beans. Consolidating where possible will immediately free up space.
Step 3: Create Functional Zones
Once everything is categorized, it's time to put it all back—but with a strategy. Designate specific zones within your pantry for each category. Place the items you use most frequently at eye level for easy access. Heavier items like bags of flour or bulk oils should go on lower, sturdier shelves. Less-used specialty ingredients can be stored on the top shelf. Consider creating a dedicated snack zone, especially if you have children, to empower them to find their own snacks while keeping them separate from your cooking ingredients.
Step 4: Strategic Storage Solutions
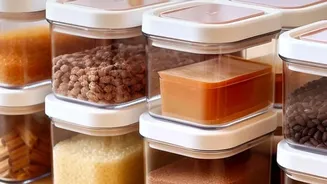
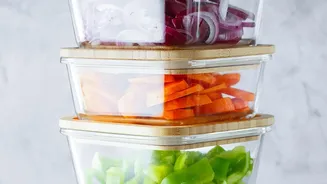
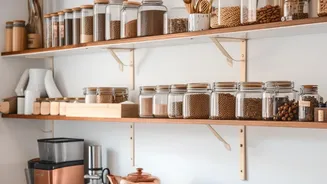
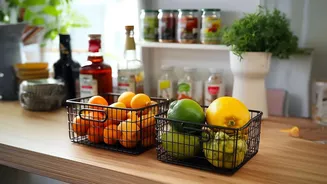
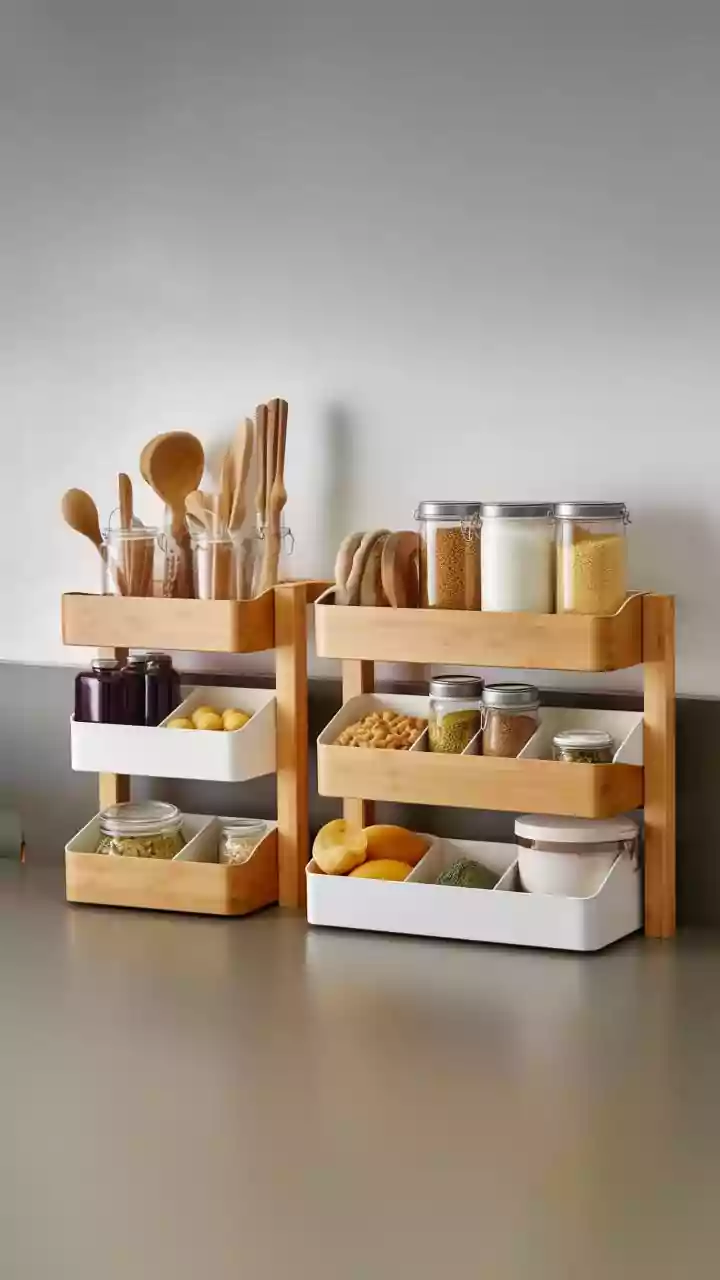
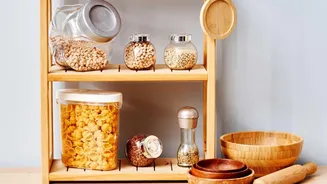
The right containers can be a game-changer. Transferring dry goods like rice, pasta, flour, and cereals into clear, airtight containers not only keeps them fresher for longer but also allows you to see quantities at a glance. Square or rectangular containers are more space-efficient than round ones. Use baskets or bins to corral smaller, loose items like sauce packets or snack bars. For oils, vinegars, and jarred condiments, a turntable or lazy Susan can make items in the back of a deep shelf easily accessible. Don't forget to label everything clearly.
Step 5: Restock and Maintain
A pantry reset is not a one-time event but the start of a new system. As you put your newly organized items back, implement the "First In, First Out" (FIFO) method used by grocery stores. When you buy a new item, place it behind the older one to ensure you use up products before they expire. Keep a running shopping list in or near your pantry. When you use the last of an item, add it to the list immediately. This simple habit prevents the dreaded realization that you're out of a key ingredient mid-recipe.