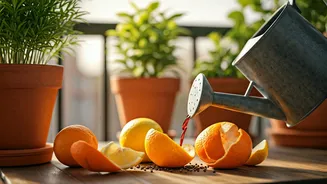


Why Fruit Peels Are Plant Superfoods
Before you dismiss that banana or santara peel as simple kitchen waste, consider what it contains. Fruit peels are packed with essential nutrients that plants crave. Think of it as a natural version of the N-P-K fertilisers you see in stores. For example,
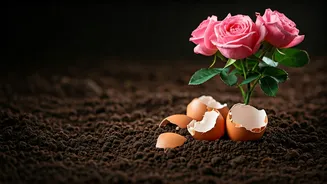
banana peels are famous for being rich in potassium (K), which is crucial for flower and fruit development. It helps plants move water and nutrients internally, strengthening them from within. Citrus peels from oranges and lemons contain nitrogen (N), which promotes healthy, green leafy growth. They also decompose to release phosphorus (P), vital for strong root systems. Beyond these big three, peels contain a host of micronutrients like calcium, magnesium, and sulphur, all of which contribute to the overall health and resilience of your balcony plants.
Your Peel 'Shopping List'
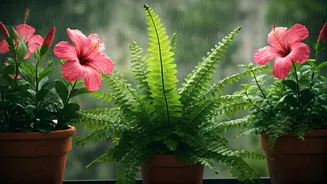
Not all peels are created equal, but many common household fruits offer fantastic benefits. Here’s a quick guide to the best ones for your DIY liquid fertiliser: * **Banana Peels:** The undisputed champion for potassium. Excellent for flowering plants like hibiscus, bougainvillaea, and even your tomato plants. * **Citrus Peels (Orange, Lemon, Mosambi):** A great source of nitrogen and phosphorus. The citrus oils also act as a mild, natural pest deterrent, helping to keep away aphids and other common garden nuisances. * **Pomegranate Peels:** Rich in iron and other minerals, these peels can give your plants a robust health boost. They also contain antioxidants that can improve soil health. * **Apple Peels:** These contain small amounts of potassium and other minerals that contribute to your soil's nutritional profile. A word of caution: Always wash your fruits thoroughly before peeling to remove any pesticide residue. It’s also best to avoid very oily peels, like those from avocados, in a liquid extract as they don’t break down as easily in water and can create a film.
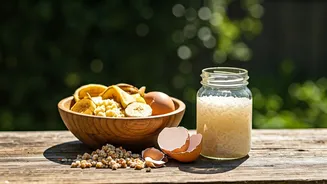
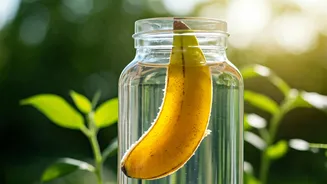
The Simple 'Peel Tea' Recipe
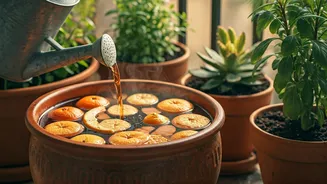
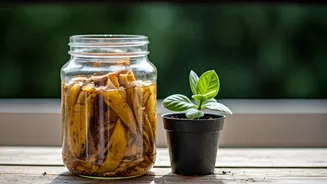
Making this 'liquid gold' is incredibly simple and requires no special equipment. Think of it as making a simple tea for your plants. Here’s a step-by-step guide: 1. **Collect and Chop:** Gather your fresh fruit peels. Chop them into smaller, one-inch pieces. The smaller the pieces, the more surface area is exposed to the water, allowing more nutrients to be released. 2. **Soak:** Place the chopped peels into a large glass jar or a bucket. For every one cup of peels, add about one litre of water. Ensure the peels are fully submerged. 3. **Steep:** Cover the jar loosely (to allow gases to escape) and let it sit in a cool, dark corner for 24 to 48 hours. You don't want to leave it for much longer, as it can start to ferment and produce a foul odour. 4. **Strain:** After a day or two, you'll notice the water has darkened. This is your nutrient-rich extract. Strain the liquid through a sieve or a piece of cloth to remove all the solid peel pieces. The leftover pulp can be added to a compost bin or dug directly into a larger garden bed.
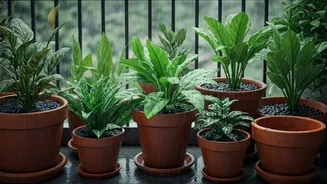
How to Feed Your Balcony Garden
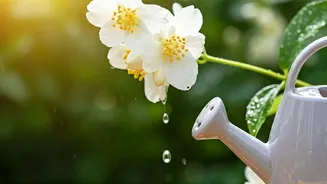
Now that you have your homemade fertiliser, it’s important to use it correctly. This extract is concentrated and pouring it directly onto your plants can cause 'fertiliser burn,' damaging the roots. The key is dilution. As a general rule, dilute the fruit peel extract with plain water at a 1:5 ratio. That means for every one cup of your 'peel tea,' you should add five cups of water. Mix it well. Use this diluted solution to water your plants around the base, soaking the soil thoroughly. Avoid splashing it on the leaves too much, especially in direct sunlight. How often should you feed them? For most balcony plants, using this liquid fertiliser once every two to three weeks during the growing season (spring and monsoon) is perfect. In winter, you can reduce the frequency to once a month.
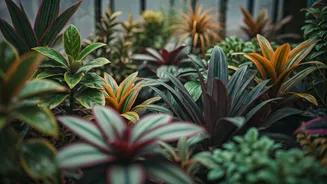
Pro-Tips for a Happy, Smell-Free Garden
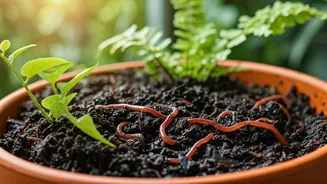
Using kitchen waste in the garden can sometimes attract unwanted guests or smells. Here’s how to avoid common pitfalls: * **Strain It Well:** The biggest cause of pests like fruit flies is the leftover solid matter. Straining the liquid thoroughly ensures you are only adding the nutrients, not a food source for bugs. * **Use It Fresh:** Prepare the extract in small batches and use it within a day or two of straining. The longer it sits, the more likely it is to develop an unpleasant smell. * **Bury the Pulp:** If you don't have a compost bin, you can dig a small hole in your pots, bury the strained peel pulp, and cover it with a few inches of soil. This allows it to decompose directly into the soil without attracting pests. * **Observe Your Plants:** Pay attention to how your plants respond. If you notice any yellowing leaves, you might be over-fertilising. Simply reduce the frequency of application.