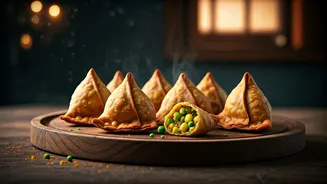


The Rise of the Guilt-Free Samosa
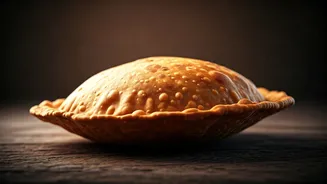
Let's be clear: the deep-fried, street-style samosa is an icon, and its place in our hearts (and on our plates) is secure. However, as more people seek healthier ways to enjoy their favourite comfort foods, baking has emerged as a fantastic alternative.
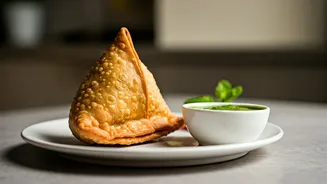
The trend isn't about replacing the original, but rather about creating an option for everyday indulgence. A baked samosa dramatically reduces the oil content, transforming a special-occasion treat into a snack you can enjoy more frequently without the guilt. It's the same soulful experience, just reimagined for a more health-conscious lifestyle, making it a perfect chai-time companion or party appetiser.
The Secret to a Truly Crispy Crust
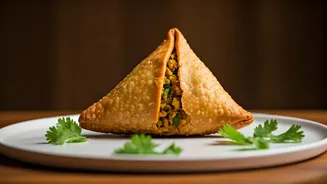
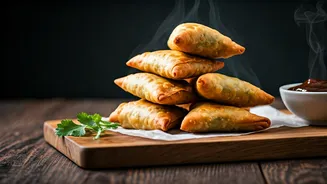
The biggest challenge—and the greatest triumph—of a baked samosa is achieving that signature crunch. Frying is forgiving; baking requires technique. The secret lies in the dough and the baking process. Many recipes call for a dough enriched with a good amount of hot oil or ghee (known as 'moyan'), which is worked into the flour until it resembles breadcrumbs. This step is crucial for creating a flaky, shortcrust-like texture. Some home cooks also add a bit of semolina (sooji) or rice flour to the dough for extra crispiness. Before baking, a light brush of oil or melted butter on the outside is non-negotiable. This helps the pastry turn a beautiful golden-brown and achieve a satisfying, non-leathery crunch.
Perfecting the Dough-to-Filling Ratio
When you fry a samosa, the hot oil quickly cooks the pastry, allowing you to have a relatively thick crust. In an oven, a thick crust can lead to an undercooked, doughy interior. For baked samosas, the mantra is to roll the dough thin—but not so thin that it tears when you add the filling. A thickness of about 2-3 millimetres is ideal. This ensures the heat penetrates evenly, cooking the pastry all the way through while the filling gets perfectly hot. It also means you shouldn't overstuff your samosas. Too much filling can create steam, making the pastry soggy from the inside. A balanced ratio is key to a perfectly baked, structurally sound samosa.
Filling Innovations Beyond Classic Aloo
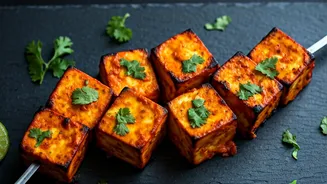
While the classic potato-and-pea filling will always be king, baking opens up a world of creative possibilities. Since you don't have to worry about the filling being too moist and exploding in hot oil, you can experiment more freely. Popular savoury variations include paneer bhurji, spicy chicken keema, sweet corn and cheese, or a mix of finely chopped vegetables like carrots, beans, and bell peppers. On the sweeter side, some adventurous cooks are even making dessert samosas filled with khoya and nuts, or even chocolate and hazelnut spread. The sturdy, baked shell provides a perfect vessel for almost any filling you can dream up.
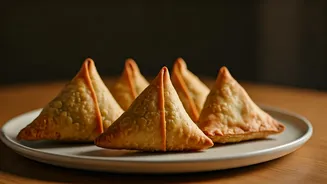
A Simple Guide to Baking Success
Ready to try your hand at it? Follow these core steps. First, prepare your dough and let it rest for at least 30 minutes. While it rests, cook your filling and allow it to cool completely—a hot filling will make the dough soggy. Roll out your dough, cut it, and form your cones. Fill them, seal the edges tightly with a little water, and arrange them on a baking tray lined with parchment paper. Brush each samosa generously with oil or melted ghee. Finally, bake in a preheated oven at around 180-200°C (350-400°F) for 20-30 minutes, or until they are golden brown and crisp. For best results, flip them halfway through the baking time to ensure even browning on both sides.