

Signs Your Plant Needs a New Pot
Before you get your hands dirty, it’s important to know if your plant actually needs repotting. Doing it unnecessarily can cause stress. Most houseplants benefit from repotting every one to two years, but look for these tell-tale signs. Check the drainage
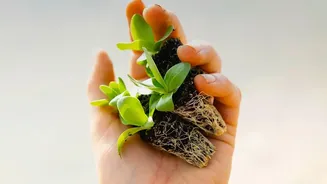
holes at the bottom of the pot; if roots are visibly poking through, it's a clear signal. Another sign is that the soil dries out very quickly after watering, meaning there are more roots than soil. You might also notice that your plant's growth has slowed down or stopped completely during its growing season, or the plant has become top-heavy and unstable. To be certain, gently slide the plant out of its pot. If you see a dense web of roots circling the inside, it's officially root-bound and time for a new home.
Gathering Your Supplies
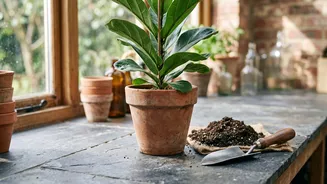
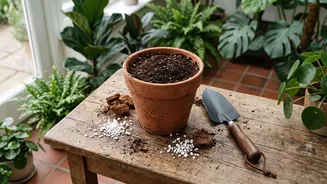
Being prepared makes the process smooth and less stressful for both you and your plant. You don't need much, but having everything ready is key. First, you'll need a new pot. Choose one that is just one to two inches larger in diameter than the current one. A pot that is too large holds excess soil and moisture, which can lead to root rot. Ensure the new pot has drainage holes. Next is the potting mix. Don't use soil from your garden, as it's too dense and can suffocate roots in a container. Instead, buy a quality indoor potting mix. For even better results, you can create your own mix by combining potting soil with perlite or coco coir to improve drainage and aeration. Finally, have a pair of clean pruning shears or sharp scissors on hand in case you need to trim any roots.
Choosing the Right Soil Mix
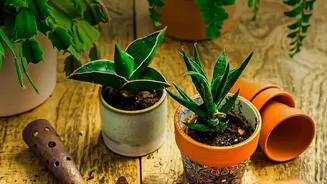
Not all potting soils are created equal, and choosing the right one is crucial. A generic, one-size-fits-all approach is a common mistake. The ideal soil should provide a balance of moisture retention, drainage, and nutrition. For most common tropical and foliage houseplants, a mix of potting soil, perlite, and orchid bark provides a chunky, well-draining environment they love. Succulents and cacti, on the other hand, prefer a grittier mix with more sand or pumice to ensure water drains quickly. If you're unsure, look for a high-quality commercial potting mix formulated specifically for your type of plant (e.g., 'cactus mix' or 'African violet mix'). Using the wrong soil can cancel out all the benefits of repotting, so take a moment to match the mix to your plant's needs.
Step-by-Step: The Repotting Process
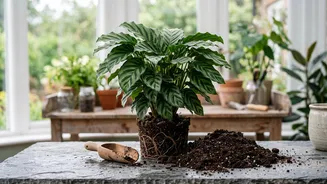
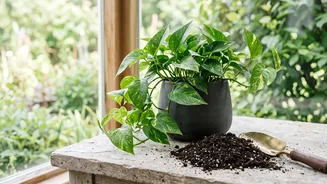
With your supplies ready, it's time to repot. It's best to do this over newspaper or outside to manage the mess. Start by watering your plant a day before repotting to help reduce stress. To remove the plant, turn the pot on its side and gently tap the bottom while holding the base of the stems. It should slide out. Once it's out, examine the root ball. With your fingers, gently loosen any tightly coiled or circling roots. Don't be afraid to break a few; it's better than leaving them constricted. If you see any brown, soft, or mushy roots, this is root rot. Trim these away with your clean shears. Now, place a layer of fresh potting mix in the bottom of the new pot. Position your plant in the center, ensuring the top of the root ball sits about an inch below the rim of the pot. Fill in the space around the root ball with more fresh soil, gently firming it down to eliminate large air pockets, but avoid compacting it too tightly.
Aftercare for a Happy Plant
The care you provide immediately after repotting is crucial for recovery. Once the plant is settled in its new pot, give it a thorough watering until you see water run out of the drainage holes. This helps settle the soil around the roots. After this initial watering, allow the soil to dry out more than usual before watering again, as the plant's roots need time to adjust and won't absorb as much water. For the first few days, keep the plant out of direct, bright sunlight to reduce stress while it acclimates. It's also important to hold off on fertilizing for at least a month. Fresh potting mix contains enough nutrients for the initial period, and fertilizing too soon can burn the sensitive, freshly disturbed roots. You'll know your plant has successfully adjusted when you see signs of new growth.