

Know When and Where to Look
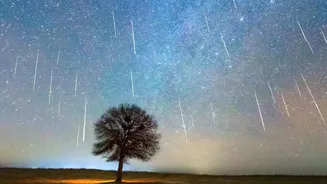
The Orionids are active from early October to early November, but the best time to see them in 2026 is during their peak on the night of October 21-22. Plan to be out in the hours after midnight and before dawn. The meteors will appear to radiate from the constellation
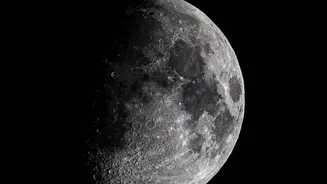
Orion, but they can streak across any part of the sky, so a wide view is best. Unfortunately, a bright waxing gibbous moon will be present for much of the night, washing out fainter meteors. The prime viewing and photography window will be the couple of hours between moonset (around 3 a.m.) and the start of dawn. Patience during this dark window will be your greatest asset.
Gather the Right Equipment
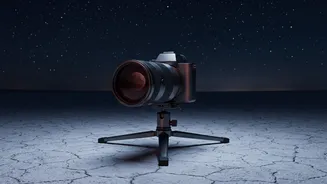
You don't need a space telescope, but a few key items are non-negotiable for capturing meteors. First, a camera with manual mode is essential. A DSLR or mirrorless camera is ideal as they perform well in low light. Second, you need a sturdy tripod to keep your camera perfectly still during long exposures. Third, a wide-angle lens (14mm to 24mm range) with a 'fast' aperture (like f/2.8 or lower) is crucial. A wide lens captures a large patch of sky, increasing your chances of catching a meteor, while a fast aperture lets in as much light as possible. Finally, bring extra batteries and memory cards; astrophotography is a waiting game, and you'll be taking hundreds of photos.
Escape the City Lights
The single most important factor for any kind of night sky photography is getting away from light pollution. City and suburban skies are so bright they wash out all but the brightest stars and meteors. For the best results, you need to find a truly dark sky location. This might mean driving an hour or two out of town to a national park, a remote rural area, or a designated dark sky spot. Use online light pollution maps to find the darkest locations near you. Once you're there, give your eyes at least 20-30 minutes to fully adjust to the darkness. This will help you not only see more meteors with your naked eye but also to better frame your shots.
Dial In Your Camera Settings
This is where the technical skill comes in, but it's easier than it sounds. Set your camera to Manual (M) mode. Start with these settings and adjust as needed. Set your aperture to its widest opening (the lowest f-number, like f/1.8 or f/2.8) to gather maximum light. Set your shutter speed to between 10 and 20 seconds. Any longer and the Earth's rotation will cause stars to appear as trails. Set your ISO between 1600 and 3200 as a starting point. If your test shots are too dark, increase the ISO, but be aware this can add digital 'noise' or graininess to the image. Lastly, shoot in RAW format, not JPEG. This captures much more data, giving you greater flexibility when editing your photos later.
Mastering Focus in the Dark
Autofocus will not work in the pitch-black night sky. You must focus manually. The easiest way is to find a bright star or the distant lights of a town on the horizon. Use your camera's live view screen and zoom in digitally as far as you can on that light source. Carefully turn your lens's focus ring until the point of light is as small and sharp as possible. Once you've nailed the focus, switch your lens from auto to manual focus so the camera doesn't try to change it. Some photographers even place a small piece of tape on the focus ring to lock it in place for the night.
Shoot Continuously and Be Patient
Meteors are unpredictable. You can't know when or where one will appear. The best strategy is to take as many pictures as possible. Use a remote shutter release or your camera's built-in intervalometer to take photos continuously. Set it to take a sequence of 15-second exposures, one after another, with only a one-second gap in between. This way, your camera is shooting almost constantly, maximising the odds that a brilliant Orionid will streak through your frame while the shutter is open. Now, all you have to do is sit back, enjoy the show, and let your camera do the work.