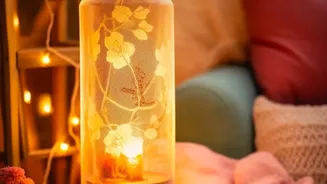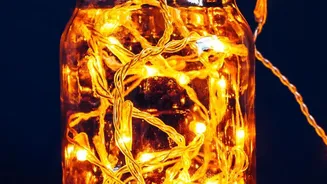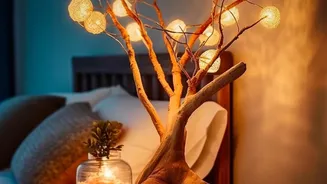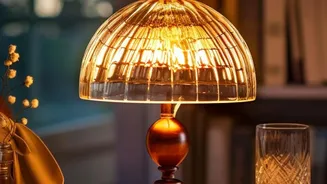


Gather Your Materials
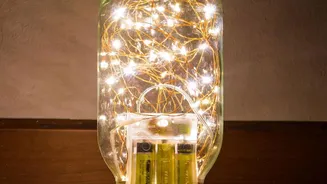
Before you begin, you'll need to collect a few items. The beauty of this project is its flexibility, so you can choose the method that best suits your skill level and desired look. For the simplest approach, you'll need a clean glass bottle and a set
of battery-operated LED fairy lights, especially the type with the battery pack attached to a cork-shaped stopper. For a more traditional lamp, you will need a bottle lamp kit, which can be found at most hardware or craft stores. These kits often include a socket, cord, and various rubber adapters to fit different bottle openings. You will also want a lampshade and an LED bulb; LED bulbs are essential as they produce very little heat, making them the safest choice for enclosed glass lamps. For the more advanced method that involves drilling, you will require a variable-speed drill, a diamond-tipped drill bit designed for glass, and safety gear like gloves and goggles.
Prepare Your Bottle
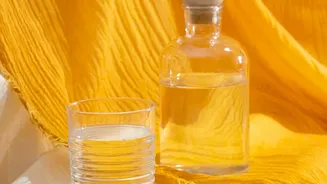
A clean bottle is the foundation of a beautiful lamp. Start by peeling off as much of the label as you can by hand. For stubborn labels and residue, soak the bottle in a sink or basin filled with hot, soapy water. Letting it soak for at least 10-15 minutes will help loosen the adhesive. If glue still remains after scrubbing, a product like Goo Gone or even a little vinegar can help remove the sticky residue. To clean the inside, especially for older or dirtier bottles, a mixture of salt or rice with a bit of water can act as a gentle abrasive. Just pour it in, cover the opening, and shake vigorously to scrub the interior clean before rinsing thoroughly. Ensure the bottle is completely dry inside and out before you start working with any electrical components.
The Easy No-Drill Method
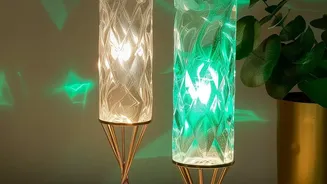
For an instant and incredibly simple lamp, the no-drill method is perfect. The easiest way is to use battery-powered LED fairy or string lights. Simply feed the light string into the clean, dry bottle, arranging it as you go. Many modern string lights come with a battery pack disguised as a cork, which you can simply pop into the bottle's opening for a seamless look. Alternatively, you can use a bottle lamp adapter kit. These kits come with rubber stoppers in various sizes that wedge into the bottle's neck, holding a pre-wired socket in place. Just choose the adapter that fits your bottle snugly, insert it, add a lampshade and an LED bulb, and your lamp is ready to plug in. This method requires no special tools and is an excellent, risk-free introduction to lamp making.
The Advanced Wired Method
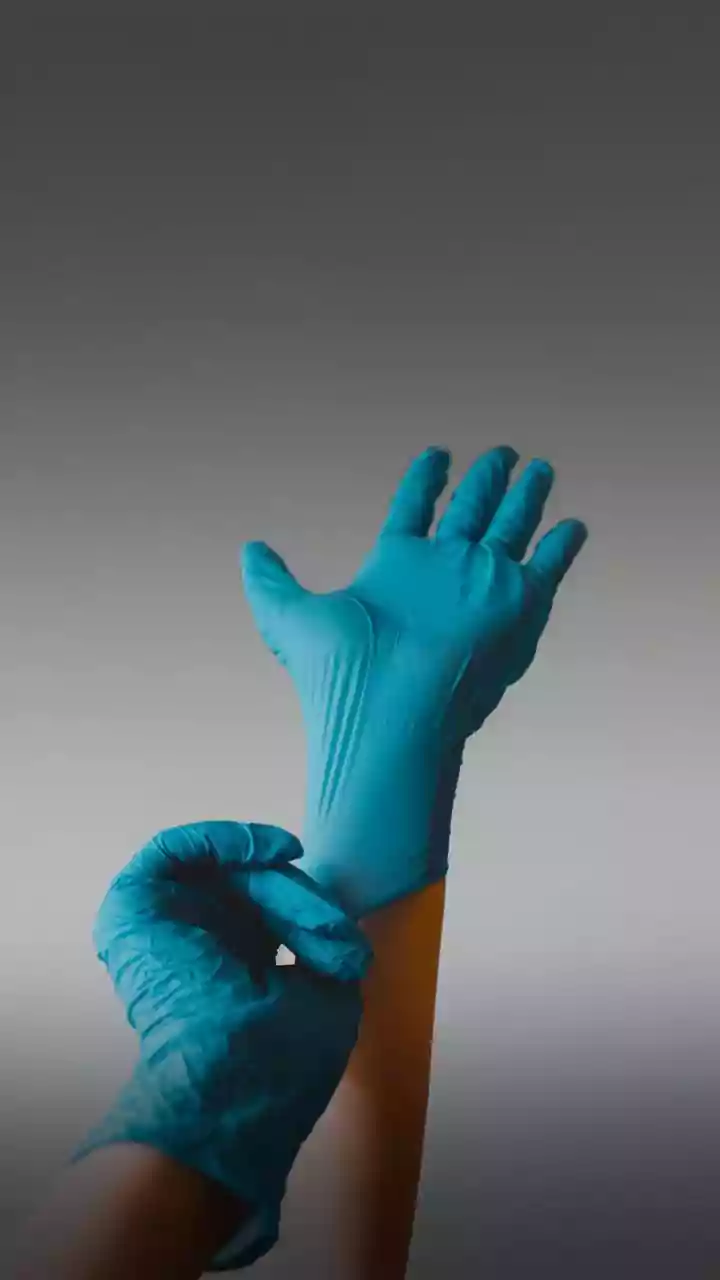
For a more professional finish where the cord exits discreetly from the base, you will need to drill a hole in the bottle. This step requires patience and safety precautions. First, put on your safety goggles and gloves. It is crucial to use a drill bit specifically designed for glass, such as a diamond hole saw, as regular bits will shatter the bottle. To prevent the glass from cracking due to heat, you must keep it cool and lubricated with water during drilling. You can do this by slowly trickling water over the area or even drilling with the bottle partially submerged in a basin of water. Mark your spot near the base and, using a variable-speed drill on its lowest setting, apply very light pressure. Let the bit do the work, and in a few minutes, you will have a clean hole. Once drilled, carefully feed the lamp cord from your kit through the hole and up through the neck of the bottle before wiring it to the socket as per the kit's instructions.
Finishing Touches and Design Ideas
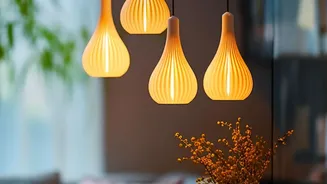
Now for the fun part: personalization. The type of bottle you choose—whether it’s a shapely gin bottle, a colorful wine bottle, or a vintage jug—will define the lamp's character. You can take it a step further by decorating the bottle itself. Consider using decoupage with decorative paper, painting it with glass paints, or even adding texture with twine wrapped around the neck. When selecting a lampshade, a good rule of thumb is to choose one that is wider than the widest part of your bottle base. This ensures the lamp looks balanced. Whether you prefer a minimalist look with a clear bottle and a simple linen shade or something more eclectic, the final design is all yours.