


The Hunt for the Perfect Chest
The first step is finding your canvas. Many of us have an old 'sandook' or 'pitara' passed down through generations. If not, city flea markets, antique shops, or online marketplaces are treasure troves. Look for chests made of solid wood like teak, sheesham,
or mango wood, as they are durable and take well to refinishing. Check the fundamentals: Is the structure sound? Are the hinges intact? Don't worry too much about surface-level scratches, peeling paint, or a bit of rust on the hardware—these are cosmetic issues you can fix. In fact, a bit of wear and tear adds to the vintage charm. The key is to find a piece with good bones and a shape you love.
Prepping for a Flawless Finish
Proper preparation is the secret to a professional-looking result. Start by giving the chest a thorough cleaning with a mild soap and water solution to remove decades of grime. Once completely dry, it's time to sand. If the existing paint is old, it’s wise to use a mask and work in a ventilated area. For a smooth, modern finish, sand the entire surface until the old varnish or paint is gone. If you prefer a rustic or distressed look, a light sanding to rough up the surface is enough. This 'scuffing' helps the new paint adhere better. Finally, wipe away all the dust with a damp cloth. If the wood is raw or has stains, applying a coat of primer will prevent bleed-through and give you an even base for your paint.
Choosing Your Vintage Persona
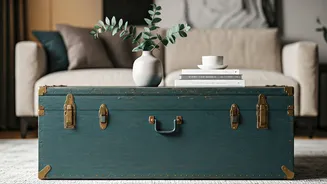
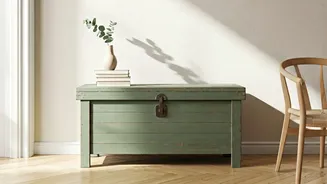
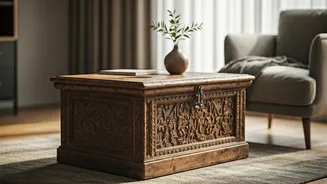
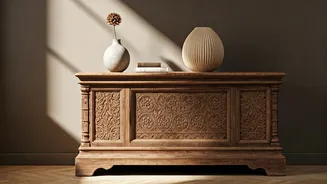
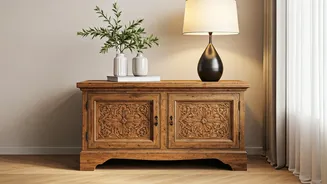
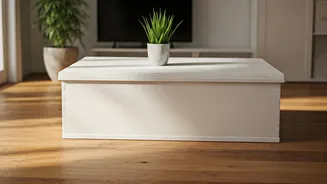
Before you pick up a paintbrush, decide on the 'vibe' you want. This will guide your colour and technique choices. **Rustic Farmhouse:** Think earthy tones, matte finishes, and a slightly weathered look. Chalk paint is excellent for this style as it requires minimal prep and gives a velvety, matte finish that's easy to distress. **Shabby Chic:** This style embraces soft pastels like mint green, baby blue, or dusty rose. The key is a distressed finish where layers of paint are visible. You can achieve this by applying a dark base coat, followed by a lighter top coat, and then sanding the edges and corners to reveal the colour underneath. **Mid-Century Modern:** If your chest has clean lines and simple hardware, this is a great option. Go for bold, solid colours like teal, mustard yellow, or burnt orange with a satin or semi-gloss finish. You could even paint geometric patterns for an authentic touch. **Classic Colonial:** A dark wood stain or a deep colour like navy blue or forest green, finished with a high-gloss varnish, can give your chest a sophisticated, heirloom quality. Polishing the original brass hardware will complete this elegant look.
The Art of Painting and Sealing
With your style decided, it's time for the fun part. For most DIYers, chalk paint or a latex-based (water-based) paint is the easiest to work with. Apply thin, even coats, allowing each coat to dry completely before applying the next. Two coats are usually sufficient. If you’re going for a distressed look, once the paint is dry, use medium-grit sandpaper to gently rub away paint from the corners, edges, and any raised details where natural wear would occur. No matter which style you choose, sealing your work is non-negotiable. This protects the finish from scuffs, spills, and everyday use. For chalk paint, a clear or dark finishing wax will provide a durable, soft finish. For latex or oil-based paints, a clear water-based polyurethane or varnish works best. Apply one or two thin coats with a clean brush.
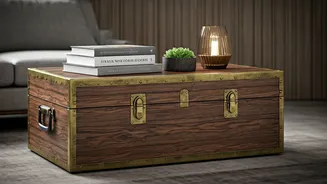
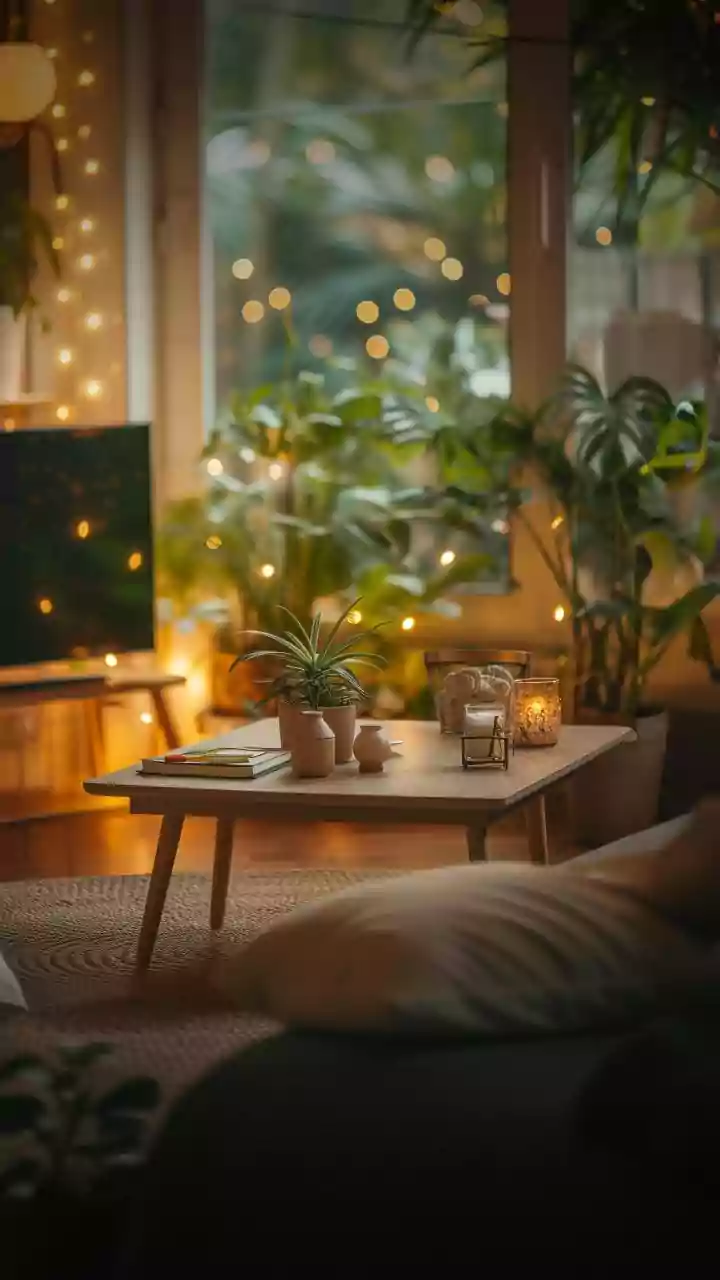
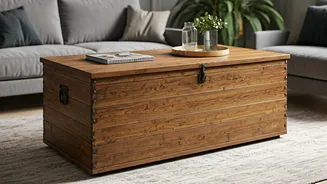
Styling Your New Centrepiece
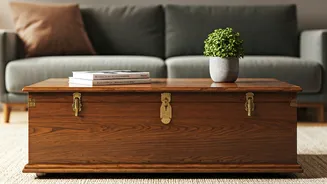
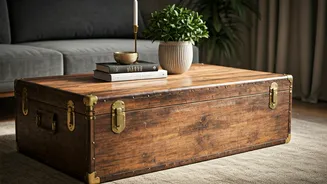
Your upcycled chest is now ready for its debut. Its function is as versatile as its style. Use it as a unique coffee table in the centre of your seating area—just ensure its height is comfortable. It can also serve as a chic console table behind a sofa or against a wall, providing a surface for lamps, books, and decor. Placed at the foot of a bed or under a window, it becomes a beautiful blanket box with bonus seating. The storage inside is perfect for stashing away extra cushions, board games, or electronics, helping you keep your living room tidy and stylish.