

Begin by Collecting Your Story
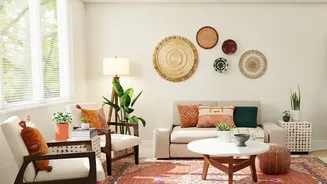
The most compelling gallery walls feel personal and curated over time, even if you assemble them more quickly. Start by gathering pieces that speak to you. This can include original vintage art, reproduction prints, family photos, and even three-dimensional
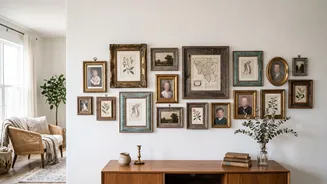
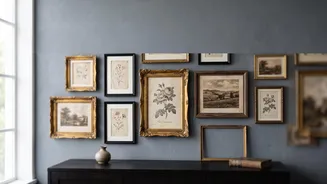
objects like small mirrors or textiles. Hunt for treasures at antique malls, consignment shops, and estate sales, where you can often find pieces with authentic character, from the carved wood of a frame to the subtle wear on a canvas. Don’t worry about everything matching perfectly at this stage. The goal is to collect items that you love. The magic happens when you mix different eras and styles—a moody oil painting next to a modern print, or a formal portrait near a simple sketch.
Find a Unifying Thread
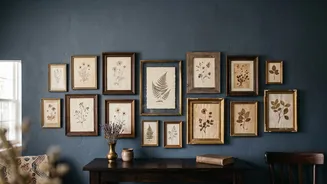
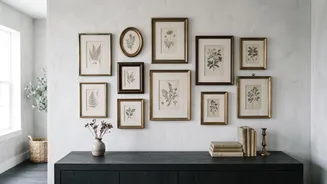
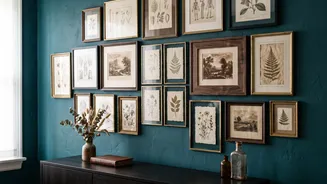
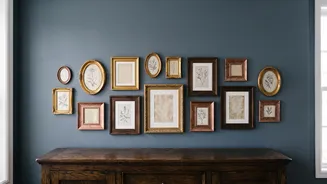
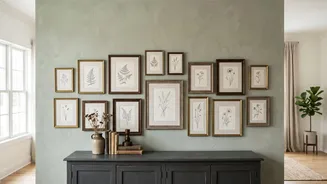
To prevent your eclectic collection from looking chaotic, identify a unifying element that ties everything together. This doesn't mean matching, but rather creating a sense of cohesion. You could stick to a loose color palette, such as warm earth tones, sepia, or black and cream. Another approach is to repeat a frame finish, like antique gold, dark walnut, or black, throughout the display. A common subject matter—such as landscapes, portraits, or botanicals—can also create a strong visual connection. This shared thread helps the eye move smoothly across the wall, making the entire arrangement feel intentional and harmonious rather than random.
Map It Out on the Floor
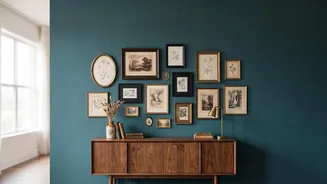
This is the golden rule of gallery walls: plan your layout on the floor before committing to holes in the wall. Clear a space and arrange your frames to get a bird's-eye view of the composition. Start by placing your anchor piece—usually the largest or most visually significant item—slightly off-center. Then, build outwards with your other pieces, mixing horizontal and vertical orientations. Pay attention to spacing; a consistent gap of two to three inches between frames usually works well to let each piece breathe while maintaining a unified look. This process allows you to experiment with balance and flow, swapping pieces until the arrangement feels right.
Use Paper Templates for Precision
Once you have a floor layout you love, take it a step further for a foolproof hanging plan. Trace each of your frames onto paper (kraft paper or old newspapers work well) and cut them out. Using painter's tape, affix these paper templates to the wall, recreating the arrangement you designed on the floor. This allows you to visualize the scale of the gallery wall in the actual space and make final adjustments with ease. You can see how the layout interacts with furniture, doorways, and ceiling height. Live with the paper templates for a day or two to ensure you're happy with the placement before moving on to the final hang.
Hang With Confidence
With your paper plan in place, the final step is hanging. A common guideline is to hang artwork so its center is at eye level, roughly 57 inches from the floor; for a group, treat the entire collection as one unit with its center at this height. Use a level to ensure each piece is perfectly straight, as a crooked frame can throw off the entire display. Work piece by piece, replacing each paper template with its corresponding frame. Start with your anchor piece and work your way out, just as you did in the planning phase. This methodical approach ensures your carefully planned vision becomes a beautiful, lasting reality on your wall.