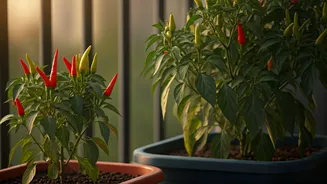


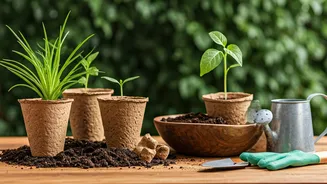


Choose the Right Tub
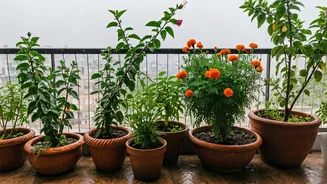
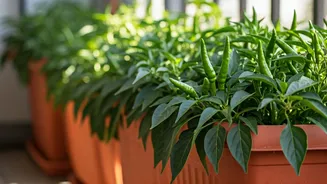
The foundation of a healthy chili plant is its home. While the term "tub" is flexible, the key is size and drainage. For most chili varieties, a pot that is at least 10-15 litres is ideal. [1, 17] This translates to a container roughly 10-12 inches deep
and wide, giving the roots ample space to grow. [2] Chili plant roots tend to grow deep, so a taller pot is often better than a shallow, wide one. [1] Ensure your chosen container, whether it's a classic terracotta pot, a plastic bucket, or a fabric grow bag, has plenty of drainage holes at the bottom. Without proper drainage, water will stagnate, leading to root rot, which is a common issue for potted plants. [21]
Create the Perfect Soil Mix
The phrase "well-draining soil" is crucial for chili success. These plants hate having "wet feet." [7] Standard garden soil is often too dense for containers and can become compacted. Instead, create a light, airy mix. A proven recipe for success is combining potting soil (or garden soil), compost, and perlite. [2, 5] A good ratio to start with is two parts soil, one part compost for nutrients, and one part perlite for aeration and drainage. [3] Coco coir is another excellent addition that helps regulate moisture without becoming waterlogged. [4] This blend ensures that water drains freely while retaining just enough moisture and nutrients for the plant to thrive. [5]
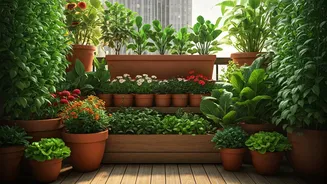
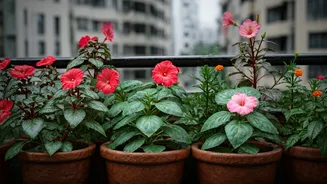
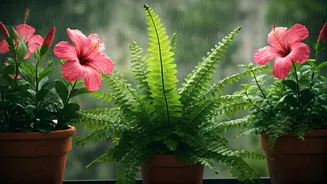
Sunlight, Water, and Location
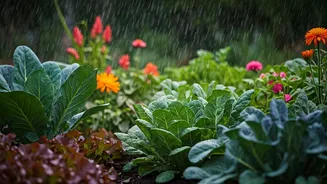
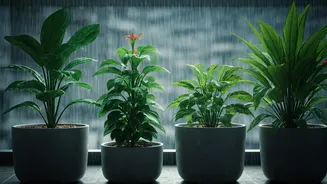
Chili plants are sun-worshippers. They need at least six to eight hours of direct sunlight every day to produce a bountiful harvest. [2] A south-facing balcony is perfect, but an east or west-facing one that gets several hours of strong sun can also work well. [18] When it comes to watering, consistency is key. Water the plant thoroughly when the top inch of soil feels dry to the touch, but avoid making the soil soggy. [2] In the peak of summer, you may need to water daily, preferably in the morning. [21] Overwatering is a more common mistake than underwatering, so always check the soil before you pour.
Feed Your Plants for More Chilies
While a good soil mix provides a strong start, container plants have limited access to nutrients and require regular feeding to be highly productive. In the initial growth phase, a fertilizer higher in nitrogen (N) is beneficial for developing strong leaves and stems. [22] Once the plant starts to flower, switch to a fertilizer rich in potassium (K), like a standard tomato feed. [9, 15] Potassium is vital for flower and fruit development. [15] You can use a liquid fertilizer every couple of weeks, diluted to half-strength to avoid burning the roots. Organic options like compost tea or a balanced vegetable fertilizer also work wonderfully. [6, 19]
Prune and Harvest for a Continuous Supply
Here's how you turn a good harvest into an "unlimited" one. Early in the plant's life, when it's about a foot tall, consider "topping" it by pinching or cutting off the main growing tip. [14, 30] This encourages the plant to become bushier, creating more branches. More branches mean more sites for flowers and, ultimately, more chilies. [29] Additionally, some gardeners recommend removing the very first few flower buds to encourage the plant to put its energy into growing stronger first. [27, 30] Once chilies start to appear, harvest them regularly. Picking the fruits as they ripen signals the plant to produce more flowers and chilies, ensuring a continuous supply throughout the season. [8, 24]