






Why This Style Wins Busy Mornings
The twisted updo is a favourite for a reason. It’s incredibly versatile, working for a day at the office, a casual brunch, or even a more formal event. Unlike complicated braids, it relies on simple twisting and pinning, making it achievable for all skill
levels. The result is a soft, romantic look that appears far more intricate than it actually is. It’s also a fantastic way to manage second-day hair, as a bit of texture can actually help the style hold better. This updo keeps your hair securely off your face while maintaining an air of effortless sophistication.
Gather Your Simple Toolkit
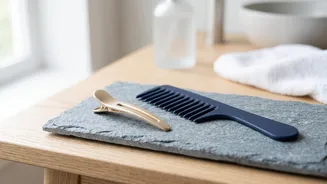
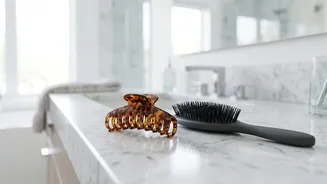
You don’t need a professional salon kit to master this look. In fact, you probably have everything you need already. Before you start, gather these essentials to make the process smooth and quick: a brush or comb, a few bobby pins that match your hair colour, one or two small, clear hair elastics, and a light-hold hairspray to finish. If your hair is very fine or freshly washed, a texturizing spray or a bit of dry shampoo can provide the grip needed for the style to hold beautifully.
Step 1: Prepare and Section Your Hair
A great updo starts with the right preparation. Begin by brushing your hair to remove any tangles. For a more romantic and voluminous look, you can add some loose curls with a curling iron, but this step is entirely optional if you're short on time. Next, create a low ponytail at the nape of your neck and secure it with a clear elastic. Don’t pull it too tight; a little looseness will help create a softer, fuller bun. This ponytail will serve as the foundation for your entire updo.
Step 2: The Twist and Tuck
This is where the magic happens. Split your ponytail into two equal sections. Take one section and twist it from the base to the ends. Once it's fully twisted, gently wrap it around the base of the ponytail to start forming a bun. Secure the end of the twist with a couple of bobby pins, tucking them into the base of the ponytail to hide them. Now, take the second section of hair, twist it in the same way, and wrap it around the bun you’ve started, but in the opposite direction. This overlapping technique creates that beautiful, intertwined look.
Step 3: Secure and Perfect Your Look
Once both twists are wrapped and pinned, your updo is nearly complete. Use additional bobby pins to secure any loose areas and ensure the bun feels stable. Don’t be afraid to use a few extra pins for peace of mind, especially if you have thick or long hair. For a softer, more modern feel, gently pull on small sections of the twist to add volume and texture. You can also pull out a few face-framing tendrils to soften the style. A final, light mist of hairspray will help set everything in place and tame any flyaways for a polished finish that lasts all day.