





Start with the Right Flour
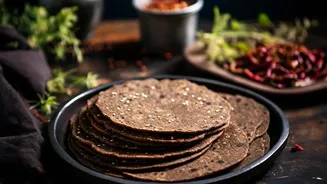
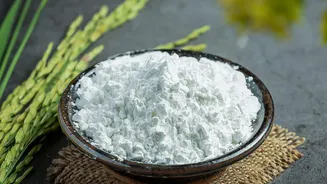
The foundation of a soft roti is the flour. For the best results, always use high-quality whole wheat flour, known as 'atta'. Specifically, look for 'chakki' or 'medium' ground atta, which has a fine texture that absorbs water well, creating a more pliable
dough. Avoid using all-purpose flour (maida), as it results in dense and chewy rotis rather than soft ones. The quality of your atta makes a significant difference; a good flour will create a tender, smooth, and stretchy dough that is easy to handle.
The Art of Kneading
Kneading is perhaps the most critical step. A stiff, under-kneaded dough is a primary cause of hard rotis. The goal is to develop gluten, which gives the roti its structure and softness. Use lukewarm or even hot water, as it helps hydrate the flour more effectively and relaxes the gluten. Add water gradually, mixing until you have a soft, pliable dough that isn’t sticky. Knead for a solid 8 to 10 minutes using your knuckles to press, fold, and stretch the dough until it is smooth and elastic. When you press a finger into the dough, it should leave an impression.
Don't Skip the Resting Period
Patience is a virtue in roti making. Once kneaded, the dough must rest. This step is non-negotiable for soft rotis. Cover the dough with a damp cloth or place it in an airtight container and let it rest for at least 20 to 30 minutes. This resting period allows the gluten to relax and the moisture to distribute evenly throughout the dough. Skipping this makes the dough tough to roll and often results in stiff rotis.
Roll with an Even Hand
Uneven rolling leads to uneven cooking, creating hard spots. The aim is a uniform circle, about 5-6 inches in diameter. If the roti is too thick in some parts and too thin in others, it won’t puff up properly. Use dry flour for dusting sparingly. Too much excess flour on the surface can burn on the tawa, creating bitter spots and, more importantly, drying out the roti, making it hard. Dust lightly and clap the rolled roti between your hands to remove any excess flour before cooking.
Master the Tawa Temperature
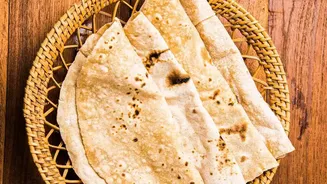
The cooking process is a quick, high-heat affair. A common mistake is cooking rotis on a tawa that is not hot enough. Low heat causes the roti to cook slowly, losing moisture and becoming chewy and hard. Preheat your tawa (a heavy-bottomed iron or cast iron one is ideal) on medium-high heat. It should be hot enough that a drop of water sizzles and evaporates instantly. Cook the first side for just about 15-20 seconds until you see small bubbles, then flip. Cook the second side a little longer, about 30 seconds, until light brown spots appear. Flip it one last time, and it should puff up. You can gently press it with a clean cloth to help it inflate.
Store Them Correctly
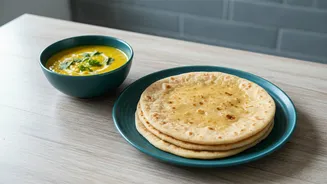
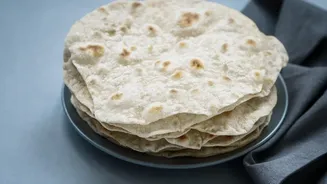
How you store rotis immediately after cooking is crucial for keeping them soft. Never leave them uncovered, as this allows steam to escape and the rotis to dry out and harden quickly. The best method is to place them in a cloth-lined container or a roti box (casserole). Stacking them and wrapping them in a clean kitchen towel traps the steam, which keeps them warm, moist, and soft for hours. Applying a little ghee or butter after cooking also helps lock in moisture and adds flavour.