



Gather Your Composting Toolkit
Before you start, you'll need a few simple items. The main component is a composting container. For a small flat, a 15-20 litre bucket with a lid is perfect. You can also buy specialized indoor composters or vermicompost (worm) bins. You will need a drill
to make aeration holes around the top and drainage holes at the bottom of your bucket. Also, gather some 'brown' materials like shredded newspaper or cardboard, dried leaves, or sawdust. Finally, a small trowel or stick for turning the compost will be handy.
The Right Ingredients: Greens & Browns
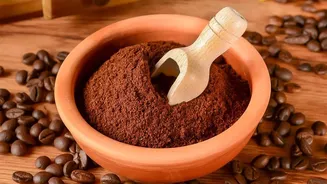
Successful composting relies on a good balance of two types of materials: nitrogen-rich 'greens' and carbon-rich 'browns'. Your kitchen provides the greens: fruit and vegetable peels, coffee grounds and used tea leaves, crushed eggshells, and herb trimmings are all excellent. For every part of green material you add, you should aim to add about two to three parts of brown material. These 'browns'—like torn-up cardboard, newspaper, or dried leaves—provide carbon, prevent the compost from becoming smelly and soggy, and help with aeration.
What Not to Add to Your Bin
Just as important as what goes in is what stays out. To avoid bad odours and pests like rats, you must not add any meat, fish, bones, or dairy products to your home compost bin. Fats, oils, and greasy foods are also a no-go for the same reasons. While small amounts of citrus peels, onion, and garlic are sometimes okay, they can create strong odours and some composting worms dislike them, so it's best to add them sparingly in a small indoor system. Lastly, avoid pet waste and any garden trimmings that have been treated with pesticides.
Setting Up and Maintaining Your Bin
Start by placing a layer of 'brown' material at the bottom of your bucket. Now, you can begin layering your kitchen scraps ('greens') with more 'browns'. Always finish with a layer of browns on top to cover the food waste; this is key to preventing smells and fruit flies. Keep the lid on. Every week or so, use your trowel to turn the mixture, which introduces oxygen and speeds up decomposition. The pile should be moist like a wrung-out sponge—not too wet and not too dry. If it seems too dry, sprinkle a little water; if it's too wet and smelly, add more brown material.
Harvesting Your Black Gold
Patience is key. Depending on the conditions, it can take anywhere from two to six months for your kitchen waste to transform into finished compost. You'll know it's ready when the material at the bottom of the bin looks dark, crumbly, and has a pleasant, earthy smell. There should be no recognisable food scraps left. To harvest, simply empty the contents of the bin, separate the finished compost from the material that still needs breaking down, and return the unfinished parts to the bucket to continue the process. You are now ready to use the finished portion.
Potting Your Windowsill Herbs
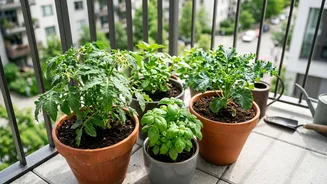
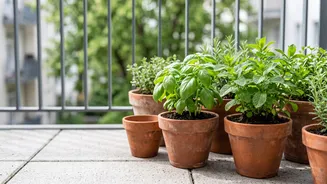
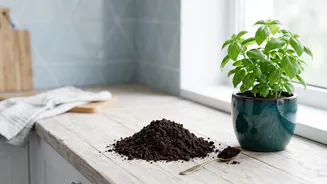
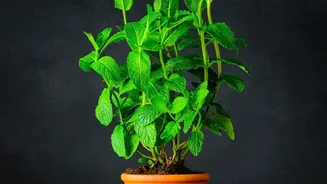
Freshly made compost is extremely rich in nutrients. For potting herbs like basil, mint, coriander, and parsley, it's best to mix your homemade compost with soil. A good ratio is one part compost to two or three parts regular potting soil or cocopeat. This creates a balanced, well-draining medium that your herbs will love. Ensure your pots have drainage holes, fill them with your soil-compost mix, and plant your herb starters or seeds. Place them on a sunny windowsill that gets at least 4-6 hours of light a day and water them as needed.