


Start with Timing and Location
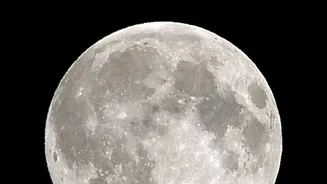
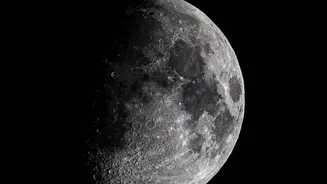
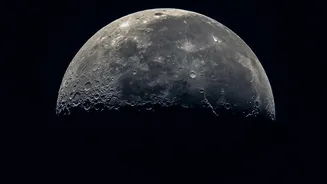
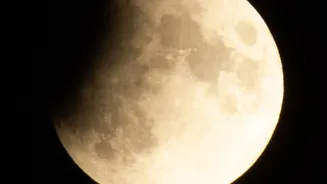
Your first step is to decide what kind of moon shot you want. The phase of the moon drastically changes the photo. While a full moon is bright and impressive, the waxing and waning phases often reveal more surface detail and craters due to the shadows
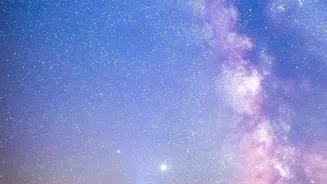
cast along the terminator line. Similarly, the time of night matters. Shooting during twilight, just before sunrise or after sunset, can add beautiful colours to the sky and illuminate the landscape. Once you have a date in mind, location scouting is crucial. The biggest obstacle for any night sky photography is light pollution. City lights wash out the sky and reduce the visibility of celestial objects. Use a light pollution map to find the darkest possible skies within a reasonable distance. Look for a spot with an unobstructed view and an interesting foreground to add context to your image. Visiting the location during the day can help you compose your shot and avoid surprises in the dark.
Become a Weather Watcher
Weather is the most unpredictable variable in moon photography. Start checking forecasts several days in advance. While a completely overcast sky will ruin a shoot, a few scattered clouds can sometimes add a dramatic, atmospheric effect to your photos, especially with a wide-angle lens. However, for close-up shots of lunar details, you need perfectly clear skies. Beyond just cloud cover, two key atmospheric factors to monitor are 'transparency' and 'seeing'. Transparency refers to the clarity of the air, which can be affected by humidity, haze, dust, or smoke. Poor transparency reduces contrast and can make the moon look muddy. 'Seeing' refers to the stability of the atmosphere. Air turbulence, even on a clear night, can make the moon appear to shimmer or blur, softening fine details. Cold, still nights often offer the best seeing conditions.
Leverage Modern Planning Tools
You don’t have to guess about these conditions. A host of powerful apps and websites are available to help you plan. Apps like PhotoPills and The Photographer's Ephemeris are invaluable for determining the exact position, phase, rise, and set times of the moon for any location and date. For weather, go beyond your standard forecast. Specialized astronomy apps like Astrospheric and Clear Outside provide detailed predictions for cloud cover at different altitudes, transparency, and seeing conditions. These tools combine multiple weather models to give you a more accurate picture of your chances for a successful shoot. Some even offer alerts for good conditions, helping you seize unexpected opportunities. Combining a planning app like PhotoPills with a detailed weather app like Astrospheric is a professional strategy for minimising uncertainty.
Prepare for Humidity and Dew
One of the most frustrating things that can happen during a night shoot is condensation, or dew, forming on your lens. This happens when the glass of your lens cools to below the dew point temperature of the surrounding air, causing moisture to fog up your shot. High humidity dramatically increases this risk. Always check the humidity and dew point forecast. To combat this, your lens hood is the first line of defence. For more persistent dew, the most effective solution is a lens warmer or dew heater. These are powered straps that wrap around your lens, gently heating it to stay above the dew point. They are typically powered by a portable USB power bank. A low-tech alternative is to use chemical hand warmers, secured around the lens with a rubber band.
On the Night of the Shoot
Arrive at your scouted location early, preferably before sunset, to set up your gear without rushing in the dark. This gives you time to fine-tune your composition and focus. Once your camera is set on a sturdy tripod, do a final check of the conditions. Even the best forecasts can be slightly off. Be prepared to adapt. Maybe the clouds are more interesting than you expected, or you find a new angle. Dress in layers, as night temperatures can drop significantly, even in summer. Patience is key. You may spend hours waiting for the perfect moment. Use the time to enjoy the experience of being out under the night sky. Reviewing your shots on the camera's LCD screen is important, but be aware that the screen's brightness can be misleading in the dark; rely on your histogram to judge the exposure correctly.