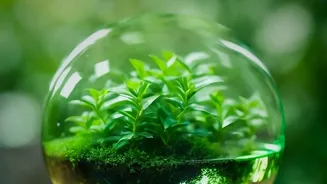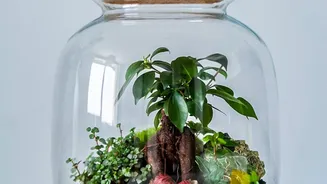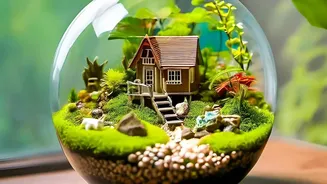




Why Choose a Moss Garden?
Moss gardens are gaining popularity as a low-maintenance and eco-friendly alternative to traditional houseplants. Unlike plants with complex root systems, moss absorbs water and nutrients through its leaves, meaning it doesn't require deep soil, fertilisers,
or pesticides. This makes it perfect for creating a serene, natural-looking landscape in a small space. Moss also helps purify the air by absorbing pollutants and can improve humidity in a room. Its ability to thrive in shady, damp areas makes it an ideal solution for those tricky spots in your home that don't get direct sunlight.
Understanding Your Moss: Sheet vs. Cushion
The headline mentions two popular types perfect for beginners: sheet moss and cushion moss. Sheet moss, also known as carpet or feather moss (Hypnum species), grows in flat, spreading mats. This makes it ideal for creating a lush, carpet-like base in your garden. Cushion moss (Leucobryum glaucum), also called pillow moss, grows in dense, rounded mounds. These soft, dome-shaped clumps add texture, depth, and a whimsical, hilly look to your miniature landscape. Combining both types can create a visually interesting design with varied textures and heights.
Gathering Your Supplies
Creating your moss garden doesn't require a long list of materials. You will need a suitable container, a drainage layer, a substrate, and the moss itself. For the container, a clear glass jar with a lid (a terrarium), a shallow ceramic dish, or even a wide bowl will work. For drainage, gather some small pebbles or gravel. A thin layer of activated charcoal on top of the gravel is recommended to filter impurities and keep the environment fresh. The substrate can be a simple, peat-free potting mix or coconut coir, as moss is not demanding. Finally, you'll need your live moss and a spray bottle with distilled or rainwater, as moss can be sensitive to chemicals in tap water.
Step-by-Step Assembly
First, clean your container thoroughly. Begin by adding a 2-3 cm layer of pebbles for drainage. Follow this with a thin layer of activated charcoal. Next, add about 3-5 cm of your moist substrate, like potting soil. You can create slopes and mounds to make the landscape more interesting. Now for the main event: arranging the moss. Gently press the pieces of moss onto the surface of the soil, ensuring good contact without any air pockets underneath. You can use tweezers or a chopstick for precise placement in smaller containers. Once the moss is in place, you can add decorative elements like small stones, twigs, or bark.
Light, Water, and Long_Term Care
Proper care is simple but crucial. Place your moss garden in a spot that receives bright, indirect light; never place it in direct sunlight, which will scorch and dry out the moss. A north_facing window is often ideal. Moss needs consistent moisture but is prone to rot if overwatered. The key is to mist it regularly, whenever the surface feels dry to the touch. If your garden is in a closed terrarium, it will create its own humid microclimate and may only need misting every few weeks or even months. If you notice too much condensation, simply open the lid for a few hours to allow for air circulation.