


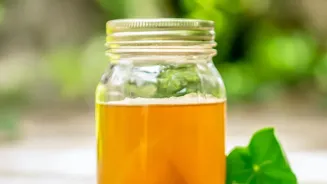

What Exactly Is Kombucha?
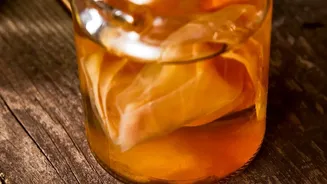
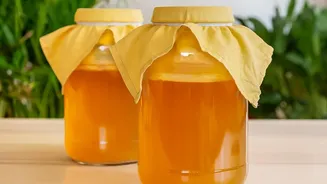
At its heart, kombucha is simply fermented sweet tea. The magic happens thanks to a SCOBY, which stands for Symbiotic Culture of Bacteria and Yeast. This gelatinous, pancake-shaped disc is the living engine of your brew. When you add a SCOBY and some
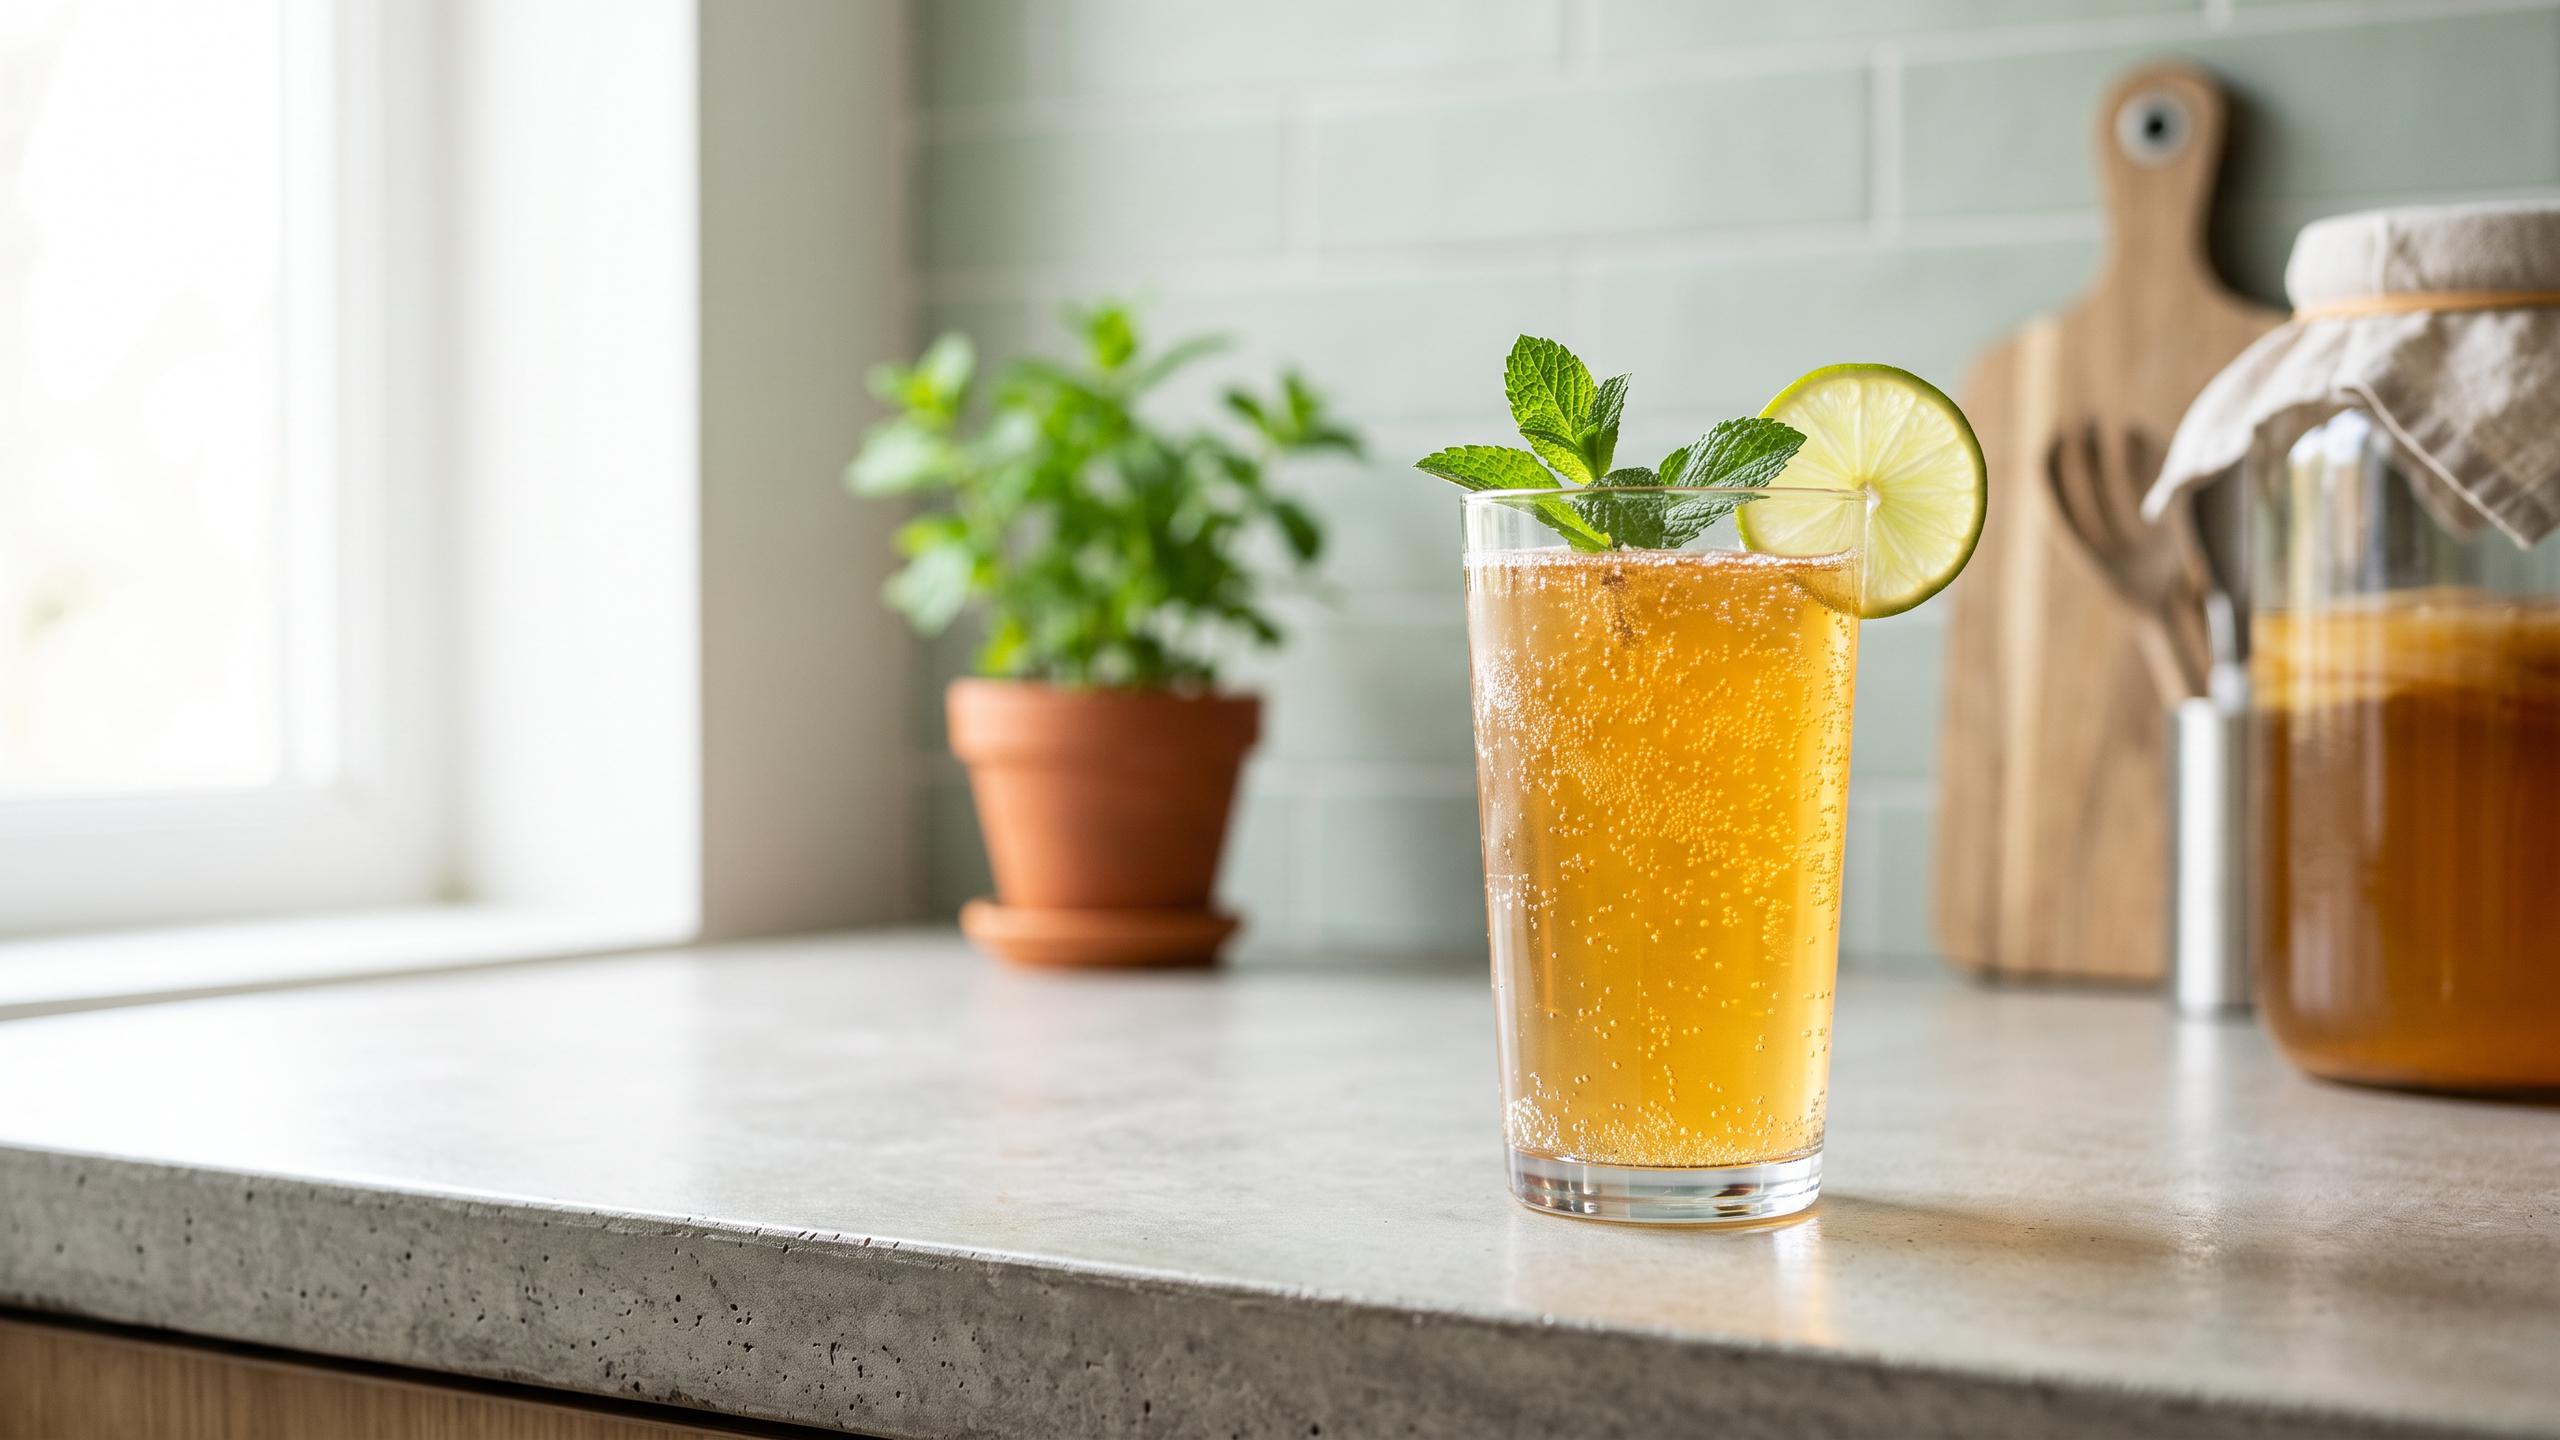
starter tea (strong, unflavored kombucha from a previous batch) to sweetened black or green tea, the yeasts and bacteria get to work. They consume most of the sugar, transforming the sweet tea into a complex, tangy, and naturally effervescent beverage rich in organic acids.
Gathering Your Brewing Gear
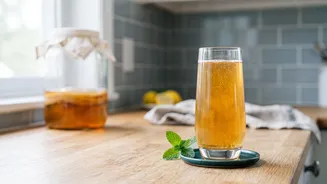
You don't need a professional lab to get started. Most of what you need is likely already in your kitchen. The essentials include a large glass jar (a one-gallon size is perfect for beginners), a tightly woven cloth or tea towel to cover it, a rubber band to secure the cloth, and swing-top glass bottles for the final carbonation stage. It’s important to use glass for brewing, as metal can react with the acidic kombucha and harm the SCOBY. Also ensure any bottles you use for the final bottling are pressure-safe to handle the natural fizz that will build up.
Step 1: The First Fermentation (F1)
This is where your sweet tea becomes kombucha. Start by boiling about 4 cups of filtered water and dissolving one cup of plain cane sugar into it. Steep 6-8 bags of black or green tea for about 10-15 minutes, then remove them. Pour this concentrated sweet tea into your large glass jar and top it up with about 8-10 cups of cool, filtered water. The most crucial step is to ensure the tea has cooled to room temperature (between 20-30°C) before proceeding. Once cool, gently add your SCOBY and at least one cup of starter tea. The starter tea makes the brew acidic from the start, which helps protect it from unwanted microbes. Cover the jar with the cloth and secure it. Place it in a warm, dark place for 7 to 14 days.
Step 2: Flavoring and Fizz (F2)
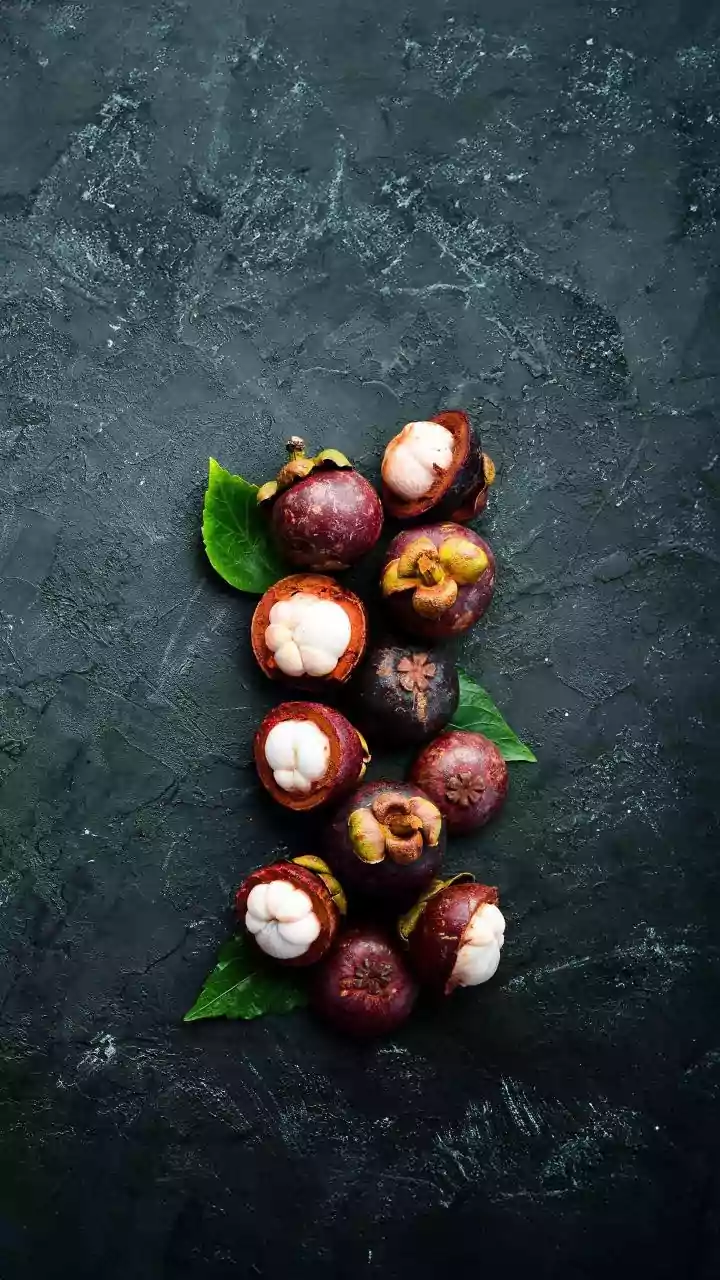
After a week or so, your kombucha should taste pleasantly tart. This is when the second fermentation, or F2, begins. This stage is all about adding flavor and carbonation. Remove the SCOBY along with about two cups of the liquid to save for your next batch. Pour the remaining kombucha into your airtight swing-top bottles, leaving a little space at the top. Now for the fun part: add your flavorings. Good options include a tablespoon or two of fruit puree, juice, or chopped fruit like mango, berries, or ginger. The yeast will consume the natural sugars in the fruit, creating carbon dioxide and that signature fizz. Seal the bottles and leave them at room temperature for another 2 to 5 days. Be sure to 'burp' the bottles daily by briefly opening the cap to release excess pressure and prevent explosions.
Is It Safe? Troubleshooting 101
The most common fear for new brewers is mold. Luckily, when prepared correctly, homemade kombucha is very safe. Its acidic environment is naturally hostile to harmful microbes. Mold will look fuzzy, dry, and will be green, blue, or black—just like mold on bread. If you see this, you must discard the entire batch and start over. Don't confuse mold with brown, stringy yeast strands or a new, thin SCOBY forming on top, which are both normal and harmless. To prevent mold, always use enough starter tea, keep your equipment clean, and ensure your brew stays at a consistent room temperature.