


Understanding Renewal vs. Re-issue
First, let's clear up some jargon. While we often say 'renewal', the official term you'll encounter on the Passport Seva portal is 'Re-issue'. You need to apply for a re-issue if your passport is about to expire or has already expired, if you've run out of pages,
if your passport is lost or damaged, or if you need to update personal details like your name or address. The good news is the process is now streamlined online, so you don't need to hire any agents. For most adults, a passport is valid for 10 years.
Step 1: The Online Application
Your journey begins at the official Passport Seva website. If you're a first-time user on the portal, you'll need to register and create a login ID. Once logged in, choose the option “Apply for Fresh Passport/Re-issue of Passport”. You will be guided to an online form where you'll fill in your details. Be meticulous here; double-check your name, date of birth, and address to ensure they match your supporting documents exactly. Even a small typo can cause significant delays.
Step 2: Gathering Your Documents
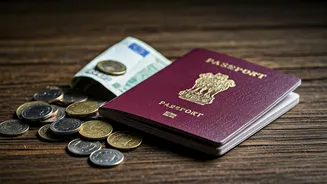
Being prepared is key to a smooth process. You will need a standard set of documents, so get them ready before your appointment. The essentials include your original old passport, along with self-attested photocopies of the first two and last two pages. You'll also need proof of your current address—an Aadhaar card, recent utility bill, or voter ID card will work—and proof of your date of birth, like a birth certificate or your school leaving certificate. It's crucial to carry the original documents for verification at the Passport Seva Kendra (PSK).
Step 3: Paying the Fee and Booking an Appointment
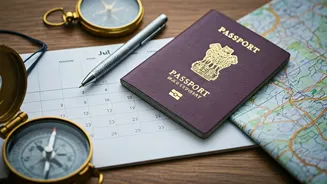
After filling out the form, the next step is to pay the fee and schedule your appointment. The payment must be made online, and you can use a debit/credit card, net banking, or UPI. Once the payment is successful, you can select your preferred PSK or Post Office Passport Seva Kendra (POPSK) and choose an available date and time slot. After booking, don't forget to print the application receipt, which contains your Application Reference Number (ARN).
Step 4: The PSK Visit
On your appointment day, arrive at the selected PSK a little ahead of schedule. Carry all your original documents and their self-attested photocopies, as well as the appointment receipt. The process inside is systematic. Your documents will be verified, your photograph will be taken, and your biometrics (fingerprints) will be captured. The entire process is designed to be efficient, so as long as your papers are in order, it should be a straightforward experience.
Normal vs. Tatkaal: What's the Difference?
If you're in a rush for your passport, you might consider the Tatkaal service. This is a faster, prioritized process designed for urgent needs, but it comes with a higher fee. A normal renewal can take up to 30 days, while a Tatkaal passport is often issued within 1-3 days after your appointment, though police verification might happen after the passport is issued. The Tatkaal option is not available at all POPSKs. For most young travellers planning ahead, the normal process is sufficient and more affordable.
Final Tips for a Smooth Renewal
To avoid any last-minute stress, start the renewal process at least nine months before your passport expires, as many countries require at least six months of validity for entry. Ensure your signature is consistent across all documents. After your PSK visit, you can track your application's status online using your ARN. Once approved, your new e-passport, which comes with an embedded chip for enhanced security, will be dispatched to your address.