

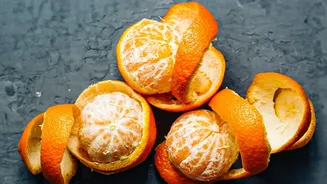
The Hidden Power in the Peel
Before you dismiss orange peels as mere kitchen waste, consider what you're throwing away. The peel is surprisingly rich in certain nutrients. It contains significant amounts of vitamin C—in fact, weight for weight, the peel has more than the flesh. It's
also packed with flavonoids like hesperidin and other beneficial plant compounds. These elements have antioxidant properties that contribute to overall wellness. Furthermore, the peel is a great source of dietary fibre and pectin, a natural gelling agent that is essential for making jams and marmalades set perfectly. By using the rind, you're not just reducing waste; you're capturing valuable nutrients.
Gather Your Simple Ingredients
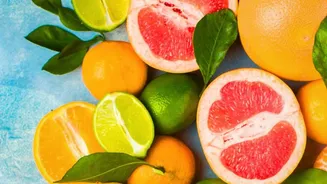
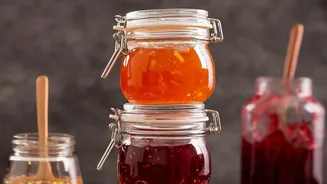
You don’t need a long list of specialty items to create this liquid gold. Most of what's required is probably already in your kitchen. You will need the peels from about 4-6 large oranges, granulated sugar, the juice of one large lemon, and water. The lemon juice is crucial not just for its bright flavour, but because its acidity helps the natural pectin in the orange rinds to set the marmalade properly. For equipment, a heavy-bottomed pot or kadai, a sharp knife, a chopping board, and sterilised glass jars for storage are all you need to get started.
Step 1: Prepare the Rinds
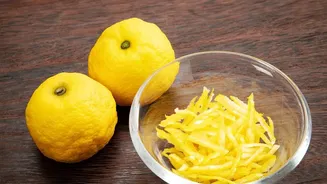
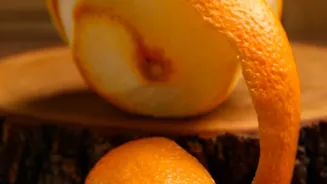
The first step is to prepare the peels. After washing the oranges thoroughly, peel them. You can use a vegetable peeler to get thin strips or peel them by hand and then slice them. Try to remove as much of the white pith from the back of the peel as possible, as this part contributes the most bitterness. Once the pith is scraped off, julienne the orange part of the peel into thin, elegant strips. The thinner you slice them, the more delicate the final texture of your marmalade will be. This is the most labour-intensive part of the process, but it is well worth the effort for a superior result.
Step 2: Remove the Bitterness
To ensure your marmalade is pleasantly tangy rather than unpleasantly bitter, you need to blanch the peels. Place the julienned rinds in your pot, cover them with cold water, and bring it to a rolling boil. Let them boil for about 10 minutes, then drain the water completely. Repeat this process at least one more time—so, boil and drain twice in total. This crucial step helps to leach out the intensely bitter compounds, like limonin, which are soluble in hot water, leaving you with softened, flavourful peels ready for the final cook.
Step 3: Cook to Perfection
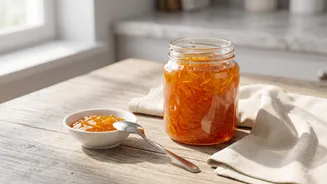
Return the blanched, drained peels to the pot. Add an equal weight of sugar to the weight of your peels (a 1:1 ratio is a good starting point, but you can adjust to taste). Add the fresh lemon juice and just enough water to cover the mixture. Bring it to a boil over medium-high heat, stirring until the sugar completely dissolves. Once boiling, reduce the heat to a steady simmer. Let it cook for 45 to 60 minutes, stirring occasionally to prevent it from sticking to the bottom of the pot. The mixture will gradually thicken and darken as the water evaporates and the sugar caramelises.
Step 4: The All-Important Set Test
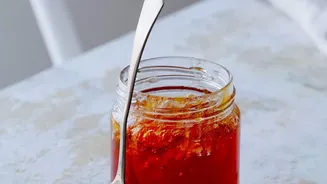
How do you know when it’s done? The classic method is the 'plate test'. Before you start cooking, place a small plate in your freezer. When you think the marmalade is ready, spoon a small amount onto the cold plate and return it to the freezer for a minute. Then, push the marmalade with your finger. If it wrinkles and holds its shape, it’s ready. If it's still runny, continue cooking for another 5-10 minutes and test again. Once it reaches this jelling point, take it off the heat immediately to avoid it becoming too hard.