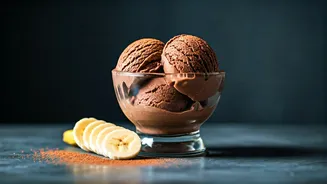


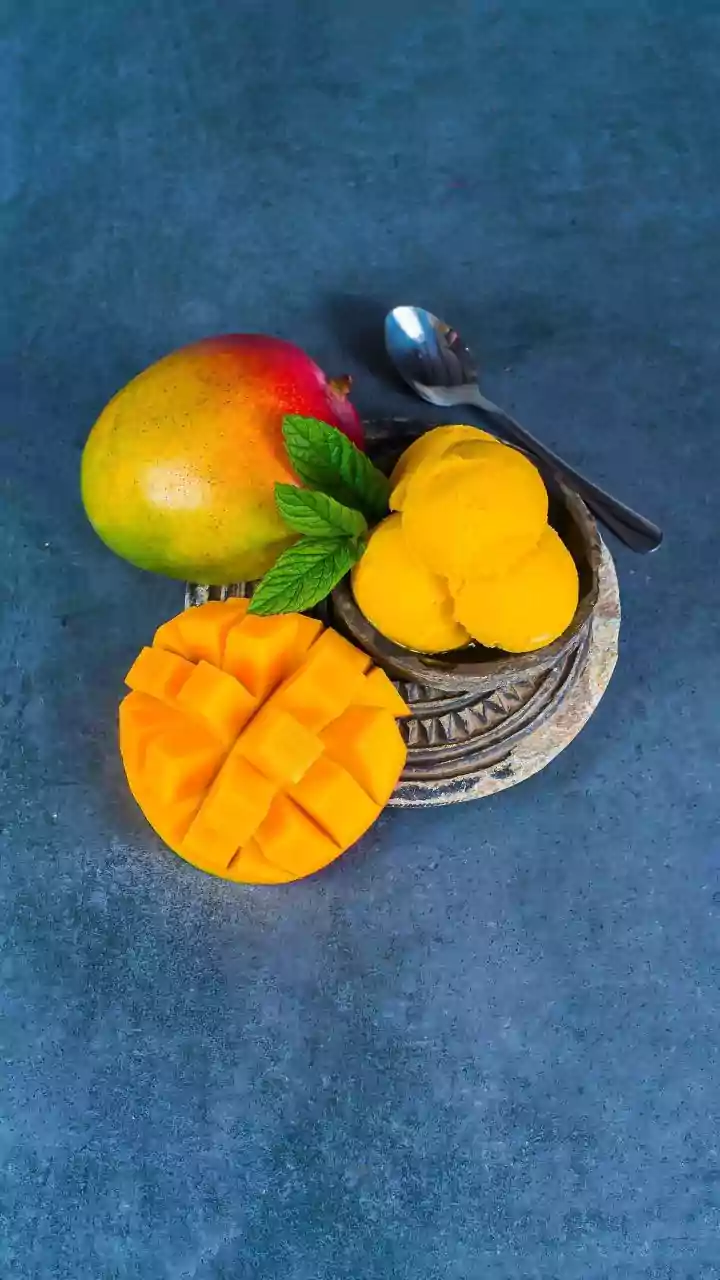


What Exactly Is Nice Cream?
If you're new to the world of 'nice cream,' you're in for a delightful surprise. The name itself is a playful nod to it being a "nicer" version of ice cream. At its core, nice cream is a vegan, dairy-free frozen dessert made by blending frozen bananas
until they achieve a surprisingly creamy, soft-serve-like texture. Because the bananas are naturally sweet, especially when ripe, there's often no need for added sugars, making it a wholesome treat you can feel good about. Its simplicity is its genius—a one-ingredient wonder that serves as the perfect canvas for countless flavor variations, like the rich and satisfying chocolate version we're making today.
Choosing Your Key Ingredients
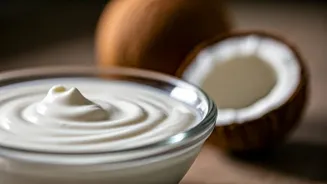
The beauty of this recipe lies in its minimalism. For a basic chocolate nice cream, you only need two core ingredients: ripe bananas and unsweetened cocoa powder. For the best results, use bananas that are ripe with a few brown spots on the peel; this ensures maximum sweetness and flavor, meaning you won't need to add other sweeteners. Green or underripe bananas can result in a starchy, less sweet final product. You'll also need a quality unsweetened cocoa or cacao powder for that deep chocolate taste. While optional, a splash of dairy-free milk (like almond, oat, or coconut milk) can help the blending process, especially if your blender isn't high-powered. A pinch of salt is also a great addition to enhance the chocolate flavor.
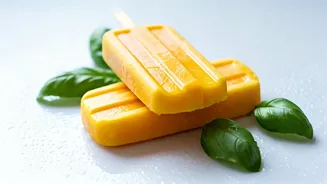
Step-by-Step: From Frozen Fruit to Creamy Dessert
Making nice cream is a quick and straightforward process. First, peel your ripe bananas and slice them into coins or chunks. Place the slices in a single layer on a baking sheet lined with parchment paper and freeze for at least two to four hours, or until solid. Freezing them in slices rather than whole helps them blend more easily and quickly. Once frozen, place the banana chunks into a high-speed blender or food processor. Add two to four tablespoons of cocoa powder, depending on how rich you want the flavor. Begin to blend, pulsing at first to break down the frozen chunks. The mixture will look crumbly initially, but be patient. Scrape down the sides of the blender as needed and continue to blend until the mixture transforms into a smooth, thick, and creamy consistency, much like soft-serve ice cream. If the mixture is too thick, add a tablespoon of plant-based milk to help it along.
Serving and Storing Your Nice Cream
You have two main options for serving. For a soft-serve texture, enjoy it immediately right out of the blender. This is when it's at its creamiest. If you prefer a firmer, more traditional scoopable ice cream, transfer the mixture to a loaf pan or freezer-safe container. Freeze for at least one to two hours. When you're ready to serve, you may need to let it sit at room temperature for 10-15 minutes to soften enough to scoop easily, as homemade nice cream freezes quite hard. Be aware that this type of dessert is best enjoyed fresh, as freezing it for long periods can lead to a very solid, icy texture.
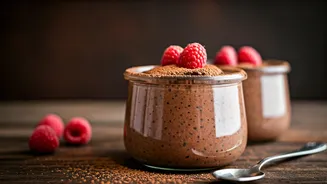
Delicious Variations and Customisations
While the simple banana and cocoa combination is fantastic on its own, it's also incredibly versatile. Think of it as a base for your creativity. For a richer, nuttier flavor, add a tablespoon or two of peanut butter, almond butter, or tahini. A teaspoon of vanilla extract can add depth, while a dash of cinnamon or espresso powder can create a more complex flavor profile. Don't forget about mix-ins and toppings. After blending, you can pulse in dairy-free chocolate chips, cacao nibs, chopped nuts, or shredded coconut for added texture. Serving your nice cream topped with fresh berries, a drizzle of maple syrup, or a sprinkle of granola can elevate it into a truly special dessert.