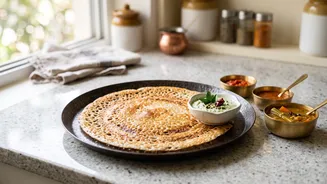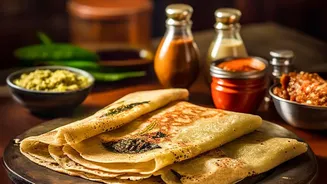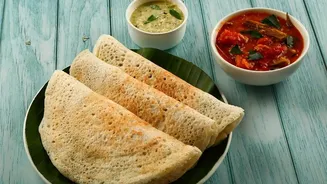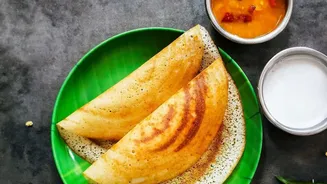




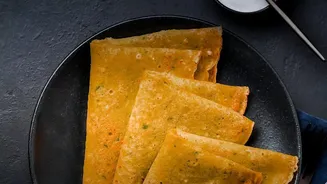


The dream of a perfect dosa is universal: a golden, paper-thin, impossibly crisp crepe that shatters at the touch. But the reality is often a sticky, torn mess. The secret isn't complicated; it lies in mastering your cast-iron tawa.
The Tawa is Your Foundation
A cast-iron tawa is
the traditional and best tool for a crispy dosa, but it requires proper preparation. Unlike non-stick pans, cast iron needs to be 'seasoned'. Seasoning is the process of baking oil onto the pan, which creates a natural, slick surface that prevents sticking. To season a new tawa, wash and dry it completely, then rub a thin layer of a high-smoke-point oil (like sesame or vegetable oil) all over. Heat the tawa on a medium flame for 10-15 minutes until it smokes lightly, then let it cool. Repeating this process 2-3 times builds a strong, non-stick layer. A well-seasoned tawa is the single most important factor in preventing your dosa from sticking.
Mastering the Heat
Temperature control is the second pillar of dosa success. Cast iron retains heat exceptionally well, but it also heats up slowly. You must preheat your tawa on a medium flame for at least 3-5 minutes. A common mistake is a tawa that is either too cold or too hot. If it's too cold, the batter won't set and will turn sticky. If it's scorching hot, the batter will seize and cook instantly, making it impossible to spread. The classic test is to sprinkle a few drops of water on the surface. If they sizzle and dance before evaporating, the temperature is perfect. If they disappear instantly with a loud hiss, it's too hot; lower the flame and wipe the tawa with a damp cloth or a halved onion to cool it slightly.
The Perfect Batter Consistency
Your batter plays a crucial role in achieving crispiness. It should have a smooth, pourable consistency, similar to thin cream but not watery. If the batter is too thick, it won't spread thinly and will result in a soft, thick dosa. If it's too runny, it will lack structure and may tear easily. If your batter has been refrigerated, allow it to come to room temperature for about 30 minutes before use, as cold batter doesn't spread as well. You can adjust the consistency by adding a small amount of water and mixing well until it flows easily from the ladle.
The Art of the Spread and Lift
Before pouring the batter, lightly grease the hot tawa. A popular method is to dip half an onion in oil and rub it across the surface. This not only seasons the pan but also helps regulate the temperature. Pour a ladleful of batter into the center of the tawa. Working quickly, use the back of the ladle to spread the batter in a continuous, outward spiral motion. The key is to use a light hand; don't press down hard, as this will cause the batter to stick to the ladle and tear. Drizzle a little oil or ghee around the edges. Now, be patient. The dosa is ready to be lifted only when the edges start to turn golden-brown and lift away from the tawa on their own. Trying to lift it too early is a guaranteed way to tear it. Once the edges are free, a thin spatula should slide underneath effortlessly, allowing you to fold or roll your perfect, crisp dosa.