


What Exactly Are Microgreens?
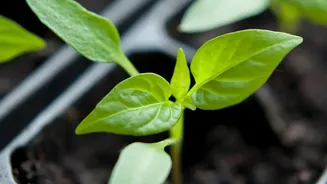
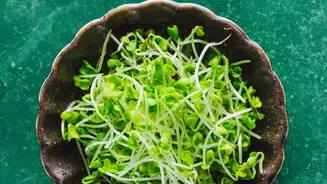
First, let's clear up a common confusion: microgreens are not the same as sprouts. Sprouts are germinated seeds, grown entirely in water for a few days. Microgreens are the next stage. They are tiny, edible seedlings of vegetables and herbs, harvested
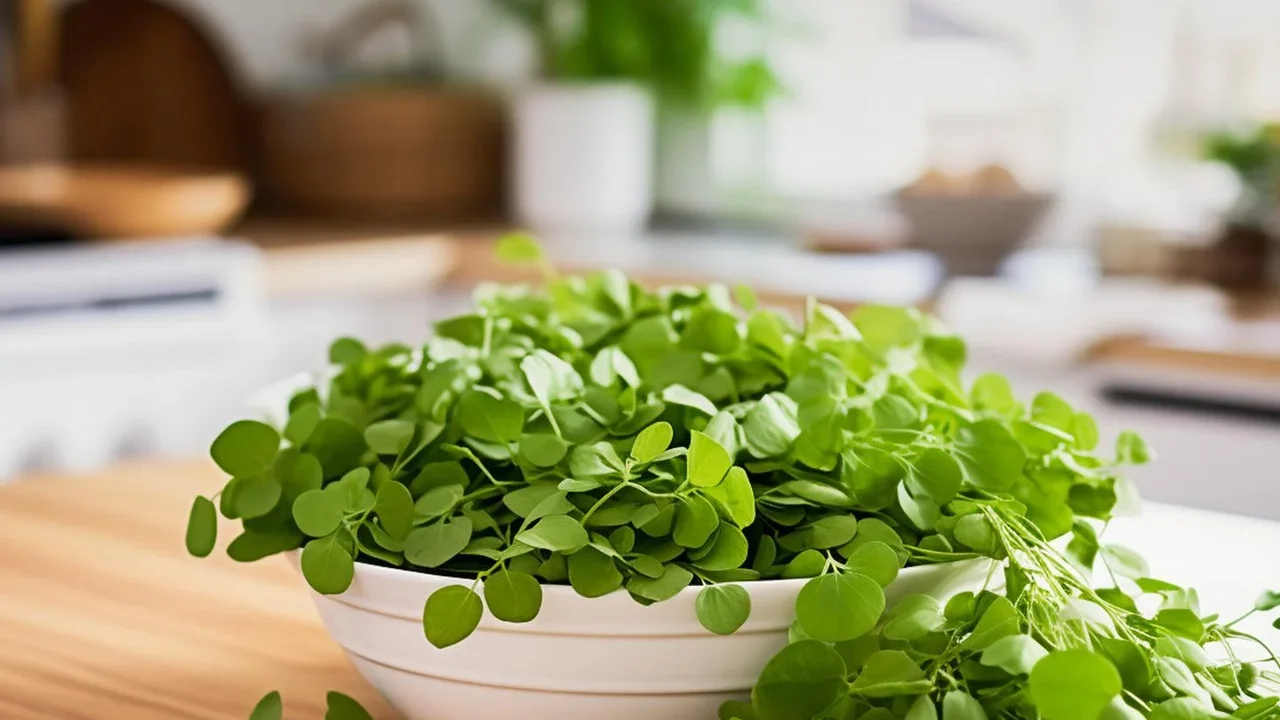
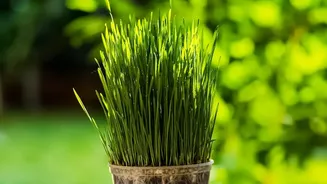
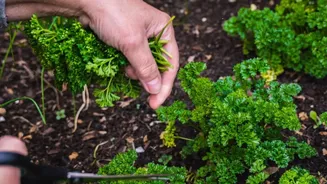
just after the first set of 'true leaves' have developed. This usually takes between one to two weeks. Unlike sprouts, they are grown in a medium like soil or coco peat and require light, which allows them to develop colour and a more complex flavour profile. Think of them as the super-toddlers of the plant world, a perfect middle-ground between a sprout and a baby green.
The 'High Return' Nutritional Payoff
The 'high return' in the headline refers to both speed and nutrition. Microgreens are one of the fastest crops you can grow. But their real power lies in their concentrated nutrient content. Studies have shown that microgreens can contain up to 40 times more vitamins, minerals, and antioxidants than the same mature plant. For example, red cabbage microgreens have been found to have significantly higher concentrations of Vitamin C and Vitamin K than mature red cabbage. They are loaded with beneficial compounds that can help reduce inflammation and promote heart health. This makes them an incredibly efficient way to add a potent nutritional boost to your meals.
Your Windowsill Farm: What You'll Need
Starting your own microgreen garden is surprisingly simple and doesn't require expensive, fancy equipment. You can begin with items you might already have at home. Here’s a basic list: 1. A Shallow Tray: Anything from a dedicated seedling tray to a recycled plastic takeout container will work. It just needs to be one to two inches deep. Trays with drainage holes are ideal. 2. Growing Medium: A light potting mix or, even better, coco peat is the most beginner-friendly option. This provides a base for the roots to grow. 3. Quality Seeds: Look for seeds specifically sold for growing microgreens or sprouting. Many Indian kitchen staples work wonderfully. 4. A Light Source: A sunny windowsill is often all you need, especially for easy-to-grow varieties. 5. A Spray Bottle: For gently watering your delicate seedlings without dislodging them.
From Seed to Harvest in 4 Simple Steps
Ready to get growing? Here’s a straightforward guide. 1. Prepare the Tray: Dampen your growing medium (like coco peat) until it feels like a wrung-out sponge, then fill your tray with about an inch of it, pressing down lightly. 2. Sow the Seeds: Sprinkle your seeds evenly and densely across the surface. You want them close but not piled on top of each other. Gently press them into the soil. For most seeds, you don't need to cover them with more soil. 3. Germination in the Dark: Mist the seeds with water and cover the tray to block out light for the first 2-3 days. This encourages strong germination. Check daily and mist if the surface looks dry. 4. Let There Be Light: Once you see tiny sprouts emerging, uncover the tray and move it to a spot with plenty of indirect sunlight. Water daily, aiming for the soil, until your greens are ready for harvest.
Best Microgreens for Indian Kitchens
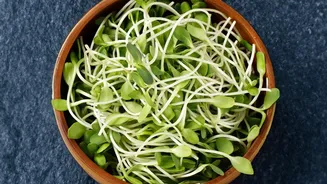
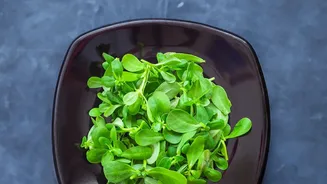
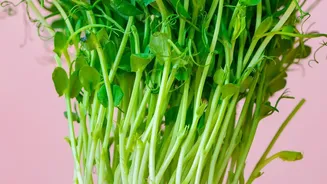
The best part of growing microgreens is choosing varieties that complement your cooking. For beginners in India, some of the easiest and most flavourful options are rooted in familiar tastes. Radish (Mooli): Incredibly fast and forgiving, with a peppery kick. A great confidence-builder for first-time growers. Mustard (Sarson): Another fast grower with that classic pungent flavour, perfect for adding a spicy note to dishes. Fenugreek (Methi): Familiar, earthy, and nutty, this microgreen is a nutritional powerhouse known for helping regulate blood sugar. Sunflower: These are loved for their substantial, crunchy texture and mild, nutty taste, making them a favourite even for kids. * Pea Shoots: Sweet and satisfying, they taste just like fresh peas and are perfect for salads and sandwiches.