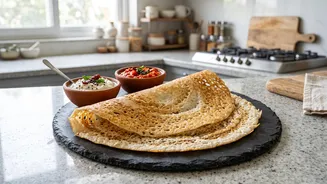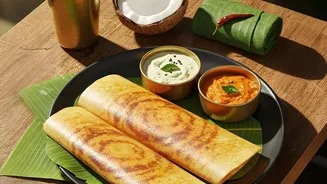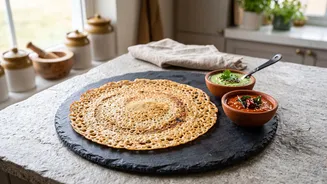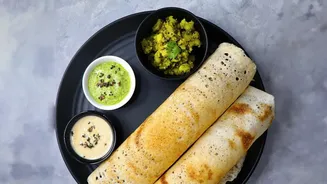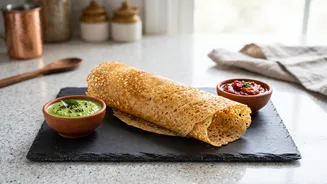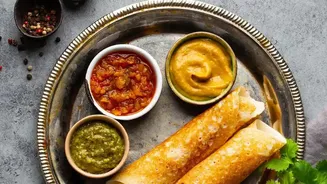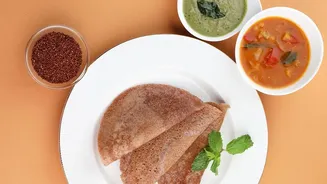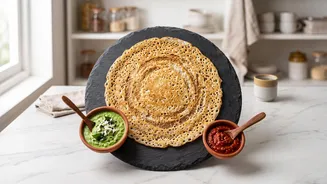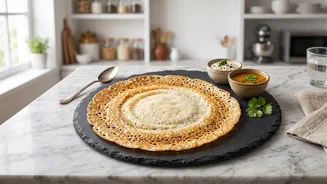




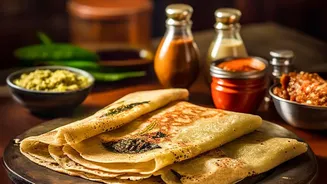

The perfect oats dosa is a thing of beauty: golden, lacy, and impossibly crisp. But too often, the attempt ends in a soggy, burnt, or sticky mess. The good news? A flawless, restaurant-style crisp dosa is achievable with a few simple techniques.
The Secret is the Batter
The foundation
of a great oats dosa isn't just oats; it's a trio of flours working in harmony. Most successful instant recipes use a combination of powdered oats, rice flour, and a small amount of sooji (rava or semolina). The oats provide the healthy, nutty base. The rice flour is crucial for binding and creating those signature crispy edges. The sooji adds to the crunch and helps create the beautiful, perforated texture similar to a classic rava dosa. The consistency is equally important. Unlike traditional dosa batter, this one should be very thin and watery, almost like buttermilk or light cream. A thick batter will result in a soft, pancake-like uttapam, which is delicious but not the goal here.
Get the Proportions Right
A reliable starting ratio is equal parts powdered oats and rice flour, with about half that amount of sooji. For example, if you use one cup of oat flour, use one cup of rice flour and a quarter to a half cup of sooji. To this dry mix, add your flavourings: finely chopped onions, green chillies, ginger, cumin seeds, and curry leaves are classic additions. A spoonful of curd or buttermilk can also be added; it provides a slight tang that pleasantly mimics the flavour of a fermented dosa batter. Mix these ingredients well before gradually adding water, whisking constantly to prevent lumps, until you reach that thin, flowing consistency. It's vital to then let the batter rest for at least 15-20 minutes. This allows the sooji and oats to absorb the water and hydrate properly, which is key to preventing the dosa from breaking on the pan.
Mastering Pan Temperature
The single biggest factor in achieving crispy edges without burning is heat management. Your tawa, or pan, must be very hot before you pour the batter. A cast-iron tawa is often recommended because it retains heat evenly, contributing to a superior crisp. To test if it’s ready, sprinkle a few drops of water on the surface; they should sizzle and evaporate almost immediately. Once the pan is hot, you can lightly grease it and wipe away any excess oil. The moment you pour the batter, you should hear a distinct sizzle. If the pan is not hot enough, the batter will stick and cook into a pale, soft crepe. After pouring, cook the dosa on a medium to medium-low flame. Cooking it too high will brown it instantly without cooking it through, while cooking it low and slow allows the moisture to evaporate, resulting in that coveted crunch.
The Art of the Pour
Unlike regular dosas, you do not spread oats dosa batter with a ladle. Doing so will ruin the lacy texture. Instead, you pour it. First, always stir the batter well right before making each dosa, as the flours tend to settle at the bottom. Then, using a ladle, begin pouring the batter from a bit of a height, starting from the outer edge of the pan and moving inwards in a circular motion to fill the pan. Don’t worry about filling every single gap; those holes are what make it a lacy dosa. Once poured, let it cook undisturbed. Drizzle a little oil or ghee around the edges and in the larger gaps to help with crisping. It will take a few minutes, longer than a normal dosa. You'll know it's ready when the edges start to turn golden brown and lift away from the pan on their own. For the crispiest result, many experts advise against flipping it; just cook it on one side until it's fully cooked and crisp.