

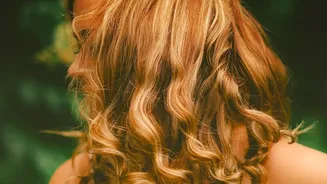
The glamour of past eras never truly fades, especially when it comes to hairstyling. Vintage waves, with their sculpted shapes and timeless elegance, offer a sophisticated alternative to modern loose curls. Here's how to master them.
Your Essential Vintage Styling Toolkit
Before you begin your
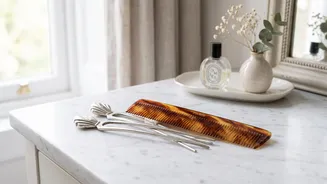
journey into vintage waves, gathering the right tools is essential. While original techniques often involved wet setting lotions and lengthy drying times, modern tools can help you achieve a similar look much faster. You'll need a heat protectant spray, a strong-hold mousse, and a reliable hairspray. For tooling, a 1-inch to 1.5-inch barrel curling iron or wand is perfect for creating the base curls. Have a collection of clips on hand—larger duckbill clips for holding sections and smaller, double-prong clips for setting individual curls. Finally, a good paddle brush and a rat-tail comb for sectioning are non-negotiable for the all-important brush-out phase.
The Dramatic 1920s Finger Wave
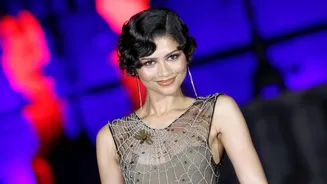
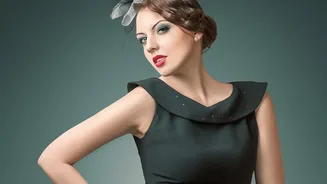
The finger wave is the quintessential 1920s look, defined by its tight, 'S'-shaped waves that sit close to the scalp. Traditionally done on wet hair, you can create a similar effect with modern methods. Start with damp hair and apply a strong-hold gel or mousse. Create a deep side part. Working in small sections, use a fine-tooth comb to push the hair forward to form a ridge, then use your fingers to press it flat against your head. Comb the hair below your fingers in the opposite direction to create the next part of the 'S' shape. You can use wide, flat clips to hold these ridges in place as they dry. This style requires patience, as the key is creating clean, defined lines.
The Soft and Romantic 1940s Wave
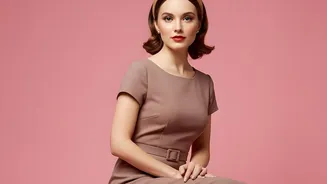
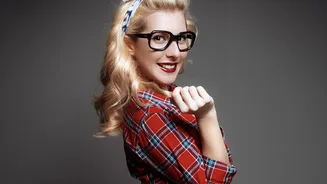
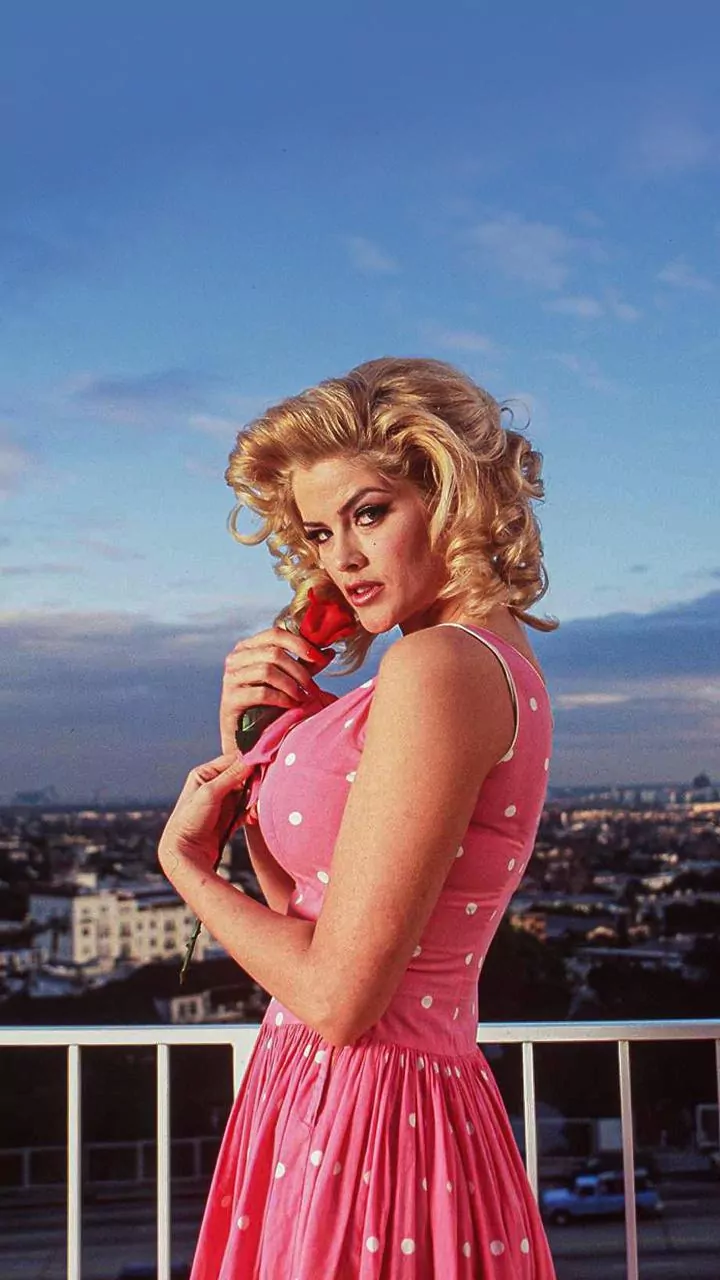
The 1940s moved away from the sleekness of the '20s toward softer, more voluminous styles. Victory rolls were a signature look, but the decade was also defined by soft waves framing the face and cascading over the shoulders. This look often starts with a pin curl set. To create a pin curl, take a small section of damp hair, roll it from the tip to the root into a flat circle, and secure it against your scalp with a clip. For a modern approach, use a curling iron on dry hair. Curl 1- to 2-inch sections, and as you release each curl, roll it back up with your fingers and pin it to your head to cool. Letting the curls set this way is crucial for their longevity. Once cooled, remove the pins and gently brush the curls together to form a cohesive wave pattern.
Old Hollywood Glamour Waves
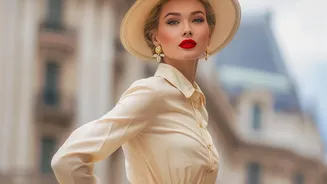
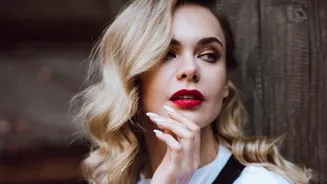
Think of screen sirens like Veronica Lake and Rita Hayworth—this is the iconic, polished 'S' wave that defines red-carpet glamour. The key to this look is uniformity; every wave must move in the same direction. Start with a deep side part. Using a 1-inch curling iron, curl 1- or 2-inch sections of hair, making sure to wrap each section around the barrel in the same direction, typically toward the face. As you work, pin each fresh curl to your scalp to let it cool completely. This step is vital for creating a defined, lasting wave structure. If you skip pinning the curls, the style is more likely to fall out quickly.
The Crucial Brush-Out and Finish
This is where the magic happens and what separates vintage waves from simple curls. Once all your pinned curls have completely cooled, remove the clips. Your hair will likely look like tight ringlets, but don't panic. Take a paddle brush or a boar bristle brush and begin to brush through your curls. You will need to brush for longer than you think is necessary. Keep brushing, and you will see the individual curls start to merge into a uniform 'S' wave pattern. You can use your hands to help shape the waves into place. For extra definition, use your comb to gently push up under a wave ridge to accentuate its curve. Finish with a light mist of a strong-hold hairspray to lock in the shape and a smoothing serum to tame any flyaways.