




The Damage Done by Daily Heat
Many of us rely on hot tools to achieve a polished look, but this convenience comes at a cost. Hair is primarily made of a protein called keratin, which gives it strength and structure. When you apply high heat—often above 150°C—from a flat iron or curling
wand, you are essentially altering the hair's protein structure. This process strips the hair of its natural moisture, causing the protective outer layer, the cuticle, to lift and crack. Over time, this cumulative damage leads to a host of issues, including dryness, dullness, increased frizz, split ends, and breakage. The high temperatures can permanently weaken the hair's elasticity, making it more prone to snapping under stress.
The Power of Protective Styling
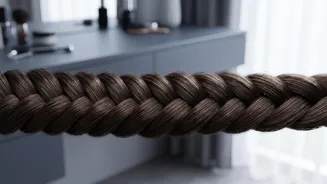
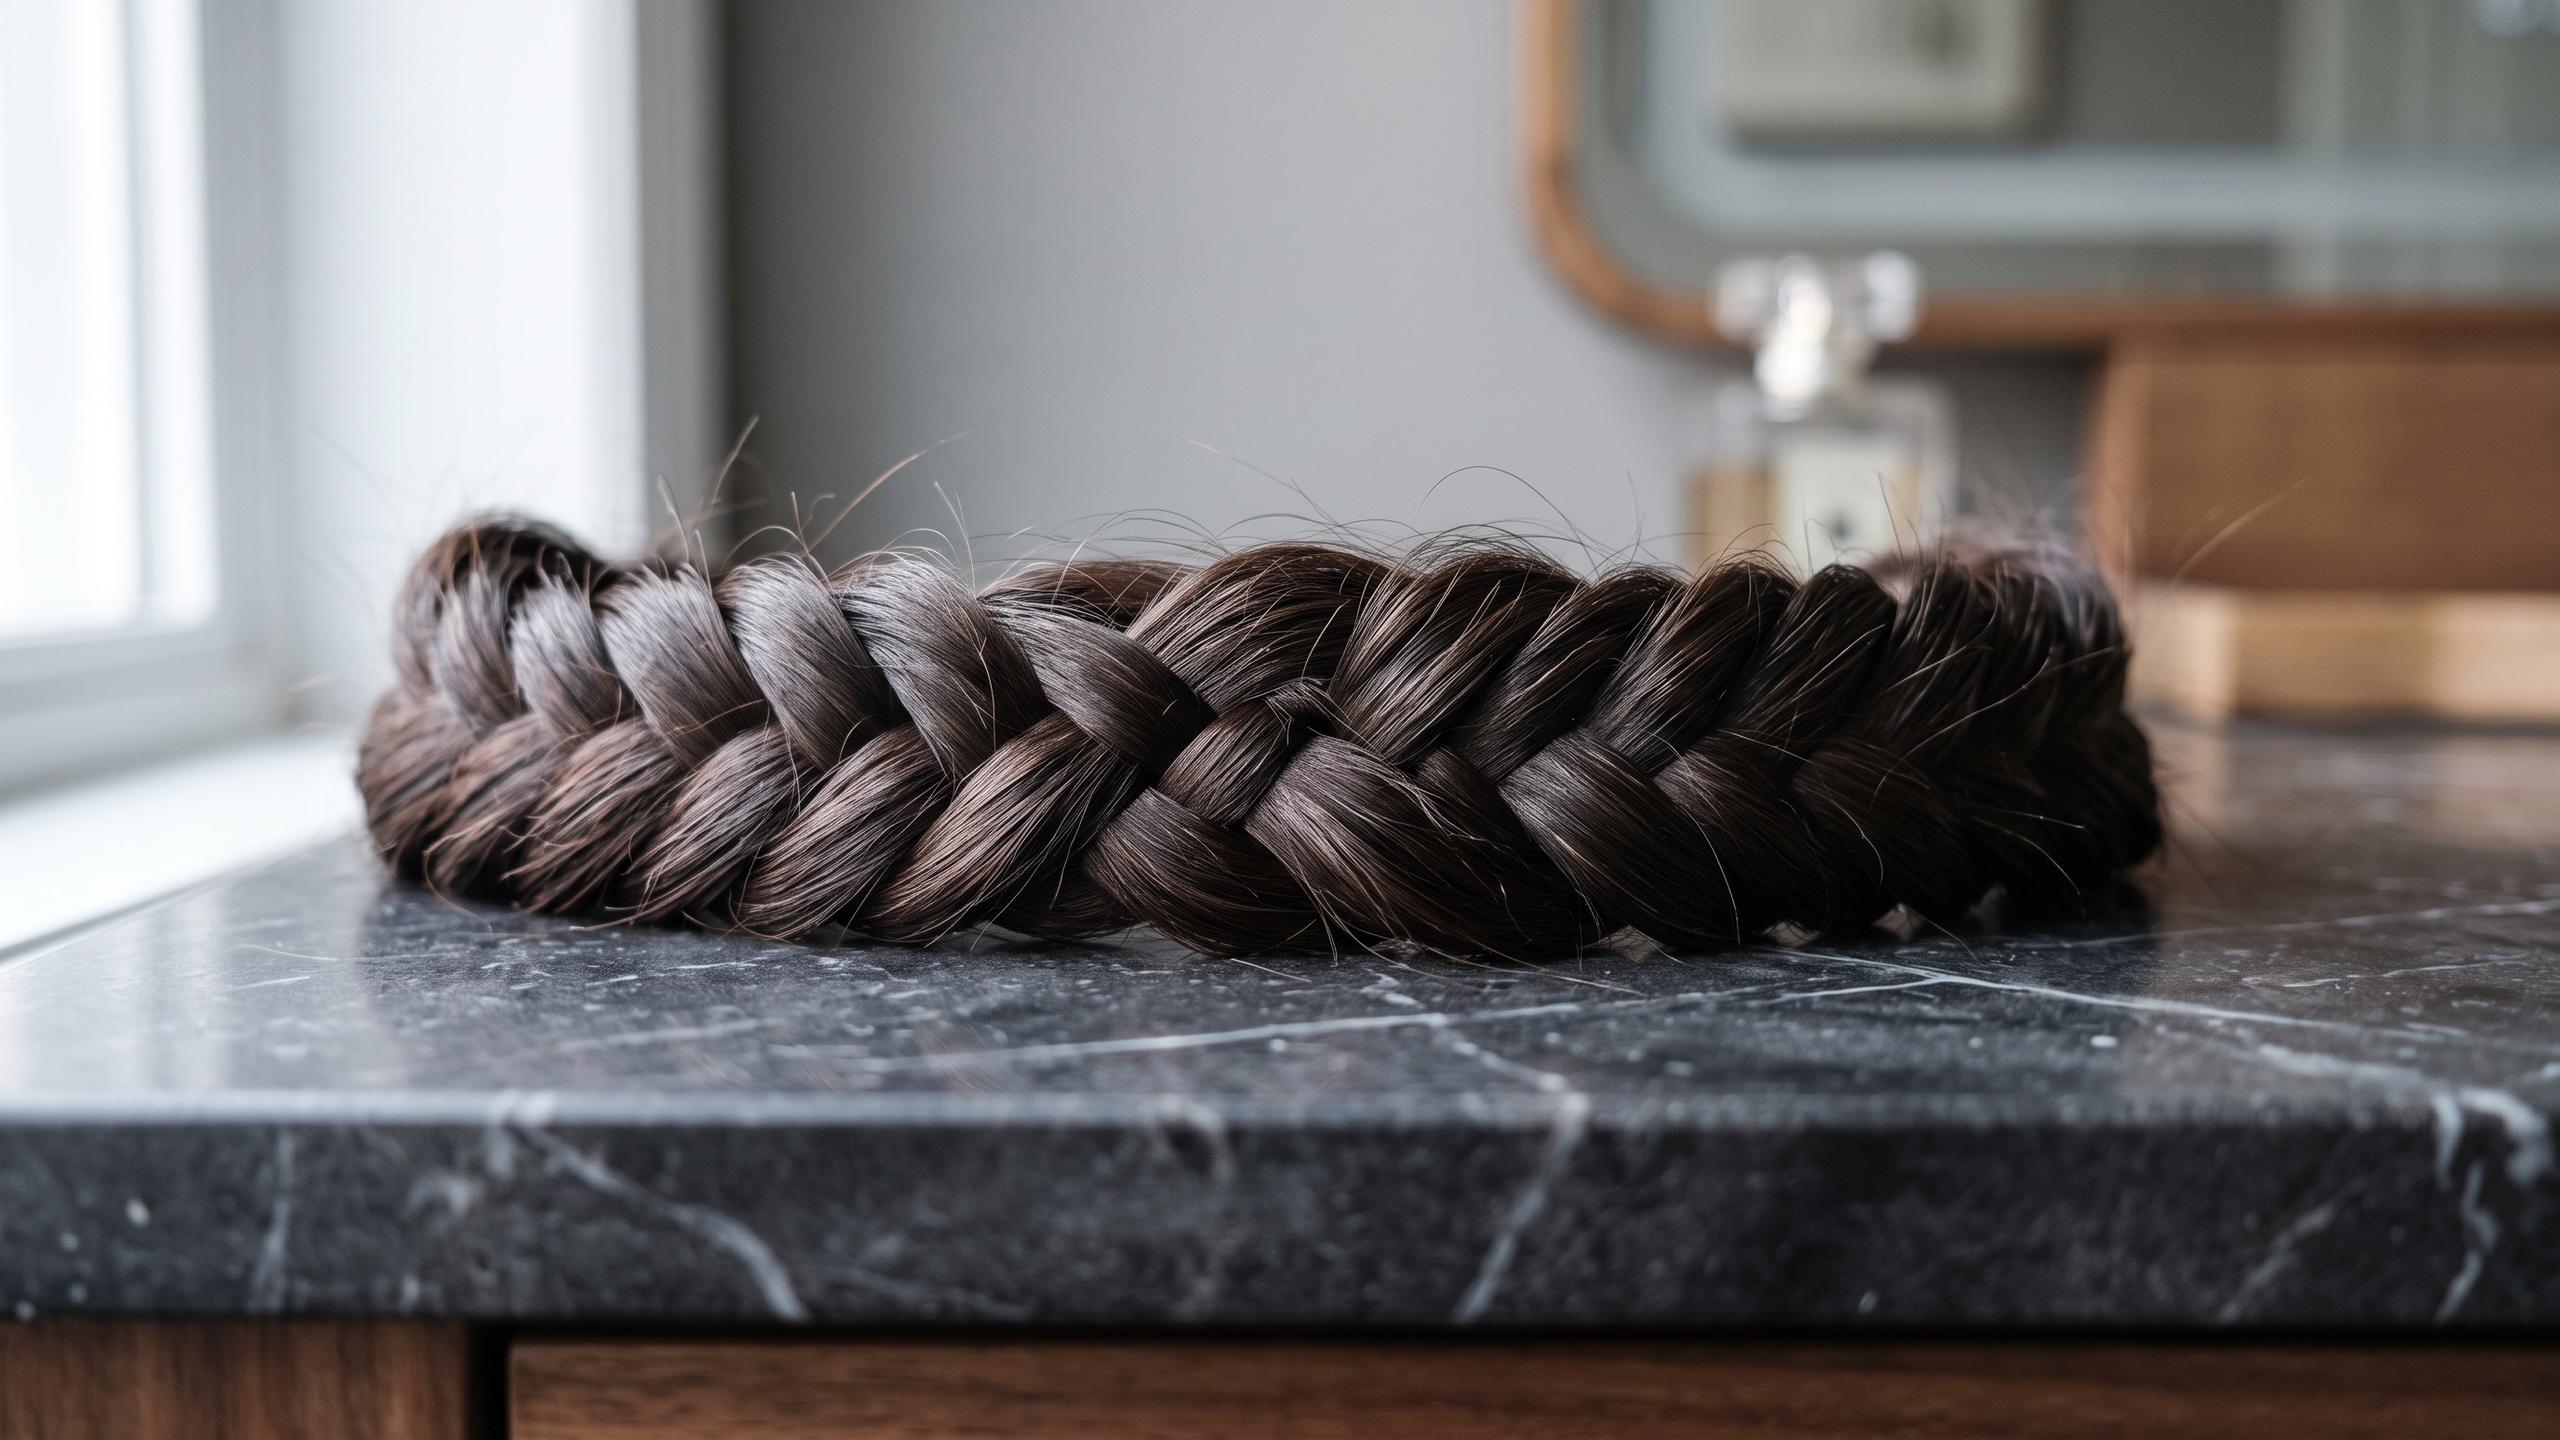
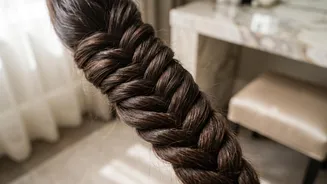
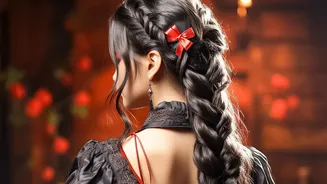
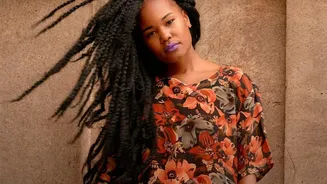
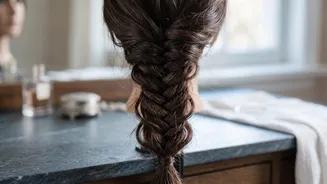
The best way to combat heat damage is to give your hair a regular break. This is where protective styling comes in. A protective style is any hairstyle that tucks away the ends of your hair, reducing manipulation and shielding it from environmental stressors. Braids are one of the most effective and versatile protective styles. By keeping strands secured, braids minimize friction, tangling, and the daily wear and tear from brushing and styling. This gives your hair a much-needed rest, helps it retain moisture, and reduces breakage, which in turn aids in length retention. The fishtail braid, in particular, is a chic and elegant option that proves you don't need heat to create a sophisticated look.
Your Step-by-Step Fishtail Braid Guide
While it looks intricate, the fishtail braid is surprisingly simple and involves only two main sections of hair.1. Prep and Divide: Start with brushed, tangle-free hair. For extra grip, this style works wonderfully on second-day hair. If your hair is freshly washed, a bit of texturizing spray can help. Divide your hair into two large, even sections. You can gather it into a low ponytail to start if you're a beginner, which helps keep the sections tidy.2. Start Weaving: Take a thin strand of hair from the outer edge of the left section. Cross it over the top and add it to the inside of the right section.3. Repeat on the Other Side: Now, do the same on the opposite side. Take a thin strand from the outer edge of the right section, cross it over the top, and join it with the inside of the left section.4. Continue Down: Repeat this alternating pattern all the way down the length of your hair. The key to the distinctive fishtail look is to use consistently small, thin strands.5. Secure and Finish: Once you reach the end, secure the braid with a clear elastic. Now you can customize the finish.
Tips for a Perfect Fishtail
To elevate your fishtail from simple to stunning, a few finishing touches make all the difference. For a fuller, more romantic look, gently pull on the edges of the braid with your fingertips. This technique, often called 'pancaking', adds volume and creates a softer, more effortless appearance. Don't pull too hard at once; work your way up the braid, loosening it gradually until you achieve your desired size. If you have layers that pop out, you can either embrace the messy-chic vibe or neatly tuck them back in with a few bobby pins. A light mist of hairspray will help set the style and tame any persistent flyaways. For a polished look, you can also take a small piece of hair from the tail and wrap it around the elastic band, securing it underneath with a bobby pin.
Make the Style Your Own
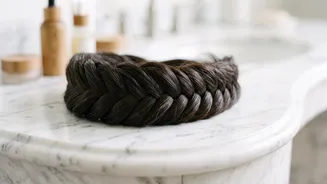
The classic fishtail is just the beginning. This versatile braid can be adapted in countless ways to suit any occasion. Try a side fishtail for a relaxed, bohemian feel, or incorporate it into a half-up style for a more formal event. A fishtail crown braid creates an elegant updo perfect for weddings or special occasions. You can also start with a French or Dutch braiding technique at the crown before transitioning into a fishtail for added dimension. Don't be afraid to experiment with accessories—weaving a ribbon through the braid or adding decorative clips can personalize your look and add a pop of color or sparkle.