


How Do Self-Watering Pots Work?
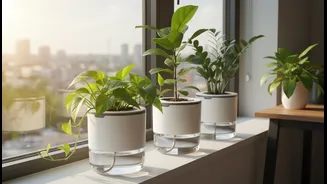
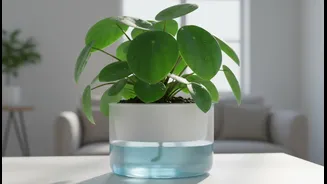
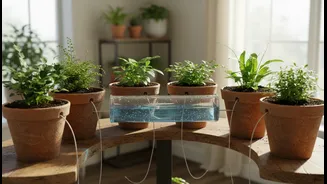
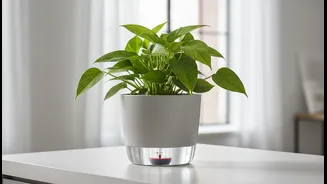
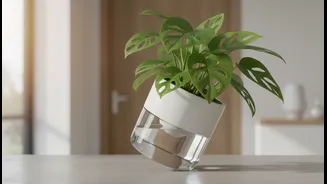
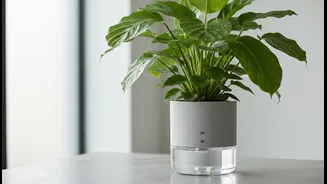
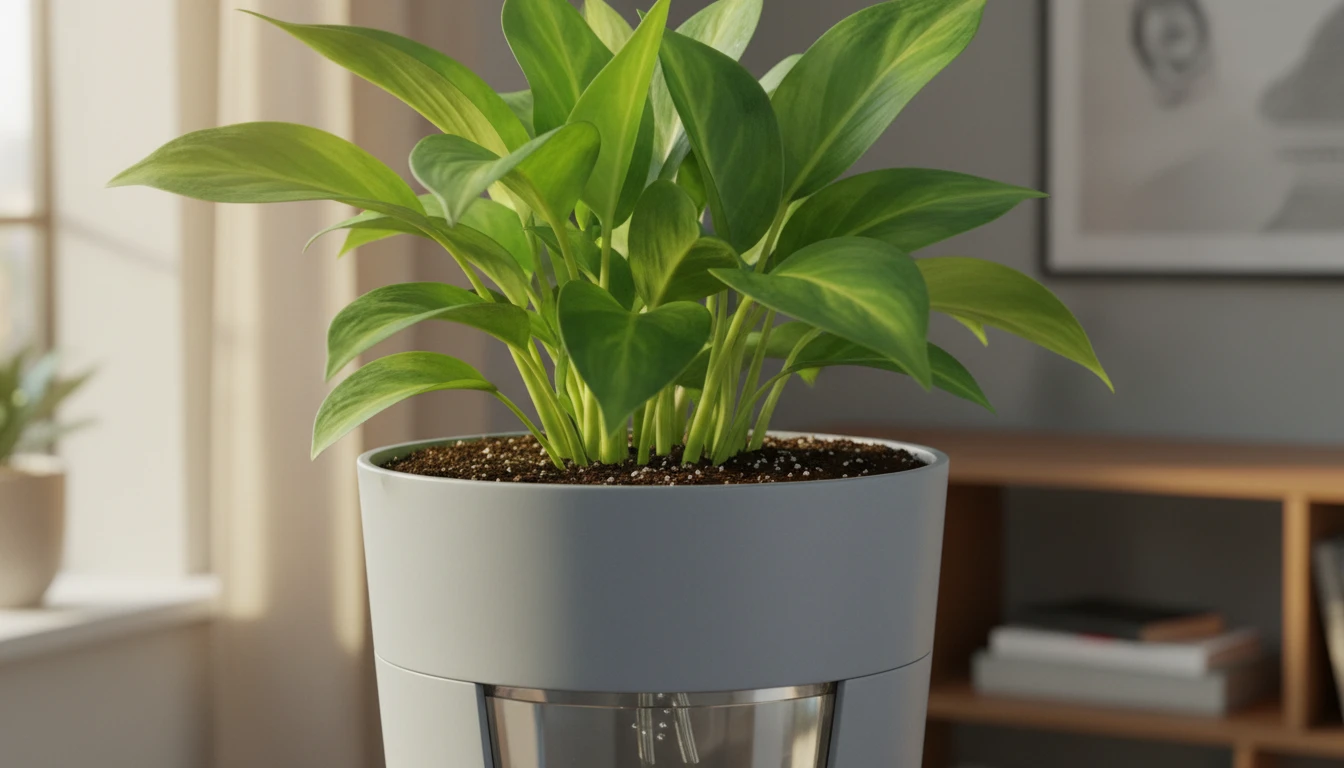
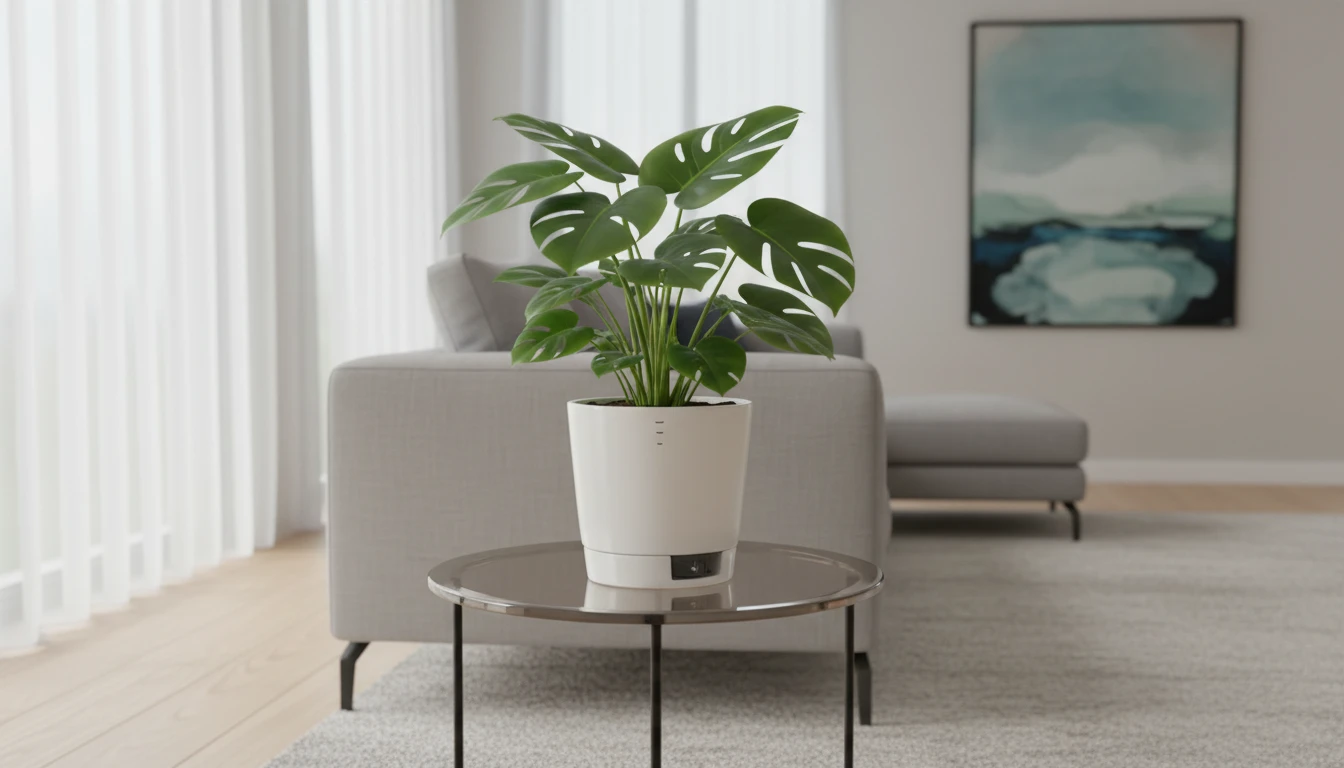
Despite the name, these pots aren't magic; they're just cleverly engineered. A typical self-watering pot has two main parts: an upper chamber for the plant and soil, and a lower reservoir to hold water. A wicking system, often a fabric rope or a partition
that allows soil to make contact with the water, connects the two. Through a natural process called capillary action, the soil draws water up from the reservoir as it dries out. This bottom-up approach allows the plant to take in moisture as needed, providing a consistent supply directly to the roots.
The Green-Thumb Advantage for Beginners
The primary benefit of a self-watering system is that it takes the guesswork out of watering, a common pain point for newcomers. By providing a steady level of moisture, these pots help prevent the stressful cycle of drying out and then being flooded, which can damage roots. This consistency fosters stronger, healthier root development. They are also incredibly convenient for those with busy schedules or who travel, as the reservoir may only need to be refilled weekly, depending on the plant and pot size. Additionally, because the water is enclosed, there's less evaporation and fewer messy spills, making them ideal for indoor use.
What Plants Thrive in These Pots?
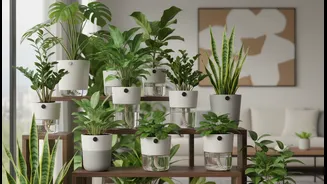
While versatile, self-watering pots are not suitable for every plant. They are ideal for species that prefer consistently moist soil. This includes many popular tropical houseplants like peace lilies, ferns, and pothos. Many common herbs such as basil, mint, and parsley also flourish with a steady water supply, as do vegetables like tomatoes and lettuce. However, plants that need their soil to dry out completely between waterings, such as succulents, cacti, and orchids, are generally poor candidates for these systems, as the constant moisture can lead to root rot.
Avoiding Common Pitfalls
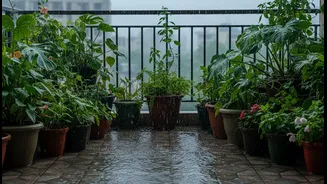
While these pots simplify care, they aren't completely foolproof. One of the biggest mistakes is using the wrong type of soil. Heavy garden soil can become compacted and fail to wick water properly, while overly sandy soil may not draw enough moisture. It's best to use a light, absorbent potting mix designed for containers, often containing peat moss or coco coir and perlite for good aeration. Another error is overfilling the reservoir. Filling past the designated maximum level can saturate the soil, cutting off oxygen to the roots and leading to the very root rot you're trying to avoid. Finally, be aware that placing the pots in very humid or rainy outdoor environments can lead to waterlogged soil, as the pot cannot account for ambient moisture.
Tips for Getting Started
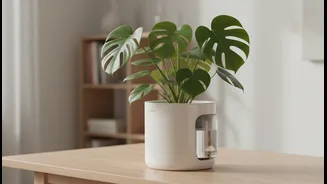
To set your plant up for success, start with a quality potting mix. When you first pot your plant, it's a good idea to water it from the top for the first week or two. This helps the soil settle and encourages the roots to grow downward toward the wicking system, kickstarting the self-watering process. Many pots come with a water level indicator, which is a helpful feature for knowing when it's time to refill the reservoir. Keep an eye on your plant for the first few weeks to see how it adjusts, and soon you'll have a low-maintenance system that supports a vibrant home garden.