

More Than Just a Jar of Jam
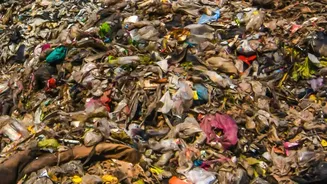
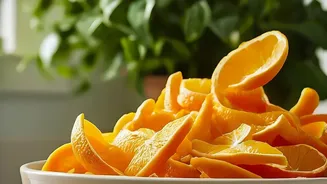
Before we dive into the pot, let's talk about why this is such a brilliant kitchen project. First, it's a powerful act of zero-waste cooking. A significant portion of a citrus fruit's weight is in its peel, and tons of this material end up in landfills.
By making marmalade, you're giving those peels a delicious second life. Second, those rinds are surprisingly nutritious. They are packed with fibre, vitamin C, and potent plant compounds called polyphenols. While the cooking process and added sugar transform it into a treat, the core ingredients start with surprising goodness. This isn't just about making a sweet spread; it's about making the most of what you have and rediscovering the hidden value in your kitchen scraps.
Gather Your Simple Ingredients
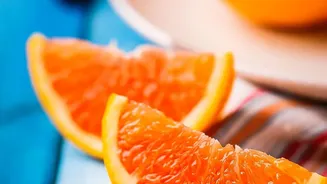
The beauty of marmalade is its simplicity. You don't need a long list of exotic ingredients. For about four to five half-pint jars, you will need: Peels from 4-6 large oranges (preferably organic, since you're eating the skin) 2 large lemons (for their juice and natural pectin) 6 cups of sugar (granulated sugar works perfectly) 6 cups of water That's it. The magic comes from the technique, not a complicated recipe. The lemon is crucial because its high pectin content is what will help your marmalade set into a beautiful, spreadable gel without needing commercial pectin. You'll also need a large, heavy-bottomed pot, a sharp knife, a cutting board, and clean jars for storage.
Step 1: Taming the Bitterness
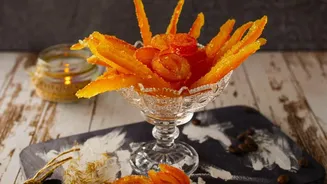
The number one concern with rind-in marmalade is bitterness. The white part of the peel, the pith, can be quite bitter, but a simple process called blanching works wonders. First, slice your orange peels into thin, uniform strips—about 1/8-inch wide is ideal. Place these strips in your pot and cover them with cold water. Bring the water to a rolling boil, let it cook for about 5-10 minutes, then drain the water completely. Repeat this process at least one more time. This double-boiling method leaches out the harshest bitter compounds, which are water-soluble, leaving you with tender peels that have a pleasant, complex citrus flavour. Some cooks even soak the peels for hours or overnight to further reduce bitterness.
Step 2: The Simmer and Set
Once your peels are blanched and tender, return them to the pot. Add the 6 cups of fresh water, the juice from your two lemons, and any pulp from the oranges if you have it. Bring this mixture to a boil and let it simmer for about 30-40 minutes, or until the peels are very soft. Now, it's time for the sugar. Add all 6 cups and stir constantly over medium-low heat until every granule has completely dissolved. Once dissolved, turn the heat up and bring the mixture to a rapid boil. This is where the gel sets. Let it cook vigorously for 25-45 minutes, stirring occasionally to prevent it from sticking or scorching at the bottom. The marmalade is ready when it reaches the gelling point. A simple way to check is the 'cold spoon test': place a small plate in the freezer when you start boiling. To test, put a dollop of marmalade on the cold plate, wait 30 seconds, and push it with your finger. If it wrinkles, it's ready. If it's still runny, keep boiling and test again every few minutes.
Step 3: Jarring and Storing Your Gold
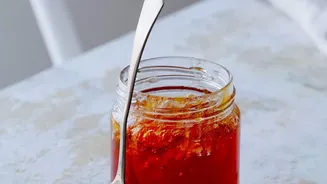
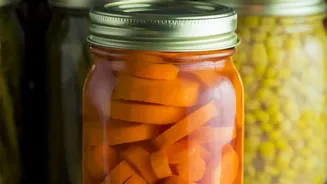
Your marmalade is now a bubbling pot of translucent, amber perfection. Skim off any foam that has formed on the surface. Carefully ladle the hot marmalade into pre-sterilised, hot glass jars, leaving about a quarter-inch of headspace at the top. Wipe the rims of the jars with a clean, damp cloth to ensure a good seal. Seal the jars tightly with their lids. For long-term storage, you can process the jars in a boiling water canner. If you plan to eat your marmalade within a few weeks, simply let the jars cool to room temperature and then store them in the refrigerator. The marmalade will continue to thicken and set as it cools.