


The Sweet Taste of Devotion
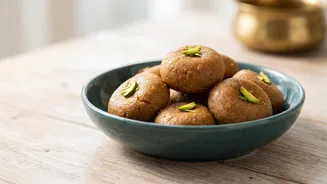
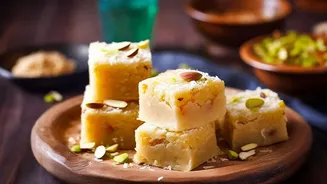
Mathura Peda is more than just a sweet; it’s a taste of tradition, deeply connected to the story of Lord Krishna. Originating from Mathura, his birthplace in Uttar Pradesh, this sweet is a beloved offering (prasad) during Janmashtami celebrations. Unlike
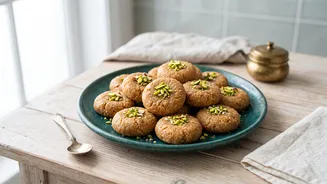
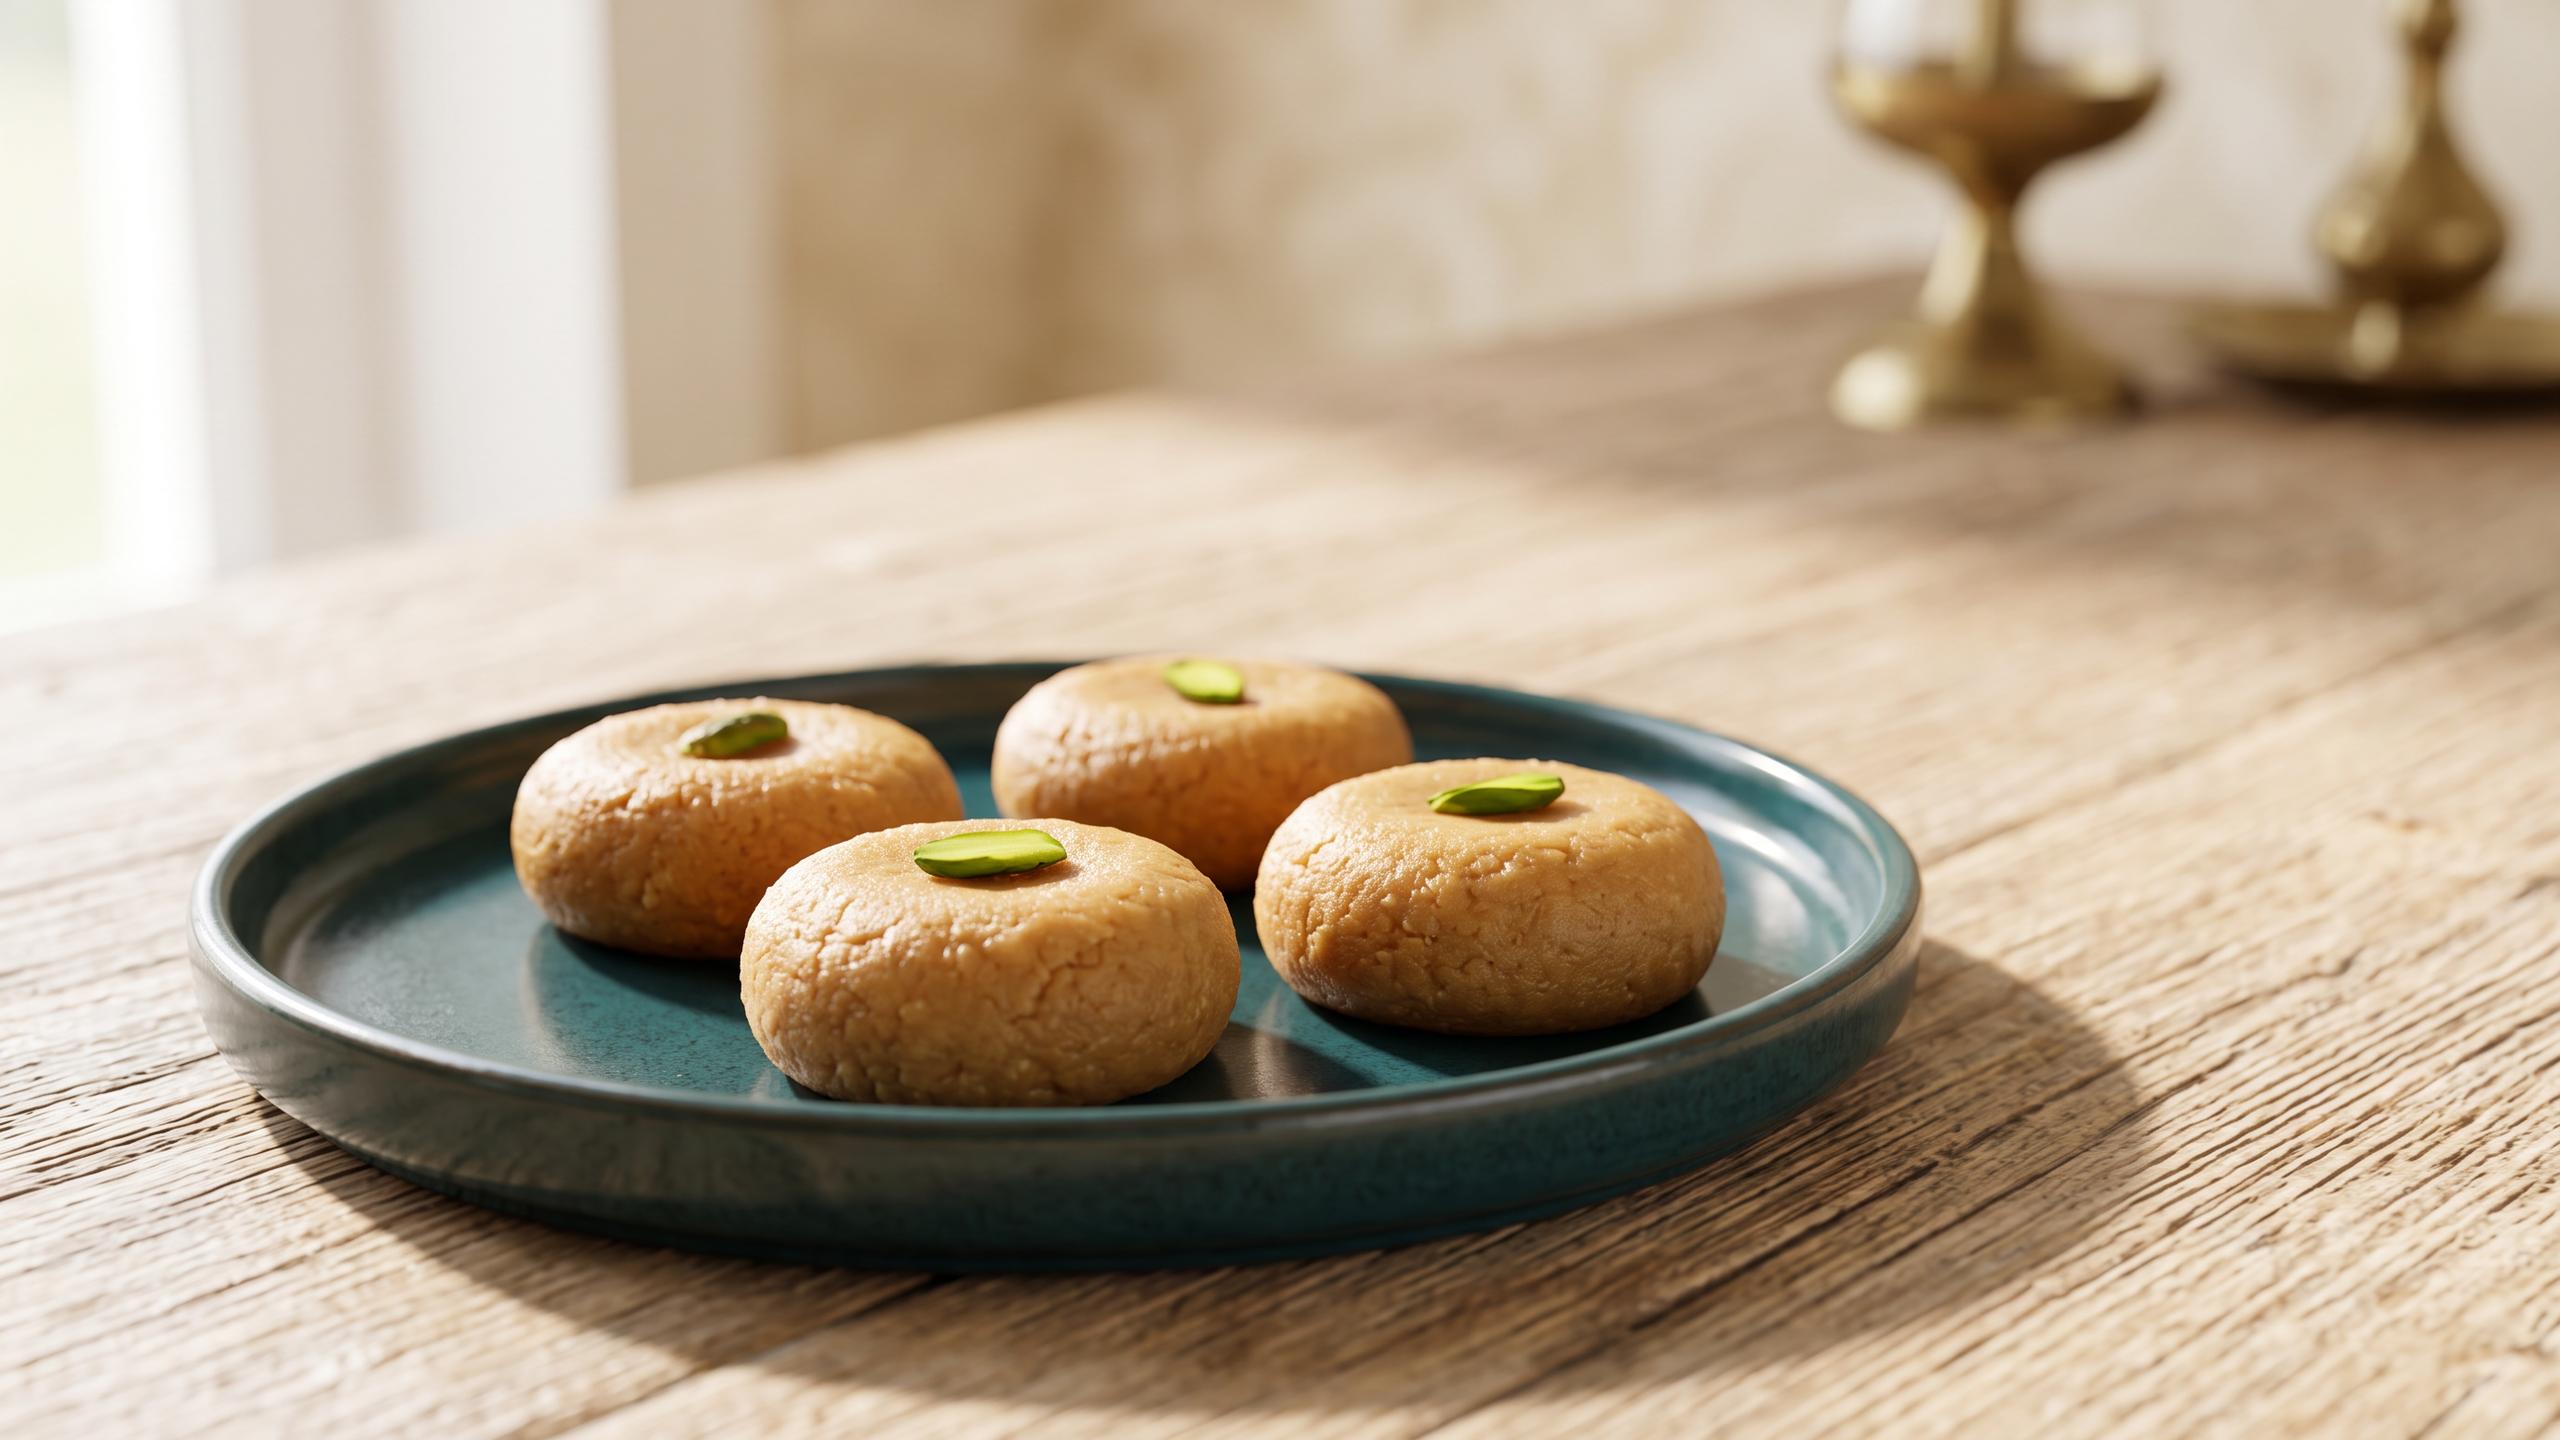
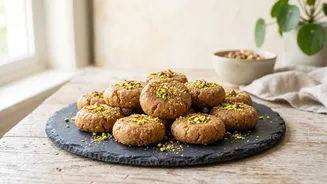
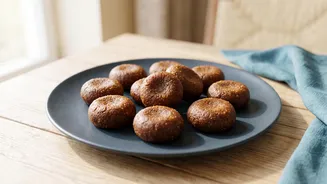
other pedas, the Mathura variant is known for its distinct brownish colour and a slightly grainy, yet incredibly soft, texture. This comes from patiently roasting khoya (also known as mawa, or milk solids) until it caramelises, developing a rich, nutty flavour that is simply divine. The festival feels incomplete without it, a sweet that carries Krishna's land in its very name.
Gather Your Ingredients
The beauty of this traditional sweet lies in its simplicity. While you can make khoya from scratch by reducing full-fat milk for hours, using good quality store-bought khoya makes the process much more approachable and can be done in under 30 minutes. For this recipe, you will need approximately 250 grams of khoya (mawa), grated or crumbled for even cooking. You’ll also need about a half cup of sugar, preferably 'bura' or tagar (a type of porous, fine sugar), though finely powdered sugar works too. Have on hand 2-3 tablespoons of ghee, about half a cup of milk, and half a teaspoon of green cardamom powder (elaichi) for that signature aroma. A little extra granulated sugar for coating the finished pedas is also a must for the authentic touch.
The Art of Roasting Khoya
The secret to the perfect Mathura Peda is the roasting process. Begin by placing your grated or crumbled khoya in a heavy-bottomed, non-stick pan on low to medium heat. Stir it continuously. After a few minutes, as it starts to warm up and loosen, add a tablespoon of ghee. Keep stirring to prevent it from sticking or burning. The key is patience; you are looking for a deep, golden-brown colour, which can take about 15-20 minutes of constant stirring on low heat. If the mixture looks too dry as it browns, you can add a tablespoon or two of milk to keep it soft and prevent it from becoming hard. Once the khoya is fragrant and uniformly browned, remove it from the heat.
Bringing It All Together
Let the roasted khoya cool down until it's just warm enough to touch. This step is crucial; adding sugar to hot khoya will cause it to melt and turn the mixture runny, making it impossible to shape. Once cooled, you can transfer the mixture to a blender and pulse it briefly to achieve a smoother, more even texture, though this is optional. Now, in a bowl, combine the khoya with the powdered sugar and cardamom powder. Mix everything thoroughly with your hands until well combined. If the mixture feels too dry to bind, add a splash of milk, just a teaspoon at a time, until you can form a smooth, non-sticky dough.
Shaping and Finishing Your Pedas
Grease your palms with a little ghee. Take small, lemon-sized portions of the dough and roll them into smooth balls between your palms. Gently flatten each ball and, for the classic shape, make a slight indentation in the centre with your thumb. The final step for that signature Mathura look is to roll each peda in granulated or caster sugar, ensuring it's lightly coated on all sides. Let the prepared pedas sit at room temperature for an hour or two to firm up slightly before serving. Your homemade, soft, and delicious Mathura-style pedas are now ready to be offered as prasad or enjoyed with family.
Tips for a Fail-Proof Peda
To ensure your pedas are soft and not hard or chewy, always cook the khoya on low heat. Rushing this step is the most common reason for a grainy or hard texture. Using a heavy-bottomed pan is non-negotiable to prevent the milk solids from burning. If your khoya is very hard from the refrigerator, grate it or microwave it for a few seconds to soften it before you start. Finally, remember the golden rule: only add sugar to cooled khoya. If your mixture accidentally becomes too crumbly, you can return it to the pan with a spoonful of warm milk and gently heat it until it comes together again.