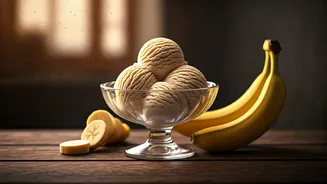


The Two 'Magic' Ingredients
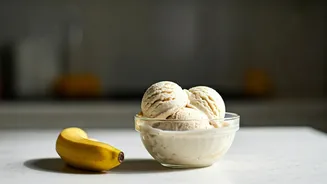
The secret to this incredibly simple dessert, often called "nice cream," lies in one core ingredient: frozen bananas. When blended, frozen bananas develop a surprisingly creamy and smooth texture that closely mimics traditional soft-serve ice cream. This
is because bananas contain pectin, a natural thickener. The second ingredient is simply a small splash of liquid to help the blending process. For a completely dairy-free version, a bit of plant-based milk such as almond, coconut, or oat milk works perfectly. You can even just use a tablespoon or two of water if that's all you have on hand. The key is to use very ripe, spotty bananas, as they will provide the most natural sweetness, often eliminating the need for any added sugar.
Your Simple Step-by-Step Guide
Making this ice cream is a straightforward process that requires a food processor or a high-speed blender. First, peel ripe bananas and slice them into coins or chunks. Place them on a tray in a single layer and freeze for at least a few hours, or until solid. Once frozen, transfer the banana chunks to your food processor. Begin to blend the bananas on their own. The mixture will go through several stages: first crumbly, then like small pebbles, and finally, it will start to come together. This is when you add your second ingredient—just a tablespoon or two of non-dairy milk—to help it become smooth and creamy. Continue blending until it reaches a thick, soft-serve consistency, scraping down the sides as needed.
Tips for the Perfect Texture
Achieving the ideal consistency is easy with a few simple tricks. The most important tip is to be patient and let the food processor do the work; it can take a few minutes for the frozen bananas to break down and become creamy. Resist the temptation to add too much liquid at once, as this can quickly turn your ice cream into a smoothie. Add your plant-based milk one tablespoon at a time until you get the desired thickness. If the bananas are frozen too solid for your blender to handle, let them sit at room temperature for five to ten minutes to soften slightly before you begin. A powerful food processor is generally recommended over a blender, as it often requires less liquid to get the job done, resulting in a thicker final product.
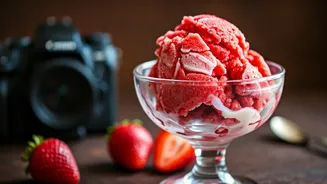
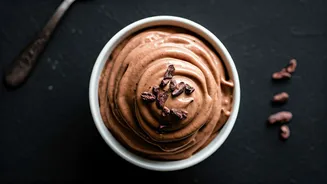
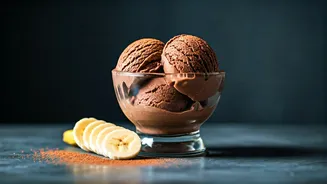
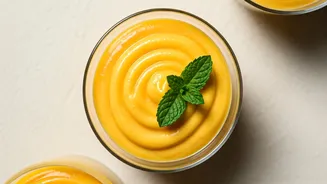
Endless Flavour Combinations
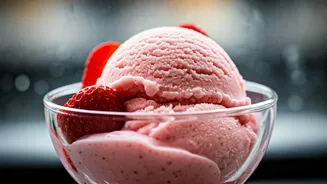
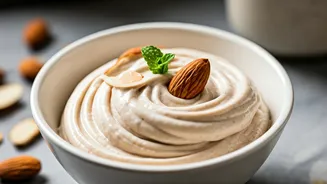
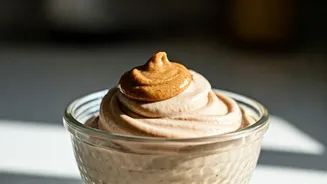
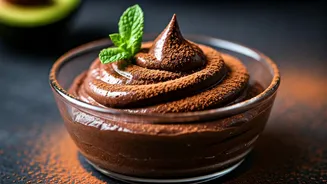
While the basic two-ingredient recipe is delicious on its own, it also serves as a perfect canvas for countless variations. For a rich chocolate flavour, add a tablespoon or two of unsweetened cocoa powder during the blending process. For a nutty twist, blend in a scoop of peanut butter or almond butter. You can also create different fruit flavours by substituting some of the frozen banana with other frozen fruits like strawberries, mangoes, or cherries. Other simple mix-ins include a dash of vanilla extract, a sprinkle of cinnamon, or even a tablespoon of coconut cream for extra richness. After blending, you can fold in chocolate chips, chopped nuts, or toasted coconut flakes for added texture.
How to Serve and Store Your Creation
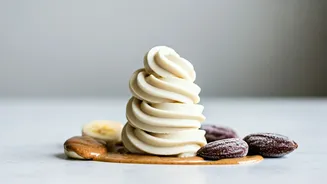
This dairy-free ice cream is at its absolute best when enjoyed immediately after blending, possessing a perfect soft-serve texture. If you prefer a firmer, more scoopable ice cream, you can transfer the mixture to a loaf pan or an airtight container and freeze it for one to two hours. Be aware that it freezes much harder than traditional ice cream due to the lack of fats and sugars. If you freeze it for longer than a couple of hours, you will need to let it sit out at room temperature for several minutes to soften before it becomes scoopable again. Some people find that popping it in the microwave for just a few seconds can help.