
An Energising Start to Your Day
Surya Namaskar is more than just a physical warm-up; it is a holistic practice designed to synchronise your breath with movement, creating a meditative flow that energises the body and calms the mind. Regular practice can improve cardiovascular health,
increase muscle strength and endurance, and enhance flexibility. The sequence engages major muscle groups, tones internal organs through alternate stretching and compression, improves blood circulation, and aids in detoxification. By stimulating the entire system, it serves as a powerful tool to reduce stress, improve mental focus, and prepare you for the day ahead with a sense of balance and vitality.
Preparing for Your Practice
To get the most out of your Surya Namaskar practice, it is best performed in the morning on an empty stomach, traditionally at sunrise to honour the sun. All you need is a yoga mat in a quiet, well-ventilated space. Wear comfortable clothing that allows for a full range of movement. The key is to move with your breath, allowing it to guide the pace of your sequence. While there are mantras associated with each pose, beginners can focus entirely on the physical posture and breathing.
Step 1: Pranamasana (Prayer Pose)
Begin by standing at the front of your mat with your feet together. Distribute your weight evenly. As you exhale, bring your palms together in a prayer position at your chest. This pose helps create a state of relaxation and focus.
Step 2: Hasta Uttanasana (Raised Arms Pose)
Inhale deeply and lift your arms up and back, keeping your biceps close to your ears. Stretch your entire body from your heels to the tips of your fingers, gently arching your back to open the chest.
Step 3: Hastapadasana (Hand to Foot Pose)
Exhale and bend forward from your hips, keeping your spine straight. Bring your hands down to the floor beside your feet. You can bend your knees if necessary to allow your palms to touch the mat.
Step 4: Ashwa Sanchalanasana (Equestrian Pose)
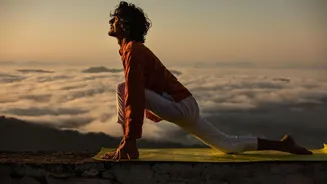
Inhale and push your right leg back as far as you can. Lower your right knee to the floor and look up, feeling a stretch in your hips and spine. Ensure your left knee is directly above your ankle, forming a 90-degree angle.
Step 5: Dandasana (Plank Pose)
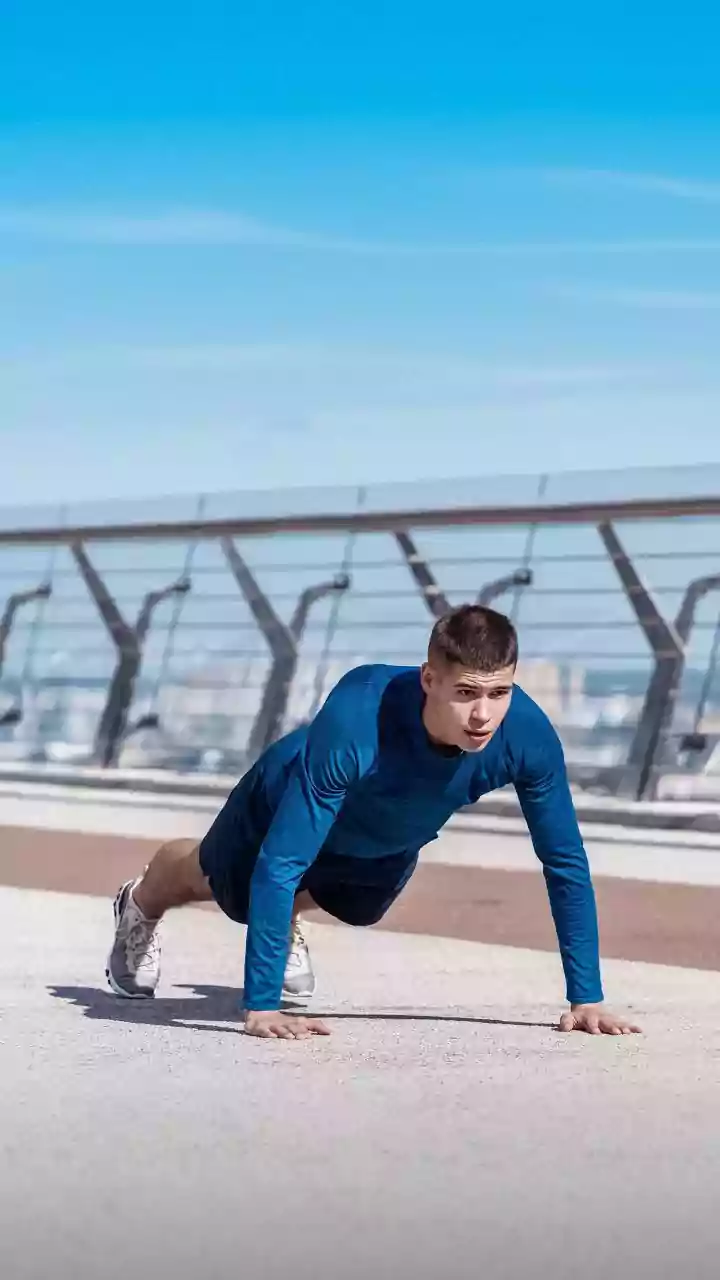
Exhale and bring your left leg back to join the right, aligning your body in a straight line like a plank. Your arms should be perpendicular to the floor and your core engaged.
Step 6: Ashtanga Namaskara (Eight-Limbed Salute)
Gently bring your knees down to the floor and then lower your chest and chin. Your hips should remain slightly elevated. This results in eight parts of your body touching the floor: two feet, two knees, two hands, your chest, and your chin.
Step 7: Bhujangasana (Cobra Pose)
Inhale and slide forward, raising your chest up into Cobra Pose. Keep your shoulders down and away from your ears and your elbows slightly bent. Look upward, feeling a gentle stretch in your abdomen and spine.
Step 8: Adho Mukha Svanasana (Downward-Facing Dog)
Exhale and lift your hips and tailbone towards the ceiling, forming an inverted 'V' shape with your body. Try to push your heels towards the floor to deepen the stretch in your hamstrings and calves.
Step 9: Ashwa Sanchalanasana (Equestrian Pose)
Inhale and bring your right foot forward between your hands. Lower your left knee to the floor and look up, mirroring the pose from Step 4.
Step 10: Hastapadasana (Hand to Foot Pose)
Exhale and bring your left foot forward to join the right. Bend forward from the hips, returning to the Hand to Foot Pose.
Step 11: Hasta Uttanasana (Raised Arms Pose)
Inhale and roll your spine up. Raise your hands overhead and bend backward slightly, just as you did in Step 2.
Step 12: Pranamasana (Prayer Pose)
Exhale and bring your palms back to the prayer position at your chest. This completes one half-round. To complete a full round, repeat the entire sequence, this time starting by pushing your left leg back in Step 4.
A Word of Caution
While Surya Namaskar is beneficial, it is not suitable for everyone. Individuals with high blood pressure, heart conditions, hernia, severe back problems like a slipped disc, or wrist injuries should avoid this practice or perform it only under the guidance of an experienced teacher. Pregnant women are also advised not to perform this sequence due to the pressure on the abdomen.