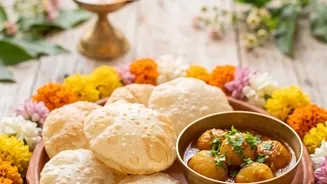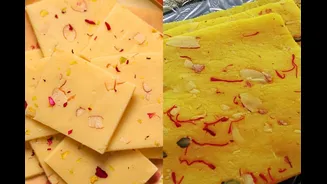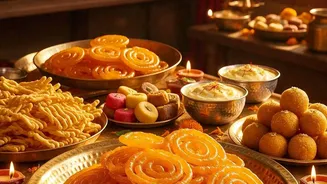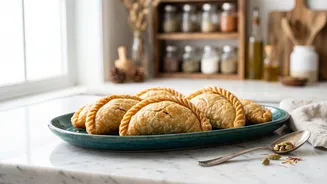


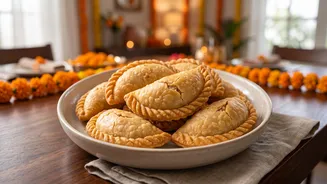
The aroma of freshly fried Gujiya is the scent of celebration in many Indian homes. This iconic half-moon pastry, stuffed with sweet fillings, is a festive staple. Here’s how you can master this beloved sweet for your next family gathering.
Gather Your Ingredients
Before you
begin, assembling all your ingredients makes the process smooth and enjoyable. Gujiya making is a tale of two parts: the crisp outer pastry and the rich, sweet filling. For the dough, you will need all-purpose flour (maida), a bit of fine semolina (sooji) for crispness, ghee for a flaky texture (moin), and water to bind it all together. The heart of the Gujiya, its filling, traditionally features khoya (dried evaporated milk solids), powdered sugar, and an assortment of finely chopped nuts like almonds, cashews, and pistachios. Aromatic spices such as green cardamom powder and sometimes a pinch of nutmeg elevate the flavour profile. Many recipes also include desiccated coconut and raisins (kishmish) for added texture and sweetness.
Preparing the Perfect Dough
The secret to a great Gujiya lies in its casing. You want a pastry that is crisp yet tender, not hard or chewy. Start by combining the flour and semolina in a large mixing bowl. Add the ghee and begin rubbing it into the flour with your fingertips. This step is crucial. Continue until the mixture resembles coarse breadcrumbs and holds its shape when you press a small amount in your fist. This 'moin' is what ensures a flaky, melt-in-the-mouth texture. Now, slowly add water, a little at a time, and knead until you have a firm but pliable dough. It should be stiffer than a chapati dough. Once kneaded, cover it with a damp cloth and let it rest for at least 30 minutes. This resting period allows the gluten to relax, making the dough easier to roll out.
Crafting the Sweet Filling
While the dough rests, you can prepare the delectable filling. If using khoya, crumble it and gently roast it in a pan over low heat for a few minutes until it becomes aromatic and slightly changes colour. This removes any raw taste and improves its shelf life. Let the khoya cool down completely. This is very important, as adding sugar to warm khoya will cause it to melt and make the filling runny, which can lead to the Gujiyas breaking while frying. Once cooled, mix in the powdered sugar, chopped nuts, desiccated coconut, cardamom powder, and any other additions you are using. Your fragrant, rich filling is now ready.
The Art of Shaping and Sealing
Now for the most artistic part of the process. After the dough has rested, knead it once more for a minute until smooth. Divide it into small, equal-sized balls. Take one ball and roll it into a thin, small circle about 4–5 inches in diameter. Keep the other balls covered to prevent them from drying out. Place a spoonful of the filling onto one half of the rolled circle, leaving the edges clear. Gently moisten the edges with a little water using your fingertip. Fold the other half over to create a semi–circle, carefully pressing the edges together to seal the filling inside. You can create a decorative edge by pinching and twisting the border, a design known as 'gothna', or simply press the edges with a fork. Alternatively, a Gujiya mould makes this step quick and uniform.
Frying to Golden Perfection
The final step is to cook these beautiful pastries. For the classic fried version, heat ghee or oil in a deep kadai over a medium flame. The temperature of the oil is key; if it's too hot, the Gujiyas will brown quickly on the outside but remain uncooked inside, and they may develop bubbles on the surface. If it's not hot enough, they will absorb too much oil and become greasy. To test, drop a small piece of dough into the oil. If it sizzles and rises to the top steadily, the oil is ready. Slide a few Gujiyas in at a time, without overcrowding the pan. Fry them on a low to medium flame, turning them occasionally, until they are golden brown and crisp on both sides. This can take about 8–10 minutes per batch. Remove them with a slotted spoon and place them on paper towels to drain excess oil. For a healthier, modern twist, you can also bake them in a preheated oven at $180^oC$ ($350^oF$) for $20–25$ minutes, turning them once halfway through, until golden.