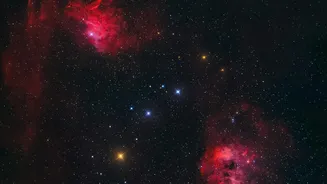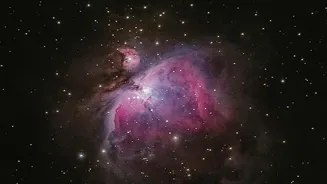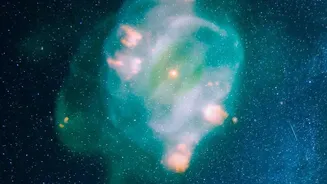




The Core Challenge: Signal vs. Noise
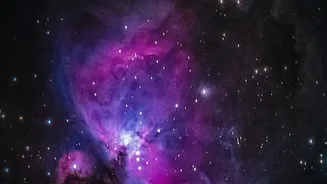
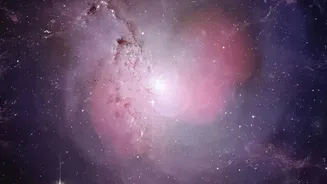
In astrophotography, your number one goal is to achieve a high signal-to-noise ratio (SNR). The 'signal' is the good stuff: the precious photons of light that have traveled millions of years from a nebula to hit your camera sensor. The 'noise' is the bad
stuff: random electronic interference from your camera's sensor (read noise) and the general background glow of the sky (light pollution). Faint nebulae have a very weak signal. To get a clean, detailed image, you need to gather as much signal as possible so that it overpowers the inherent noise.
Exposure Length: Your Light-Gathering Bucket
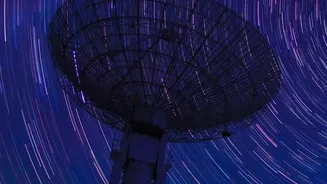
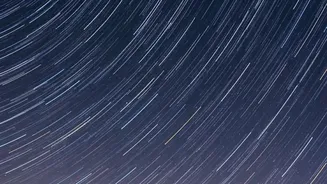
The most important tool you have for increasing signal is exposure time. Think of your camera sensor as a bucket in a light rain. The longer you leave the shutter open, the more photons (rain drops) you collect. For faint deep-sky objects, longer individual exposures are almost always better. This allows the weak light of the nebula to build up on the sensor, creating a stronger signal to fight against the noise. While a 30-second exposure might capture bright stars, a 5- or 10-minute exposure is often needed to start revealing the faint, wispy structures of a nebula. However, your exposure length is limited by the accuracy of your tracking mount (which must counteract Earth's rotation) and the brightness of your sky.
ISO's Role: Amplifying the Signal
Many photographers think of ISO as making the camera sensor more 'sensitive' to light, but that's a common misconception. In reality, ISO doesn't change how many photons you capture. Instead, it amplifies the electronic signal that the sensor has already collected. Cranking up the ISO makes the image appear brighter, but it's amplifying both the nebula's signal and the camera's electronic noise. So why use a higher ISO at all? The answer lies in overcoming a specific type of noise called 'read noise'. Every camera has a baseline level of electronic noise that is introduced when the sensor's data is read. A higher ISO setting can amplify the faint signal from your nebula enough so that it is stronger than this read noise.
Finding the Sweet Spot: Unity Gain and Beyond
For dedicated astronomy cameras, and even many modern DSLRs, there is an optimal ISO setting often referred to as 'unity gain'. This is the setting where the amplification is just right, providing a one-to-one relationship between a captured photon and the digital value recorded. Shooting at or near your camera's unity gain is often the most efficient way to capture data, as it provides a good balance between amplifying the signal and not excessively clipping the bright stars in your image. For many DSLRs and mirrorless cameras, this sweet spot lies somewhere between ISO 800 and ISO 3200. Shooting below this range may mean the faint signal is buried by read noise; shooting too far above it can reduce your dynamic range, causing stars to look bloated and lose their color.
Putting It All Together: A Practical Workflow
The modern approach to capturing nebulae involves balancing these factors. The strategy is to first determine the longest possible exposure your equipment and sky conditions can handle without stars trailing or the sky becoming washed out. This might be two minutes from a suburb or ten minutes from a dark-sky site. Once you've set your exposure time to maximize signal, you then adjust the ISO to the most efficient setting for your camera, which is often in the ISO 800-1600 range for DSLRs. This ensures the signal you worked so hard to collect is recorded properly above the noise floor. The final magic happens in post-processing, where multiple exposures are 'stacked' together. This process averages out the random noise and enhances the consistent signal, resulting in a smooth, incredibly detailed final image.