



Gather Your Materials
The beauty of this project lies in its simplicity and reliance on materials you might already have. Before you begin, gather everything you need to make the process smooth and enjoyable. You will need a clean, wide-mouthed glass jar, interesting fabric
scraps, a pendant light cord kit, and a low-wattage LED bulb. For tools, have a hammer, a large nail, strong scissors, a hot glue gun, and a marker ready. The pendant light kit is the only item you might need to purchase; they are widely available at hardware stores or online and come with a socket, cord, and plug. Choosing an LED bulb is crucial as they produce very little heat, which is safer for an enclosed glass fixture. For your fabric, consider scraps from old dupattas, sarees with beautiful borders, or leftover block-printed cotton for a uniquely Indian touch.
Prepare the Jar Lid
The first hands-on step is to create an opening in the jar's metal lid for the light socket. Place the lid on a flat, sturdy surface. Centre the base of the light socket on the lid and trace around it with a permanent marker. Now, using the hammer and nail, carefully punch a series of holes just inside the circle you drew. Keep the holes close together. This perforates the metal, making it easier to cut. Once you have a full circle of holes, use strong scissors or pliers to carefully cut along the perforations and remove the centre disc. The goal is to create an opening just large enough for the threaded part of the socket to pass through snugly. For added safety, you can also punch a few extra, smaller holes in the lid to allow for more heat ventilation, even when using a cool-running LED bulb.
Assemble the Light Fixture
With the lid prepared, you can now assemble the core of your lamp. Unscrew the ring from the base of the light socket. Pass the threaded end of the socket through the hole you made in the lid. Then, from the other side, screw the ring back onto the socket. This will clamp the metal lid firmly in place. Before you proceed, screw in your low-wattage LED bulb. Then, gently screw the entire assembly back onto your glass jar. Your simple pendant light is now constructed. It's a surprisingly quick process that takes only a few minutes once the lid is prepared.
Add Your Fabric Flourish
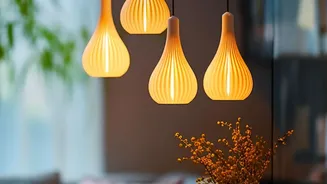
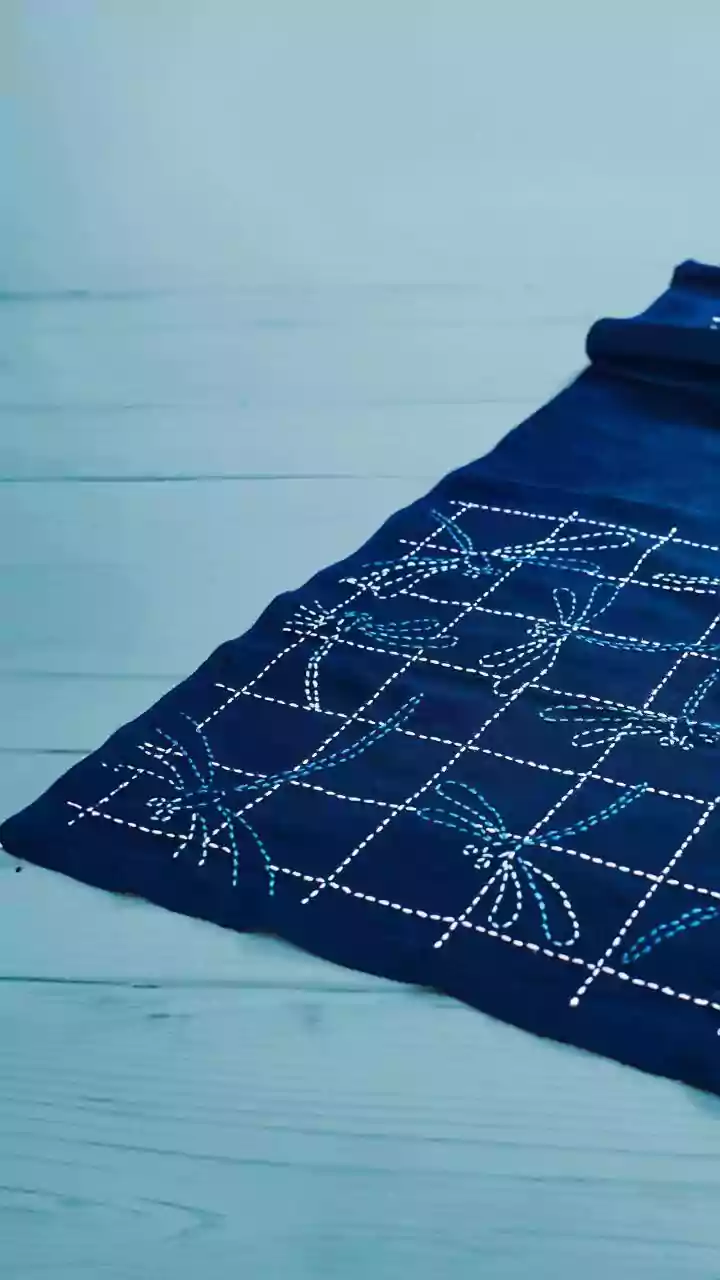
This is where you can get truly creative. The fabric will act as a diffuser, softening the light and adding colour and pattern. One of the easiest no-sew methods is to cut your fabric into long strips, about two to three inches wide. Apply a line of hot glue to the rim of the jar lid and press the end of a fabric strip onto it. Then, apply glue to the bottom of the jar and stretch the strip taut, pressing it into place. Continue this process, overlapping the strips slightly, until the entire jar is covered. Alternatively, for a smoother look, you can create a paper template of the jar's circumference, cut a single piece of fabric, and attach it with spray adhesive or fabric glue. The fabric transforms the simple jar into a bespoke decorative piece.
Installation and Electrical Safety
Working with electricity requires the utmost care. While many pendant kits now come with a simple plug, some are designed to be wired directly into the ceiling. If your project involves any direct wiring, it is highly recommended to hire a qualified, licensed electrician. Even for a plug-in lamp, ensure you follow all safety guidelines. Always turn off the power at the breaker before working on any existing fixture. Never attempt a project that feels beyond your skill level, as faulty wiring is a significant fire and electrocution hazard. Use the correct wattage bulb specified for your kit to prevent overheating. Your new lamp can be hung from a ceiling hook, and the cord can be draped artistically to the nearest wall socket.