
Gathering Your Simple Supplies
You don’t need a sprawling garden or expensive equipment to get started. Most of what you need can be found at a local garden centre or online. You will require two shallow trays with drainage holes (windowsill-sized trays are perfect), a corresponding
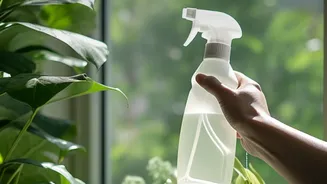
tray without holes to catch water, a spray bottle, a growing medium like coconut coir or a seed-starting soil mix, and of course, your seeds. Look for seeds specifically packaged for microgreens, such as Daikon radish and Waltham 29 broccoli, to ensure they haven't been treated with fungicides.
Preparing Your Growing Medium
Your first step is to prepare the growing medium. If you're using compressed coconut coir, place the brick in a bucket and add water, allowing it to expand. Fluff it with your hands until it’s light and airy. If using a potting mix, it’s ready to go from the bag. Moisten the medium so it’s damp but not waterlogged—think of the consistency of a wrung-out sponge. Fill your drainage trays with about an inch of this moistened medium, gently pressing it down to create a flat, even surface for your seeds.
Sowing Radish and Broccoli Seeds
Now for the fun part. Radish and broccoli seeds are both excellent for beginners and don't require pre-soaking. Sprinkle the seeds evenly and densely across the entire surface of the soil in their respective trays. Don’t be shy; you want a thick carpet of seeds, but avoid large clumps or overlapping piles. Once sown, gently mist the seeds with your spray bottle. Don't cover them with soil. Instead, place another tray on top of the seeds to press them lightly into the soil and create a dark, humid environment perfect for germination. This initial phase is known as the blackout period.
The Blackout and Germination Phase
For the next two to four days, keep the trays covered and away from direct light. This darkness encourages the seeds to sprout and push upwards, developing strong stems. Check on them daily. You might see tiny white root hairs, which can look like mold but are a healthy sign of growth. If the soil surface looks dry, give it a light misting. Both radish and broccoli are fast growers, and you should see widespread germination within this short window.
Let There Be Light
Once your sprouts are about an inch tall and have pushed up the covering tray, it's time to introduce them to light. Remove the top tray and place them on your sunniest windowsill. A south-facing window is ideal. The pale, yellowish sprouts will quickly turn a vibrant green as they begin to photosynthesize. Rotate the trays every day to prevent the microgreens from leaning too far in one direction as they reach for the sun.
Watering and Daily Care
Proper watering is key to avoiding issues like mold. Instead of watering from above, which can damage the delicate greens, it’s best to water from the bottom. Simply pour about half an inch of water into the bottom tray (the one without holes) and let the soil absorb it for 10-15 minutes. Afterward, discard any excess water. This method keeps the greens dry and the roots hydrated. Check the moisture level daily by feeling the weight of the tray or touching the soil.
Harvesting Your Peppery Greens
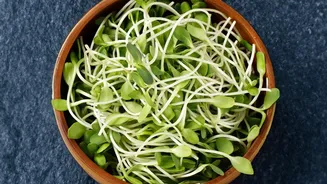
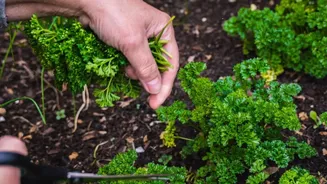
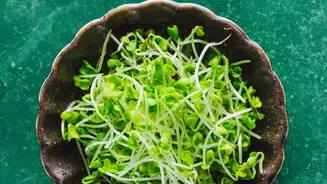
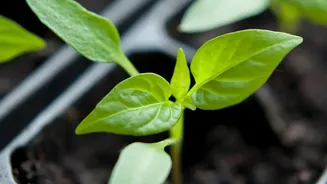
Your microgreens will be ready to harvest with surprising speed. Radishes are often ready in just 6 to 9 days, while broccoli takes a bit longer, typically 7 to 10 days. The ideal time to harvest is when the first set of leaves, called cotyledons, are fully open and the greens are about two to three inches tall. You want to harvest before the 'true leaves' (the second set of leaves that look different) emerge, as this can change the flavour. Using a sharp pair of scissors or a knife, cut the greens just above the soil line. It's best to harvest right before you plan to eat them for maximum freshness and crunch.